No products in the cart.
Inspiration, Tutorials
It’s Insane What You Can Achieve With Only Two Colors in Photoshop!
When it comes to t-shirt printing, controlling the number of colors in your designs is scary. For vector art, it is fairly simple: the Magic Wand helps you select a single color and swap it for a color you want to keep.
When it comes to raster, however, it gets muddy: there’s transparency to account for, half-pixels and the amount of dpi in the image itself. It sounds complicated, but it isn’t, once you get the hang of it.
To avoid all of the above, we’ll create halftones from all those colors, then we’ll add a color overlay to flatten it to a single color.
Now, what is a halftone?
A halftone is a sequence of increasingly smaller (single color) dots that create the illusion of a gradient.
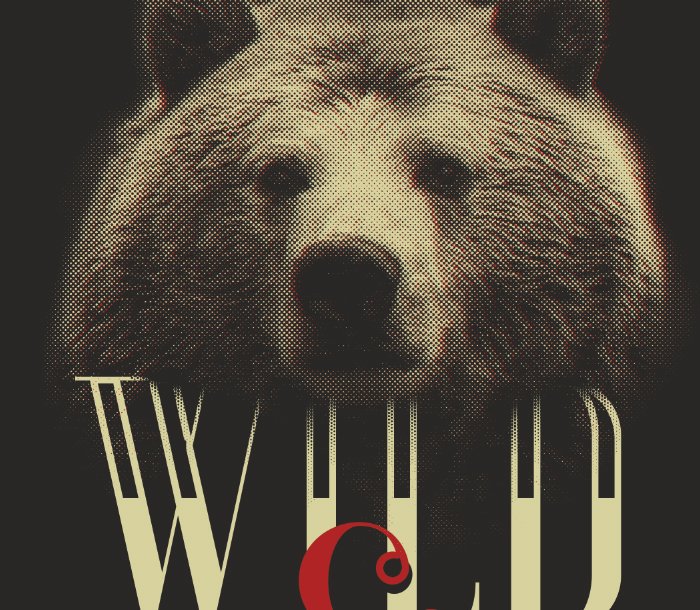
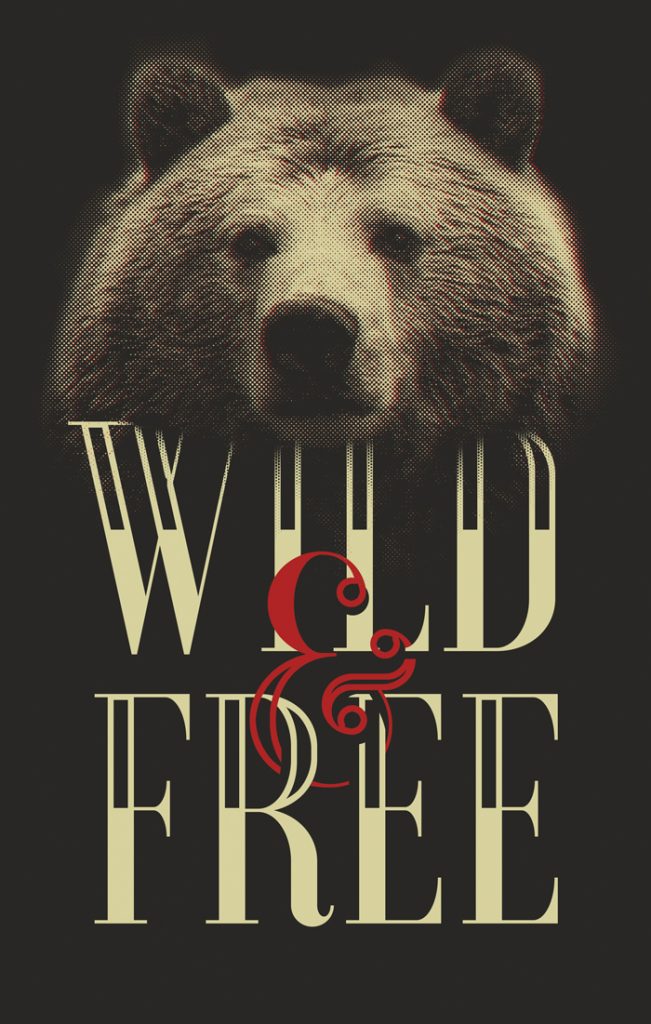
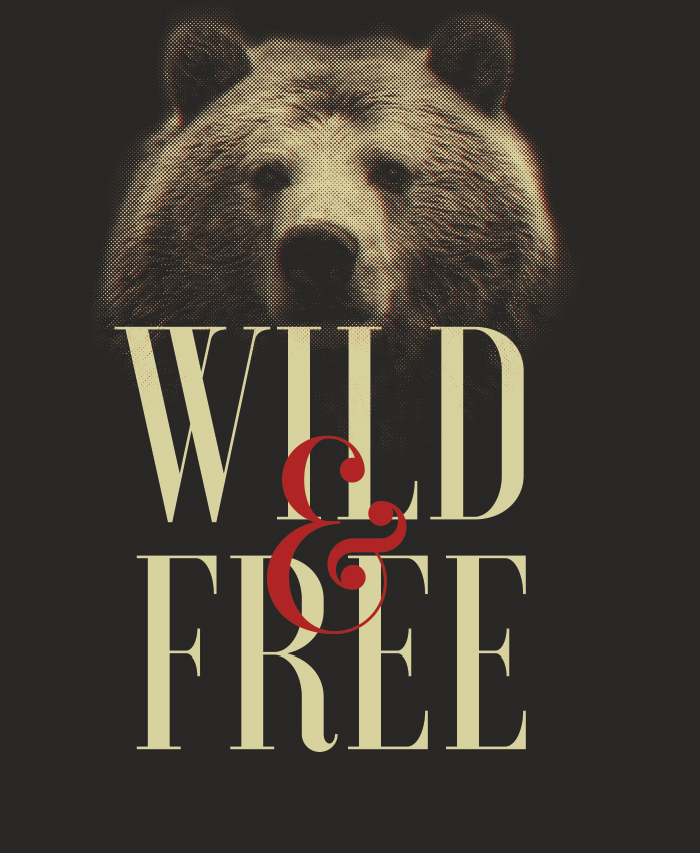
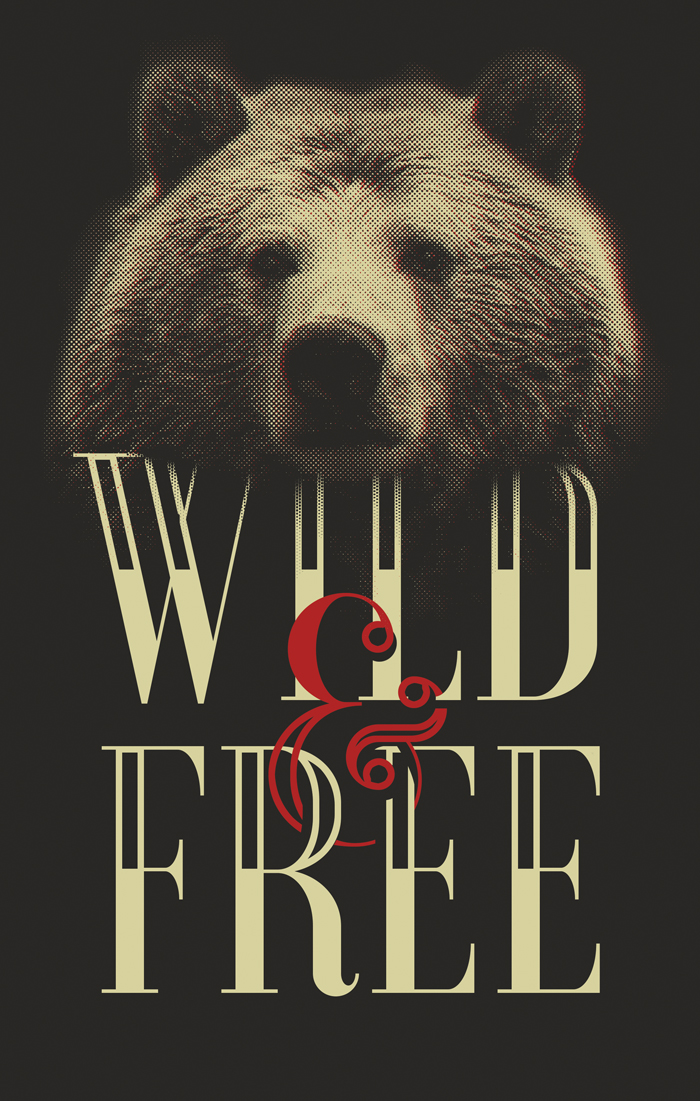
Final Image
Tools used: Adobe Photoshop
Difficulty: Intermediate
(Note: For Mac, in the shortcut keys, replace the CTRL with CMD)
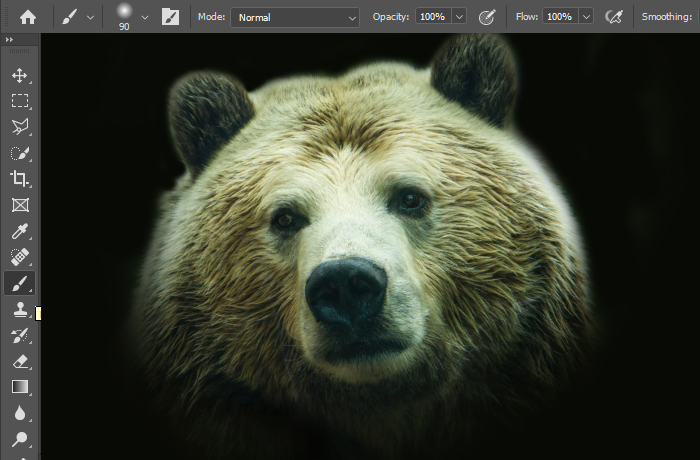
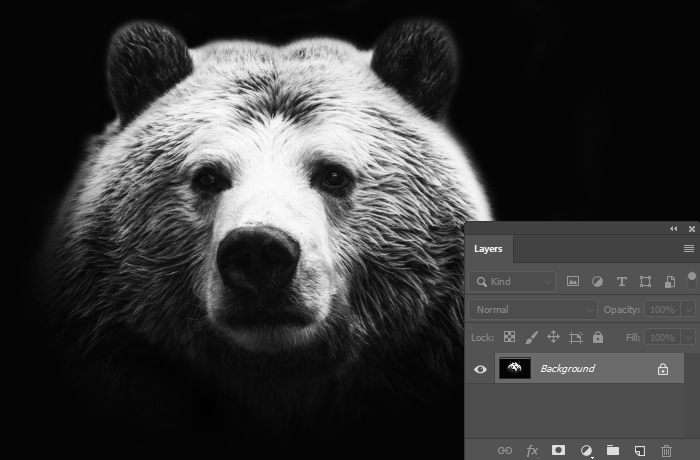
For this guide, we’ll use this picture of a bear.
First step: isolate the head of the bear. Easy enough; just pick a soft brush and paint with black over the image. Precision isn’t required, but it is nice to have it fairly clean. Make sure you’re brushing on a new layer. It helps with undoing mistakes.
Press CTRL+E to merge the layers, then CTRL+J to duplicate it. Rotate it a bit if you want, but this is optional.
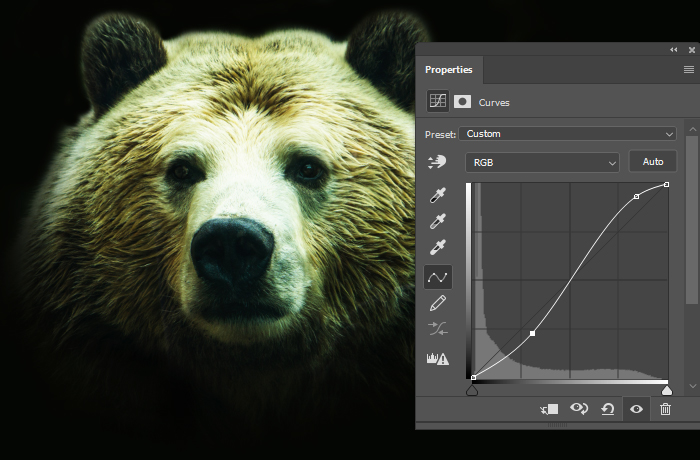
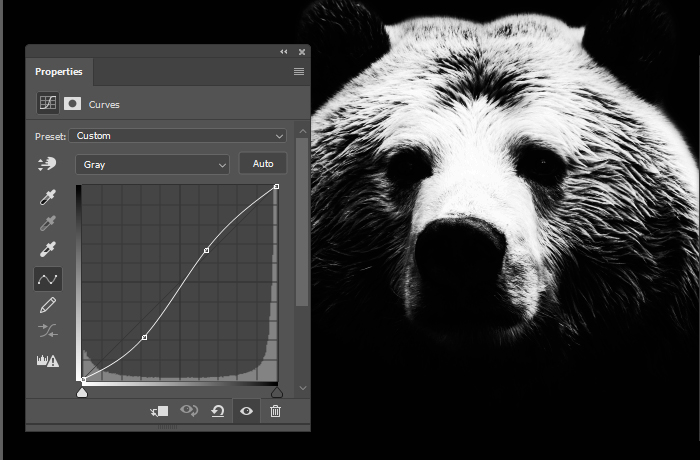
Now we need to increase the contrast. A lot. Create a new adjustment layer (Layer -> New Adjustment Layer -> Curves) and do a contrast curve, as shown below. Remember this, it is extremely useful in many situations. Don’t worry about colors looking terrible, we’re removing them in the next step.
Go to Image -> Mode -> Grayscale. You’ll be prompted to flatten the layers and to discard the color information. Comply to both.
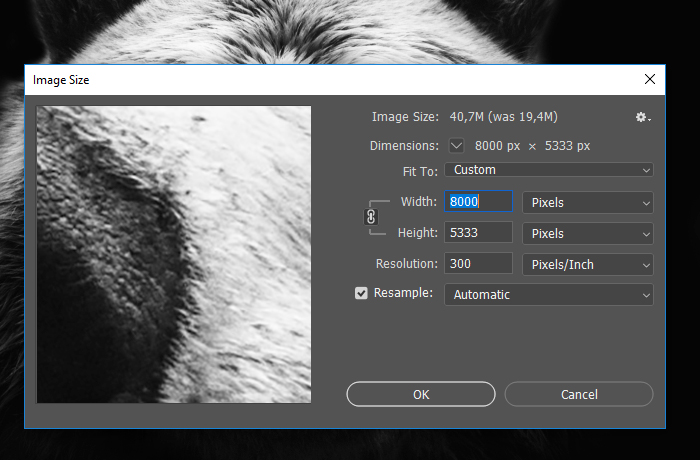
Now, go to Image -> Image size, and resize the image to 300 dpi and to about 40 megapixels (width x height). It might become slightly blurry, but it doesn’t matter. It will clean itself soon.
All the steps above are prerequisites for the next step: the halftone.
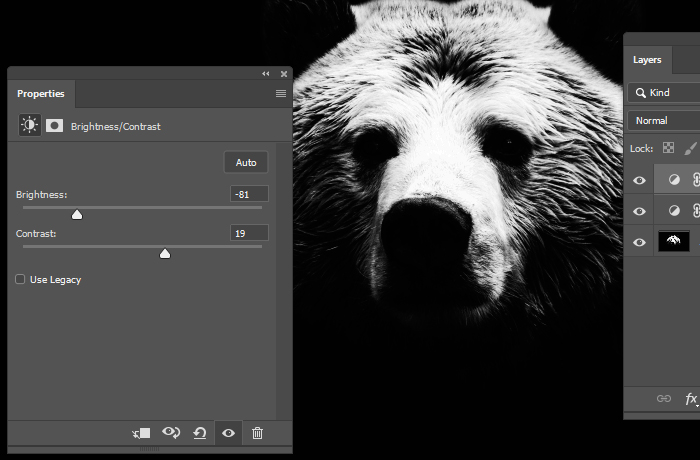
First, we need to make sure that the black is true black. Else, the halftone will spread throughout the entire image.
To darken the blacks, use another Contrast curve as before. Optionally, add a Brightness/Contrast for good measure.
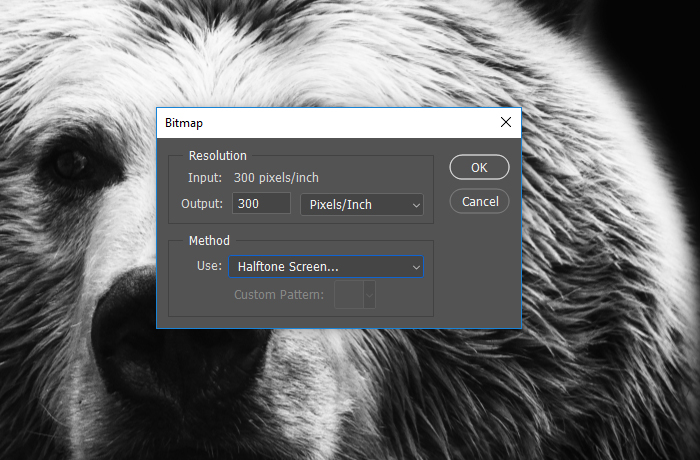
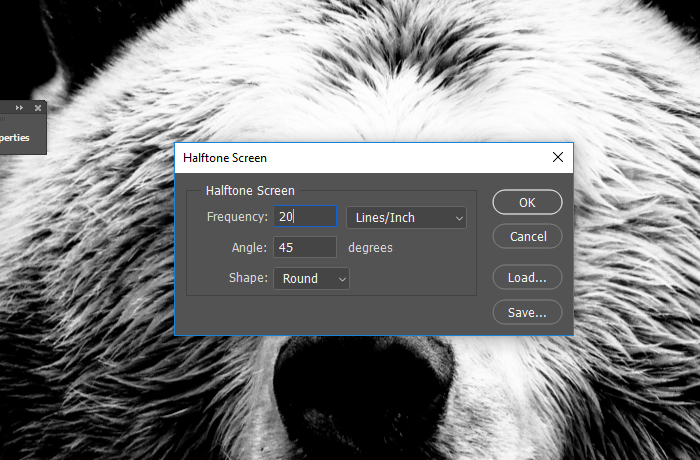
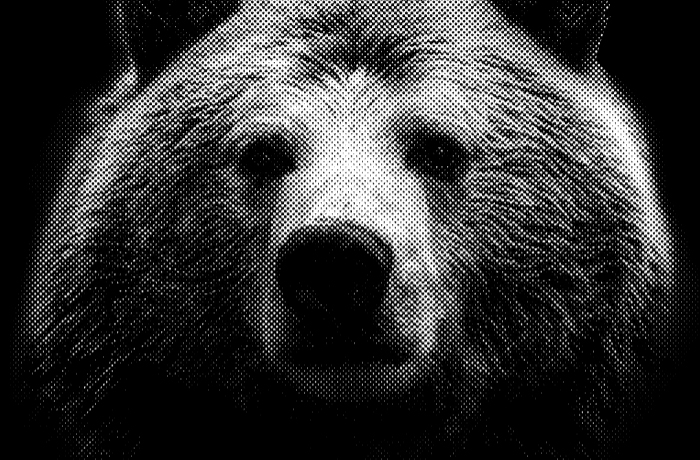
Go to Image -> Mode -> Bitmap. In the popup windows, set the Method to “Halftone screen”. In the next window, set it to about 18 to 20 and at a 45 degrees angle.
Now we have a great base to work with. Congrats on making it this far!
Next step: filter out the background. If you’re tempted to use “Screen” blending mode, don’t. We’ll use a more elegant and more practical technique.
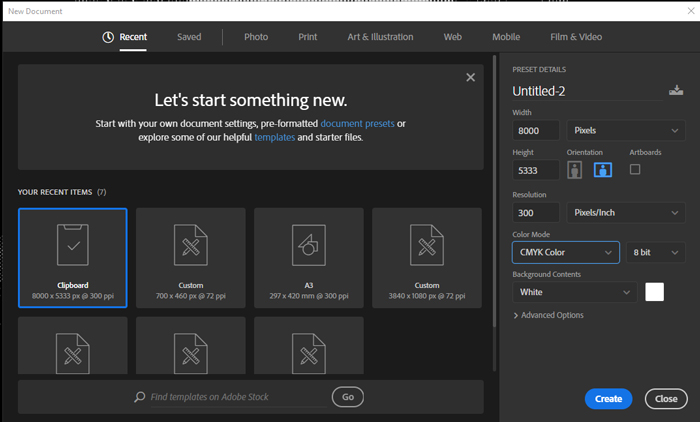
Press CTRL+A to select the entire canvas, then CTRL+C to copy it. Create a new canvas (File -> New) and set the Color Mode to CMYK. The size is already set from the clipboard.
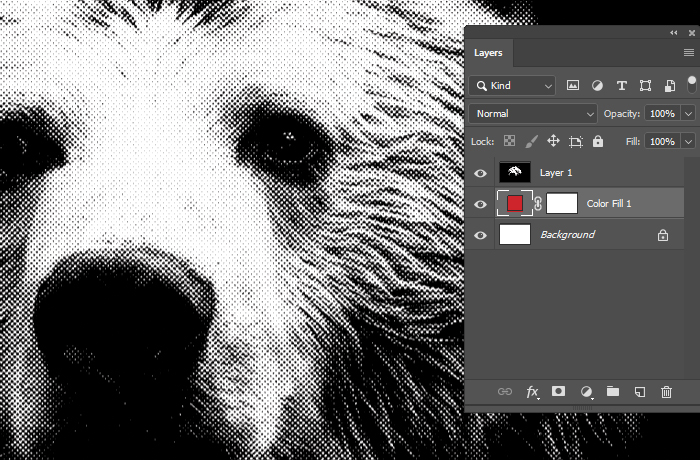
Paste in the copied halftone bear, and create a Fill layer below it. We’ll use it as a dummy layer to help with the cleaning.
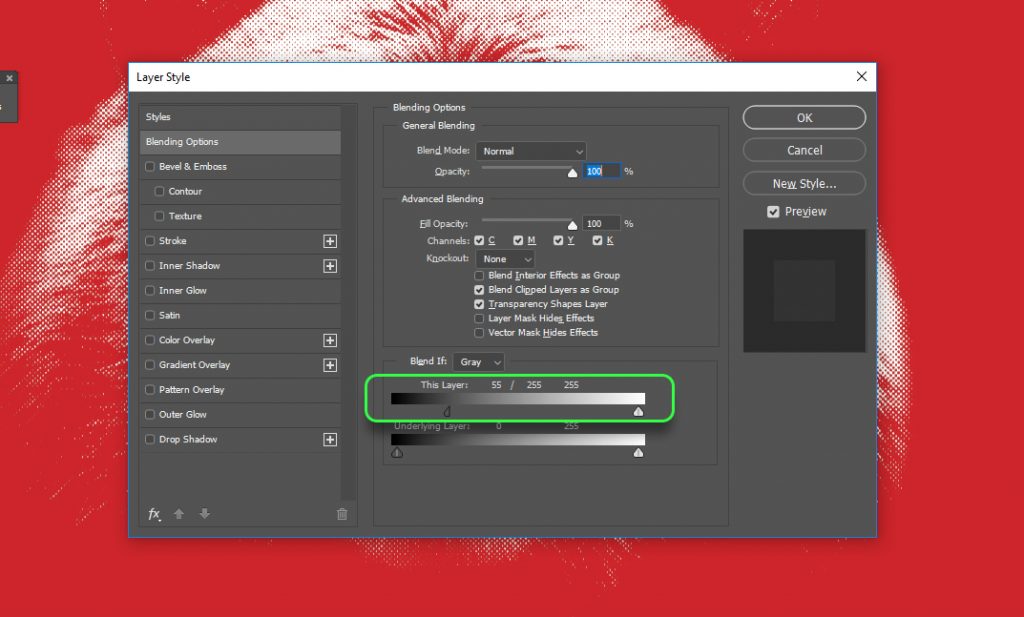
Go to Layer -> Layer Styles -> Blending options.
Where it says “Blend if”, hold the ALT key and drag half of the dark arrow for the first slider, where it says “this layer”.
This setting will blend the layer where there are no dark colors on the layer. For us, it clears out the black background. Press OK.
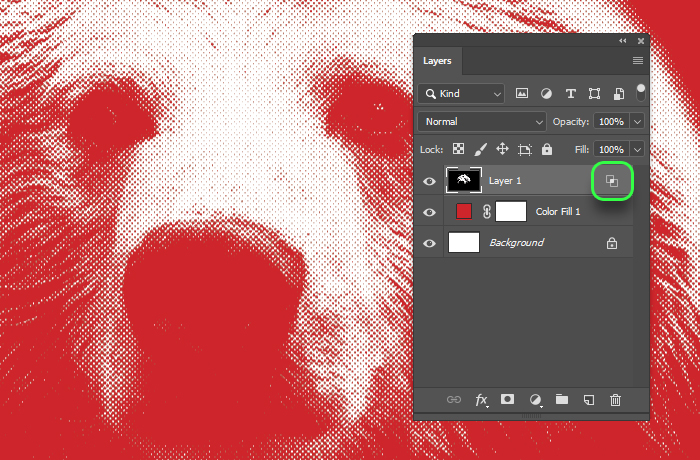
Now, near the layer thumb, you’ll see two small squares indicating the blendif property. It is only an effect, but a flattening will make it permanent.
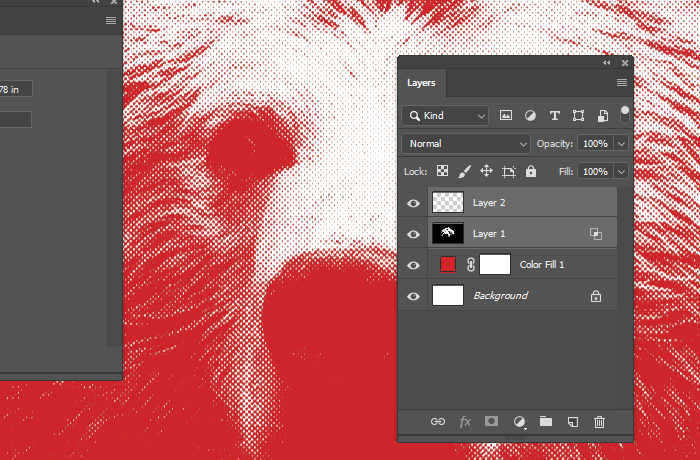
Create a new blank layer, select both, then press CTRL+E to merge them. Now the effect is permanent.
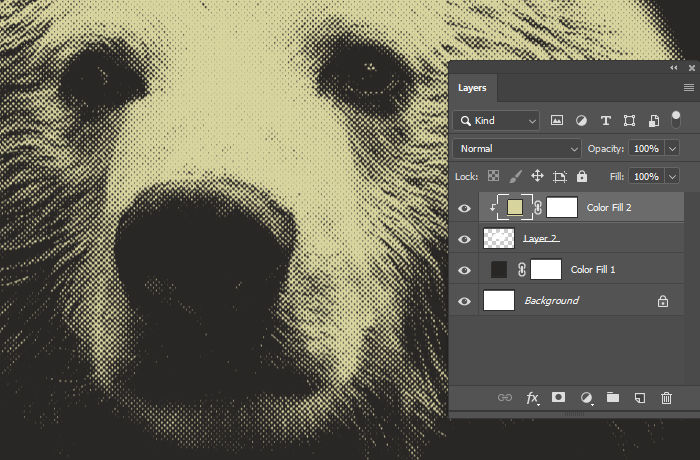
The hardest part of the process has passed. We’re free to recolor it any way we want it to. Create a new Fill layer (Layer -> New Fill Layer -> Solid Color – I used #d8d49e) above it and alt-click between the layers to create a quick mask.
Also, recolor the background to a darker color (#292725 will do just fine).
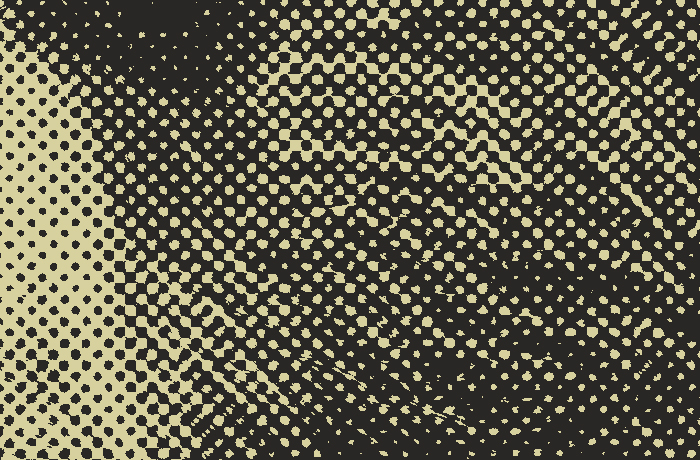
Zoom in and look at the small details. Notice the small dots are not blurry, and they are the same color!
So far, we’ve downsized the entire image to a single color (don’t count the background, because in print, it will be the natural color of the garment or paper).
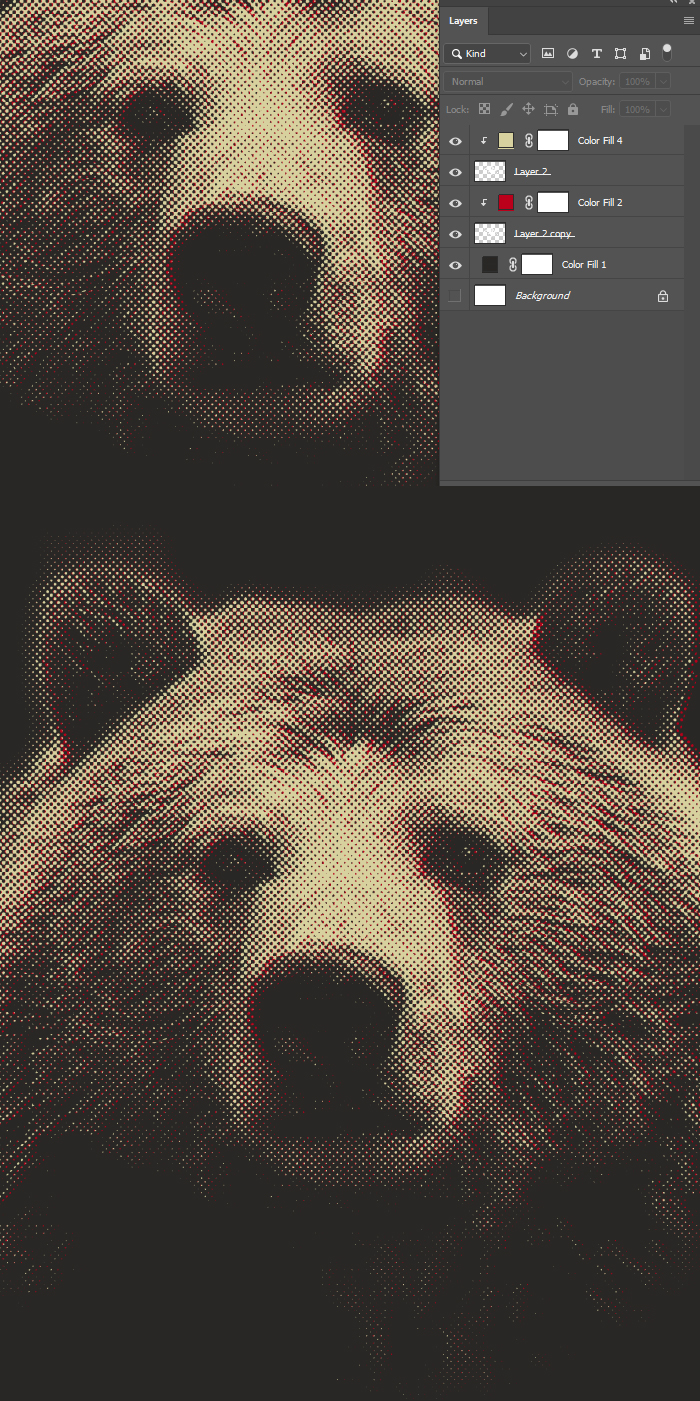
For the second color, we’ll create a mis-print effect, with a strong red hue.
Select the Fill layer and its bear quick mask, then press CTRL+J to duplicate it. Then, select the original bear layer anduse the arrows to nudge it layer to the right. Then, set the fill layer to #ba001a.
It will look like below.
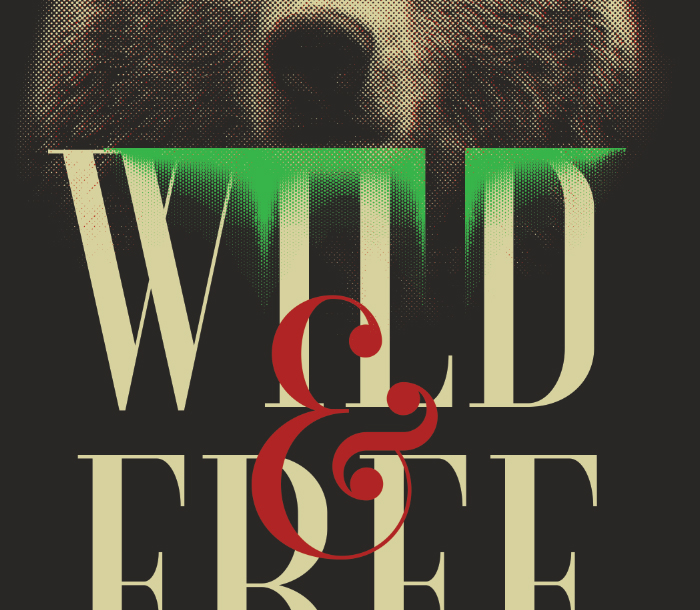
Optionally, add a quick flavor text. In this case, I’ve added “Wild & Free” with the font Voga. Use the same colors.
You’ve noticed in the final image, there was that nice 3D effect. Let’s see how that’s done!
We’ll use this vector halftone as a mask for the text. Given it is small enough, it will create that illusion of a shadow. Drag-drop it onto the text, scale it down and arrange it over the text. Place multiple. To create a shadow effect.
I’ve marked it with green for you to see it better, but they’re in fact, black.
Select all the added (vector halftone) layers and merge them (CTRL+E). Then, add a mask to the text layers. CTRL+click the merged layers’ thumbnail; this will load a selection. Then, select the text layer mask, press D, then ALT+Backspace.
This will fill the selected area with black, and hiding that portion of the text. Delete the halftone layers.
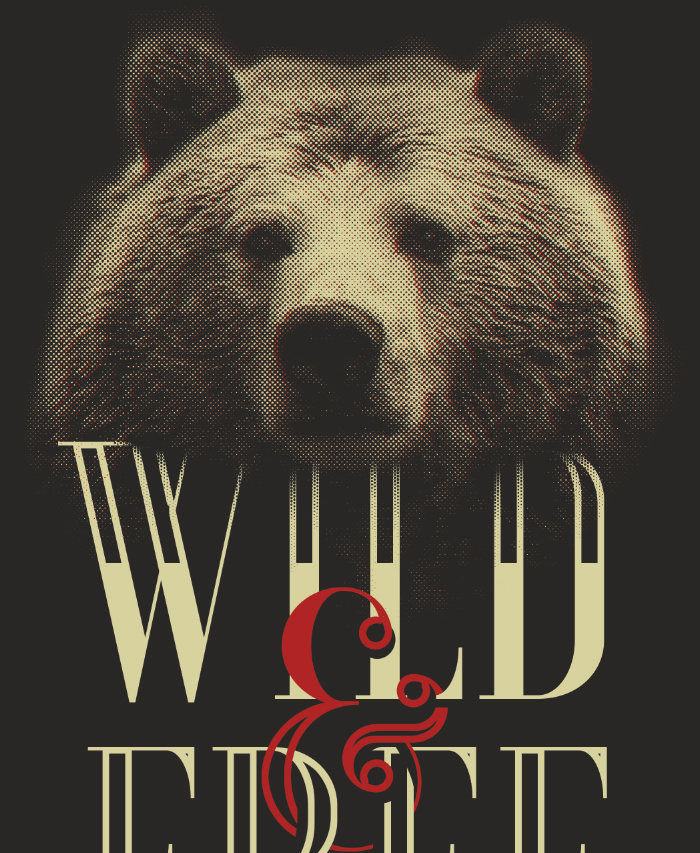
After all this elbow grease, it should look like this.
Notice that my text is hollow?
You can do that if you CTRL+click the text, go to Select -> Modify -> Contract, then set the value to 20. Use this selection to fill the area on the text’s mask.
From here on, you can adjust the colors any way you see fit. The Fill layers are at your disposal to do with them however you please.
Here are a few more examples of results following the same technique.
Since you made it this far, here the full t-shirt design, for free!


