How to Use Designious Studio Tools to Prepare Artwork
Design files rarely arrive ready to use. A logo may be trapped in a small JPG. A product graphic may have a white box around it. An AI-generated image may look good in preview but fall apart when you try to scale, edit, or print it.
Designious Studio is built for that messy middle: the place where creators turn imperfect source files into usable artwork. You can upload files, remove backgrounds, upscale weak images, vectorize suitable raster artwork, recolor SVG files, compare versions, and save the result for the next design or production step.
Key Takeaways
- Designious Studio brings Vectorize, Remove Background, Upscale, and SVG Recolor into one artwork-preparation workflow.
- The best workflow is not to run every tool on every image. Start with the file problem, then choose the tool that fixes it.
- Uploads and version history help you compare processed results without losing earlier versions.
- Studio credits make it easier to decide when a file is worth processing, especially during batch work.
- For merch, print-on-demand, ecommerce, and client work, always inspect the output before treating it as production-ready.
Start With the File Problem
Each Studio tool solves a different kind of file problem. The useful question is not "Which tool is newest?" It is "What is stopping this artwork from being usable?"
| File problem | Studio tool to try | What to check before saving |
|---|---|---|
| Artwork has an unwanted background | Remove Background | Edges are clean and transparency works on product colors |
| File is too small or soft | Upscale | The result is sharper without strange texture or edge artifacts |
| PNG or JPG needs scalable SVG output | Vectorize | Paths look clean and important details survived |
| SVG needs a new palette | SVG Recolor | Colors still support contrast, readability, and the product style |
That order matters. If a raster image has a background you do not want, remove it before deciding whether the image needs anything else. If a file is too small, upscale it before using it in a larger design. If the image is a suitable logo, sketch, icon, badge, or flat illustration, vectorize it and inspect the SVG. If the file is already editable SVG, use Recolor when the creative job is palette adaptation rather than cleanup.
Use Remove Background When the Artwork Is Trapped in a Box
Remove Background is the right first step when the artwork is surrounded by a white box, photo backdrop, messy scan area, or distracting product background. A clean transparent result is often enough for mockups, ecommerce graphics, stickers, and simple merch layouts.
After removing the background, preview the result against light and dark surfaces. Look closely at hairline edges, small gaps, transparent holes, and shadows. A cutout that looks fine on white may show a rough edge on a dark shirt or product mockup.
Use this tool when the artwork itself is usable but the surrounding background is getting in the way. If the artwork is also too small, blurry, or hard to edit, continue with Upscale or Vectorize after checking the transparent result.
Use Upscale When Resolution Is the Blocker
Upscale helps when the source image is too small or soft for the intended use. This is common with old product graphics, downloaded mockup elements, AI-generated images, and artwork sent by a client in the wrong size.
Upscaling works best when the source already has enough structure to improve. It can sharpen and enlarge a usable image, but it cannot rescue every compressed thumbnail or rebuild missing detail from nothing.
After upscaling, compare the result beside the original. Check edges, lettering, texture, and small details at the size where the artwork will actually be used. For print-on-demand or merch work, place the result on a real product mockup before deciding it is ready.
Use Vectorize When You Need Editable SVG Output
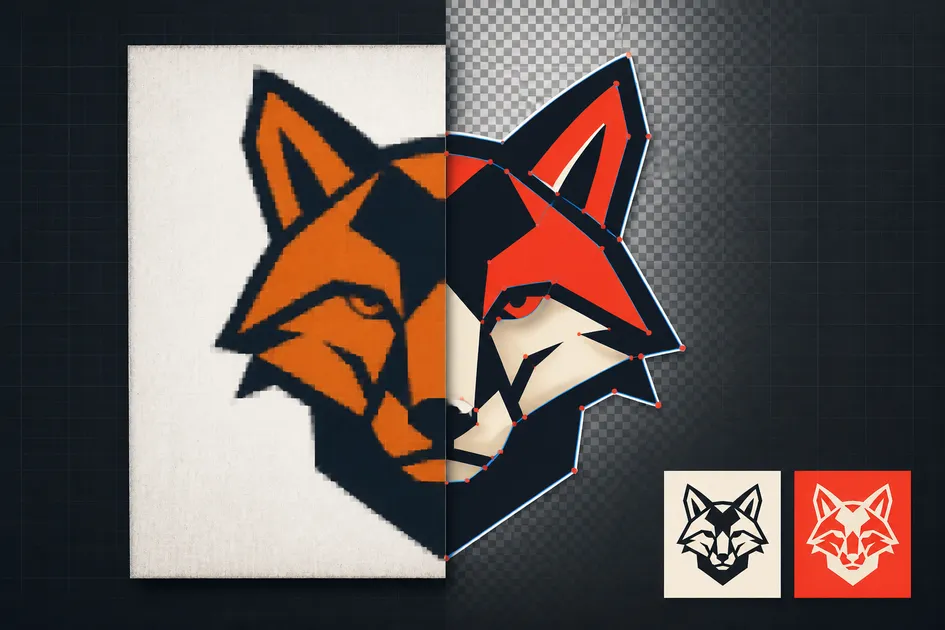
Vectorize is the right tool when a PNG or JPG should become a scalable, editable SVG. It is strongest for logos, icons, badges, sketches, line art, lettering, and flat illustrations with clear edges.
Do not vectorize every raster image automatically. Photos, soft gradients, painterly textures, and complex raster art can become heavy, awkward SVG files with too many shapes. If the trace creates more cleanup than value, start from a true vector asset instead.
After vectorizing, inspect the SVG in the next tool you plan to use. You should be able to select and edit paths or shapes. Check whether holes stayed open, curves look smooth, colors are grouped sensibly, and the background is transparent or intentional.
Use SVG Recolor When the File Is Already Editable
SVG Recolor is for artwork that is already in a vector-friendly format. Instead of rebuilding the file, you can apply a new palette, test a seasonal color direction, or adapt a graphic for a different product line.
This is useful for coordinated shop graphics, holiday variations, brand color tests, and quick niche experiments. Still, recoloring is not just decoration. Check contrast, readability, and product fit after every palette change.
For example, a graphic that looks strong on a white mug may need different contrast on a black shirt. A pastel palette may work on a sticker but disappear on a small marketplace thumbnail. Preview the recolored SVG where the customer will actually see it.
Use Version History Like a Safety Net
Version history helps because image processing is rarely perfectly linear. Sometimes the first result is better than the third. Sometimes an aggressive setting sharpens one detail but damages another. Sometimes a transparent-background version works for one product color but not another.
Keeping processed versions gives you a comparison trail. You can return to an earlier result, compare the original against the output, and avoid losing a usable version while experimenting.
For client work, that matters even more. If a client asks why one file was chosen over another, you can refer back to visible results instead of relying on memory. For product work, version history helps you test without turning your folder into a pile of mystery exports.
Check Credits Before Batch Work
Studio credits are part of the workflow because image preparation often involves testing. You may run one version of a logo through vectorization, compare it, adjust the source, then run it again. You may upscale a product graphic before deciding whether it is strong enough for a larger print size.
Before running a credit-based action, ask a few quick questions:
- Is the source file worth processing? A clean logo, flat illustration, or decent product graphic is a better candidate than a tiny, compressed screenshot.
- What output do I actually need? Do not vectorize if a transparent PNG solves the job. Do not upscale if the artwork needs to be rebuilt.
- Will this result save time downstream? The best Studio action reduces cleanup in the next tool or platform.
- Can I verify success visually? Side-by-side preview helps, but still inspect the saved output where you plan to use it.
- Do I have enough credits for the batch? Check billing if you are processing several files in one session.
The credit check is not glamorous, but it is useful when you are preparing a product drop, a client folder, or a set of seasonal graphics. It helps you spend processing runs on files that have a real chance of becoming usable.
A Simple Studio Workflow
Start with one file that has a clear problem. Pick the smallest useful workflow:
- Upload the source file.
- Remove the background if the artwork is trapped in a box or backdrop.
- Upscale if the file is too small for the target product or mockup.
- Vectorize if the source is clean enough to become editable SVG.
- Recolor if the SVG needs a new palette.
- Compare versions and inspect the final result.
- Save the version that gets closest to finished artwork.
For merch sellers, this creates a practical preparation path before a product upload. For designers and freelancers, it reduces tool-switching. For small brands and print shops, it gives recurring file prep a clearer home.
Designious Summary
Designious helps creators move from rough source artwork to usable commercial designs without stitching together a long chain of unrelated tools. Studio gives you practical preparation tools for background removal, upscaling, vectorization, SVG recoloring, version comparison, and credit tracking. Start with one file, choose the tool that solves the visible problem, preview the result, and save the version that gets you closest to finished merch, print, ecommerce, or client artwork.
Sources
- New tools in Designious Studio, Designious changelog.
- Credits for Studio, Designious changelog.
- Designious Studio.
- Designious Vectorize.
- Designious Upscale.