No products in the cart.
Graphic Design, Tutorials
EZ Tip: How to create custom decorative brushes in Adobe Illustrator
Adobe Illustrator is one of the best tools you’ll ever use to create vector art. One of the features that helps you immensely in that task is the ability to create your own, custom brushes to speed up your creative process. Today we’re looking at three ways you can create these brushes.
Tools: Adobe Illustrator
Resources: Flower from the Vintage Flowers Bundle
The Art Brush
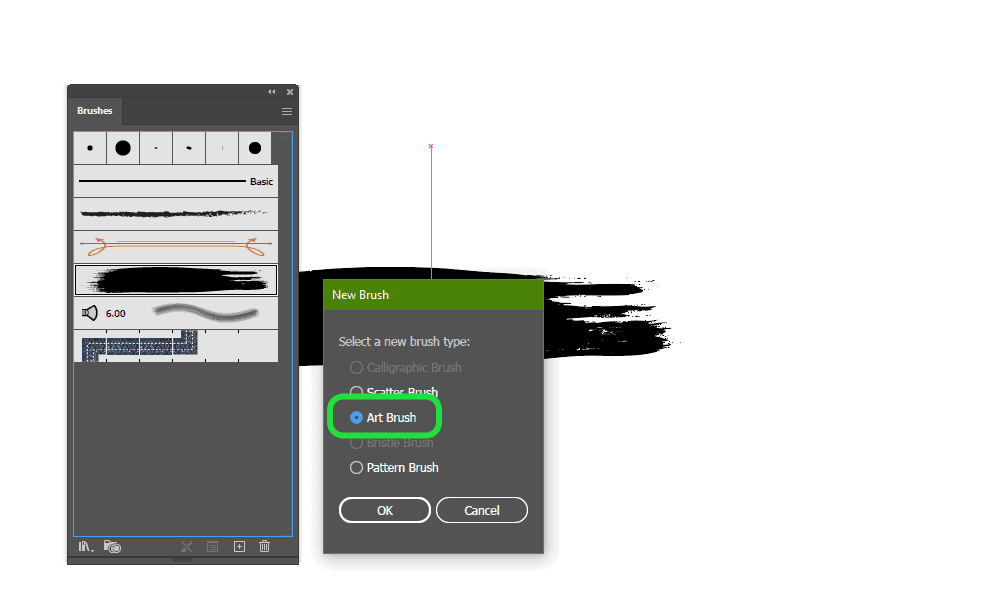
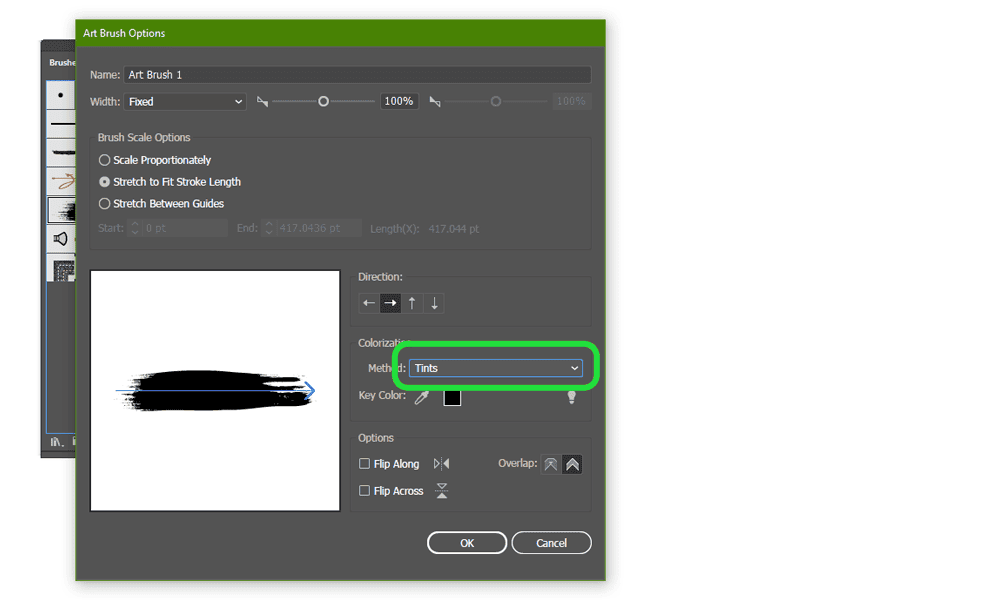
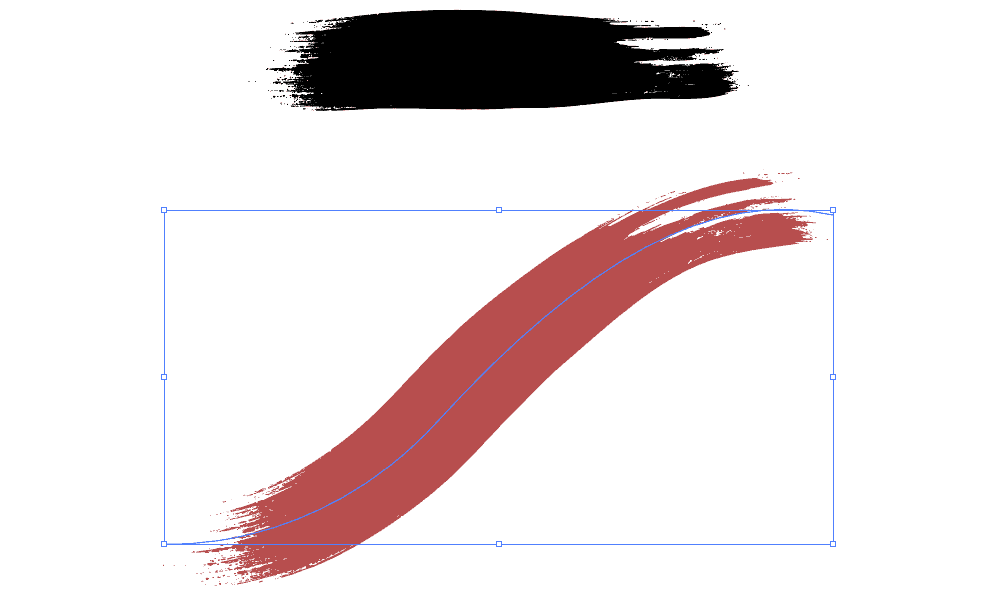
The art brush is the one artists are familiar with. It is generally used to draw and it requires a lot of practice, because its simplicity needs a high degree of control and knowledge of classical art techniques. It is best used with a pressure-sensitive pen tablet, but you can use “pressure-less” custom brushes to create specific effects, such as real ink strokes.
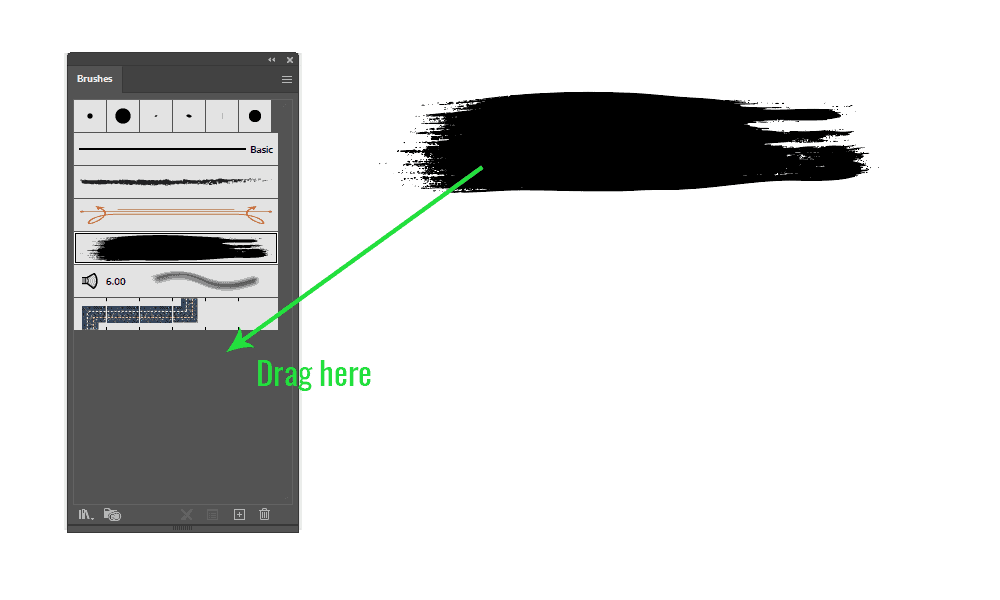
To create the brush, simply drag-drop your vector into the Brushes panel.
The Scatter Brush
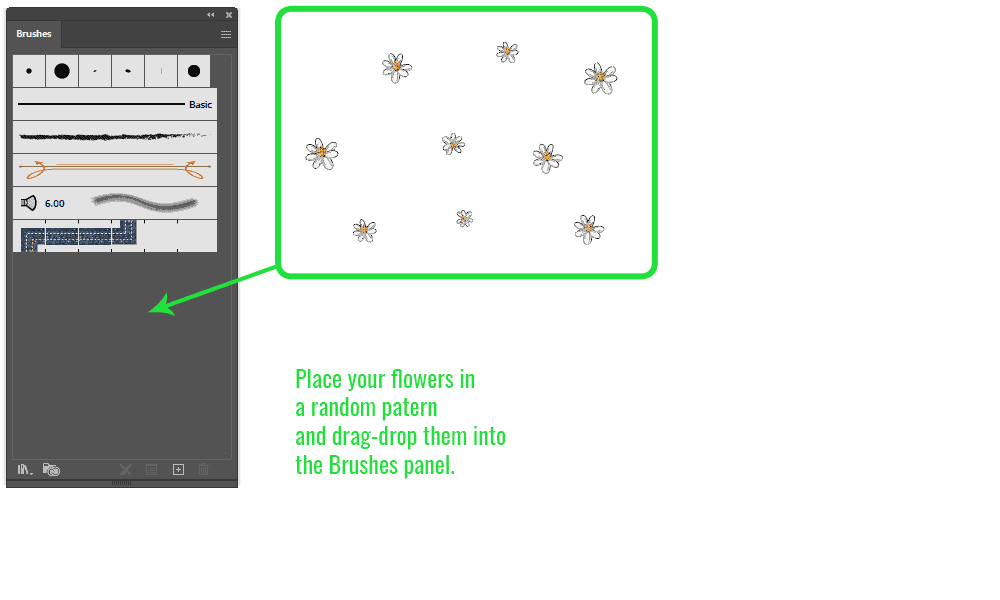
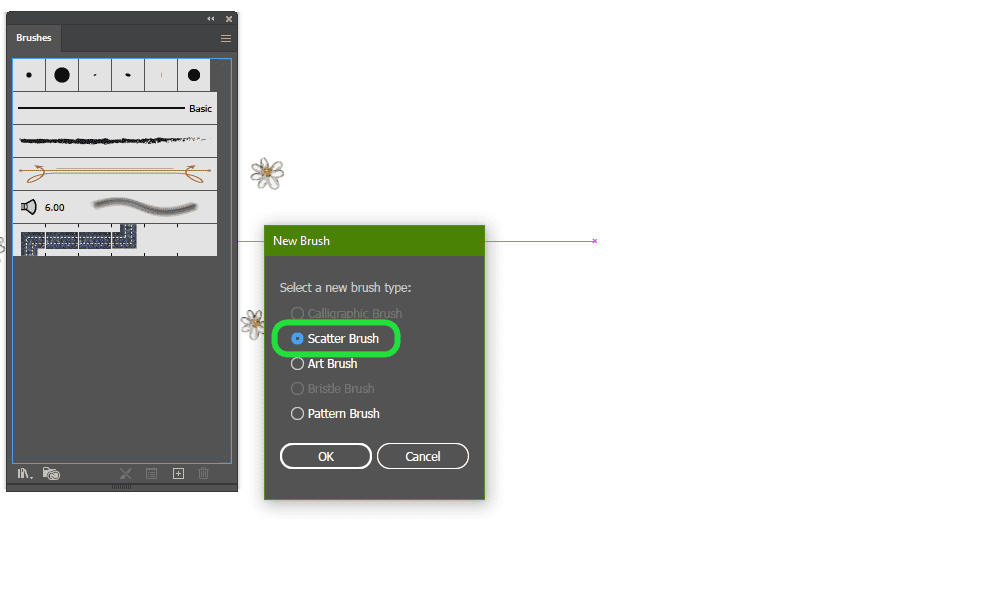
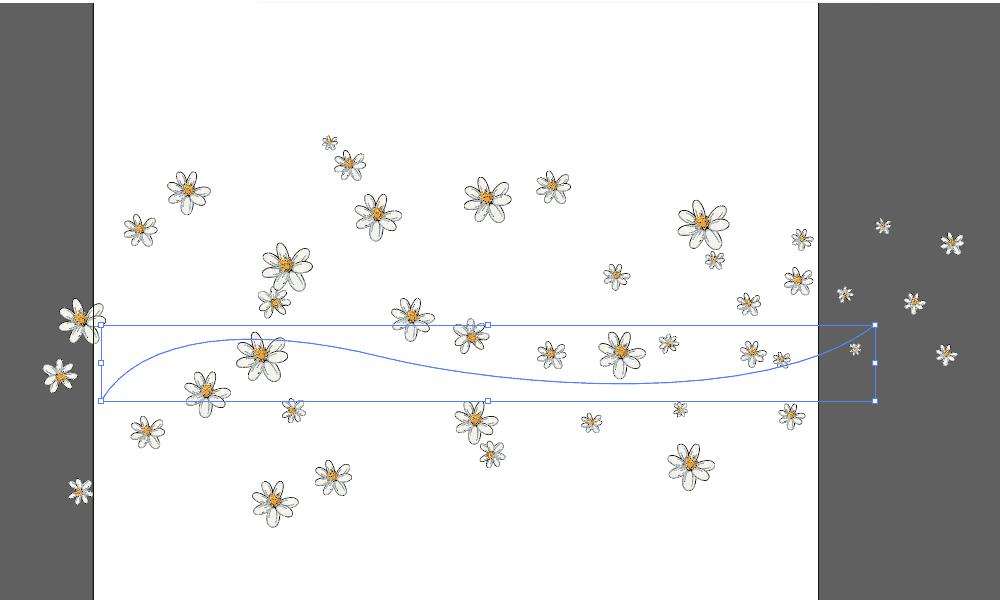
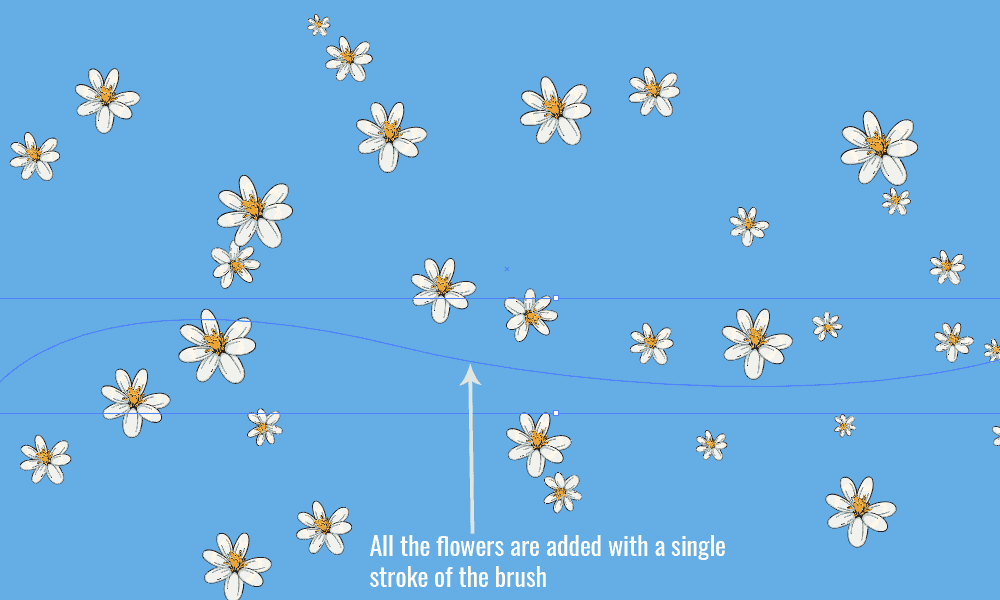
The Scatter Brush is great for finishing touches, to add scattered small particles that would take a lot of time to do one by one. To create your own, first put together some small flowers in an area, in a random pattern, then drag-drop the objects onto the Brushes panel (F7) and check the Scatter Brush radio button.
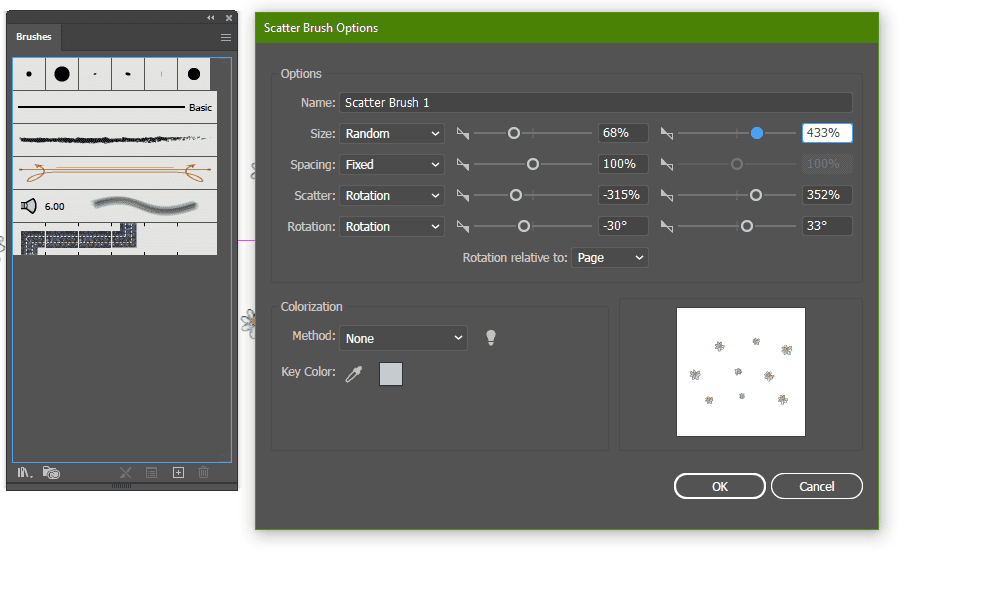
To further customize it, add randomness to the next panel with Pen Pressure, Pen Tilt or fully Random, to get different results every time you use the brush.
The Pattern Brush
This brush, like its name suggests, is used to create repeat patterns in a line. To create this brush successfully, the content of it must be able to repeat seamlessly. Let’s learn how.
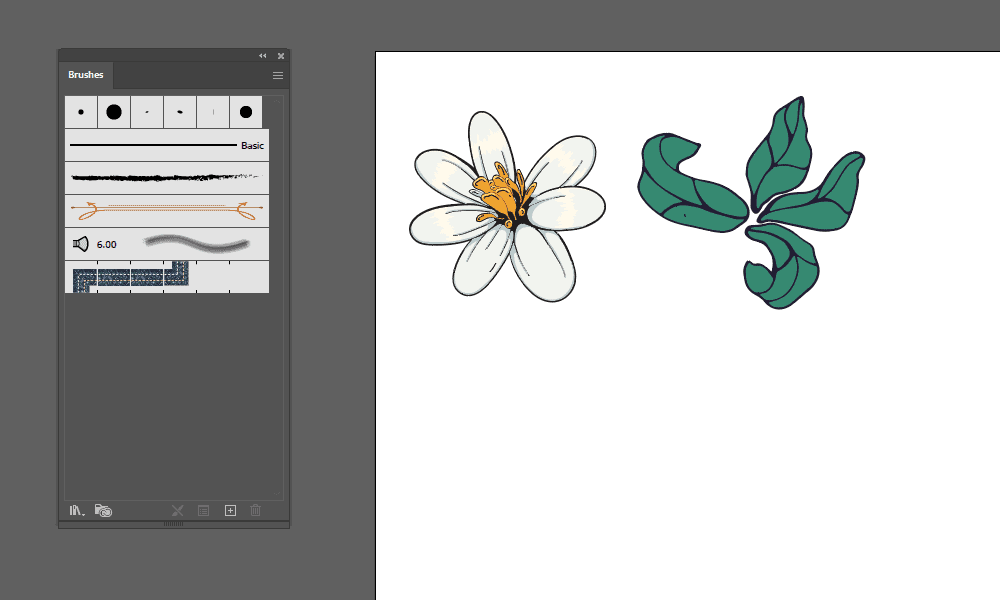
First, add in your flowers onto the canvas. Do not worry about size and colors yet.
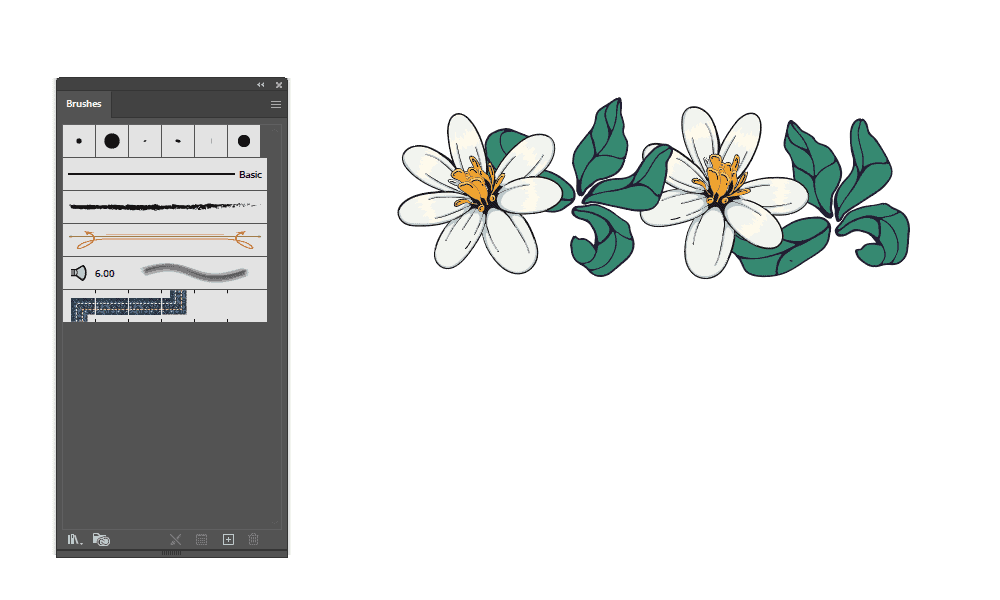
Next, place the flowers and the leaves in a line.
Adjust the spacing to look clean, then add filler decorations.
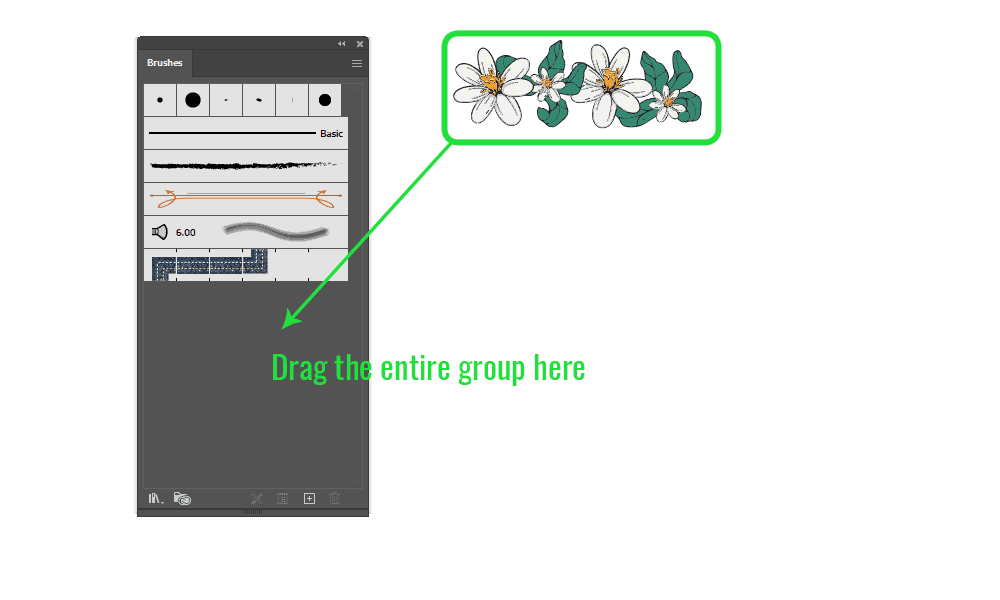
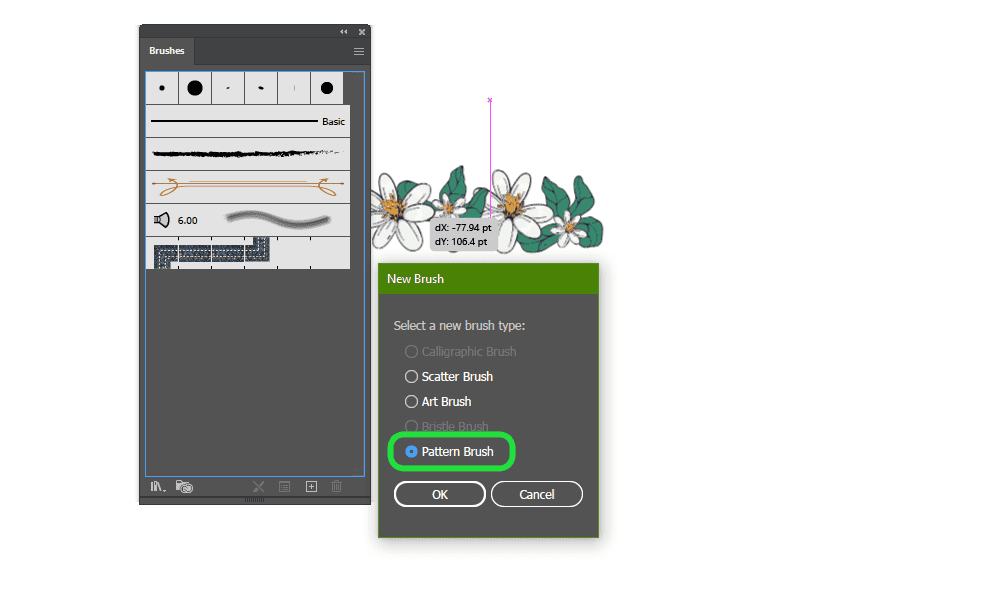
Scale down the entire group to fit the size of the canvas’ border and drag-drop the entire group to the Brushes panel. Set it to Pattern brush and press OK.
To test it out, create a new Path and apply the new brush to it. Try it on a straight line.
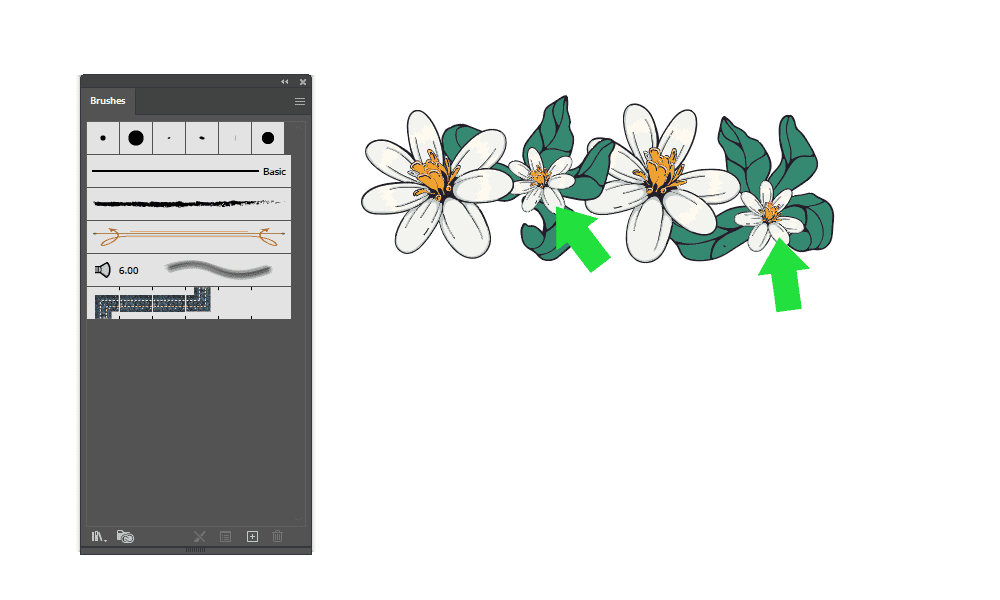
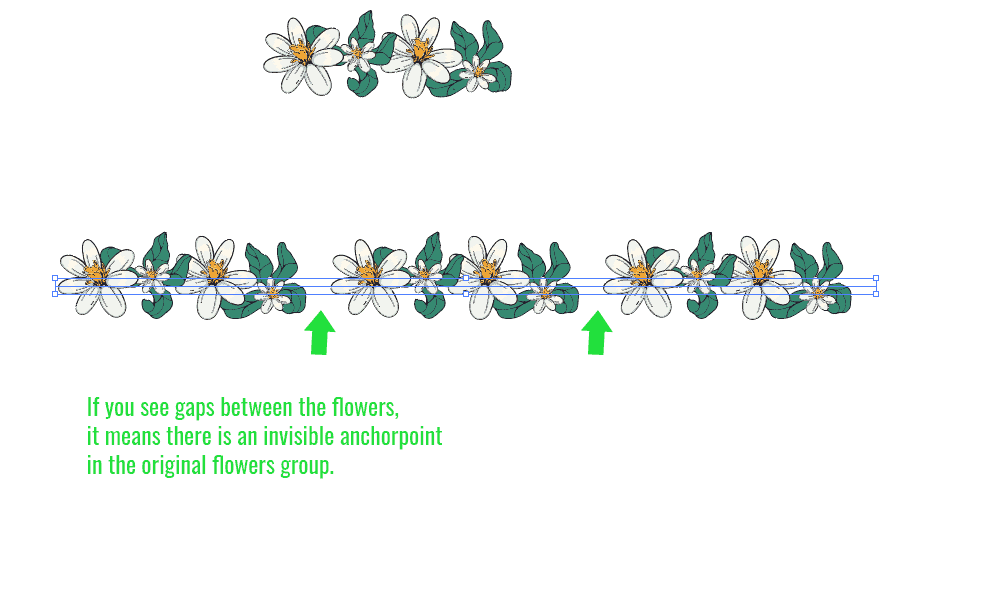
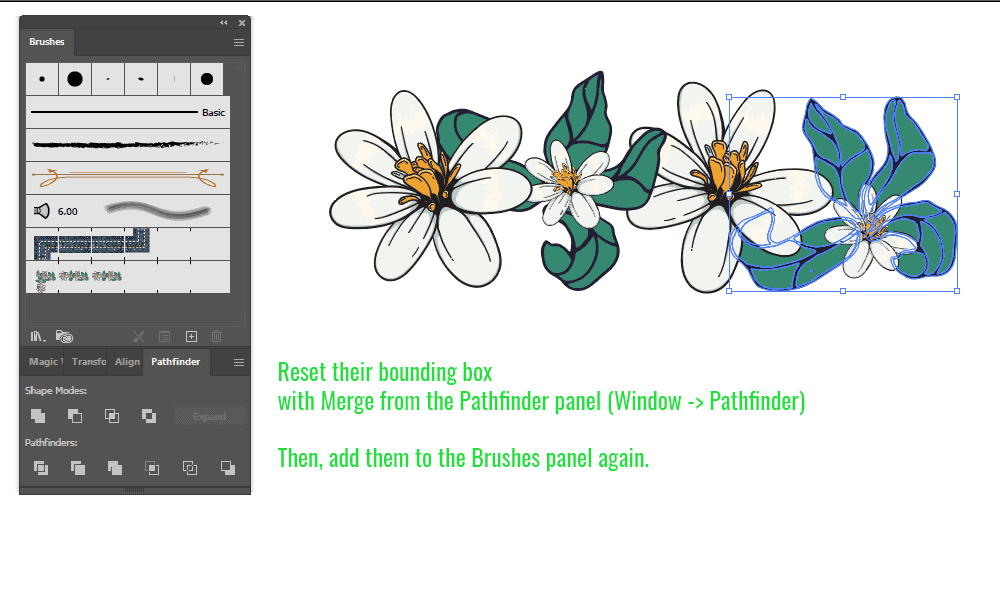
If you see any gaps in the pattern brush, it’s because there is an invisible anchor-point or path in the flowers. Use the Merge button in pathfinder to clean them up, followed by Object -> Path -> Clean Up.
Add the flower group to the Brushes again and apply the new brush to the path.
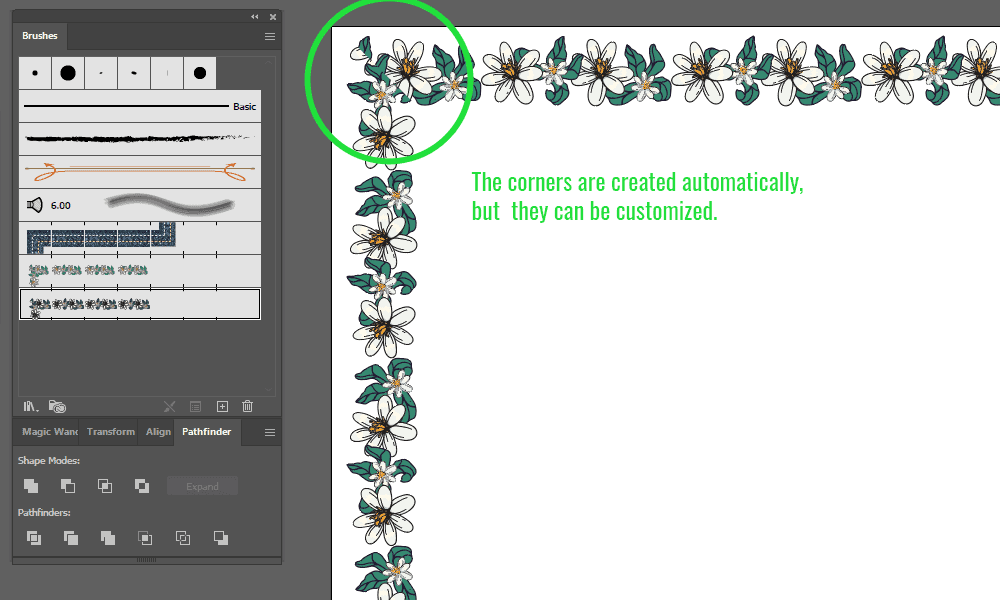
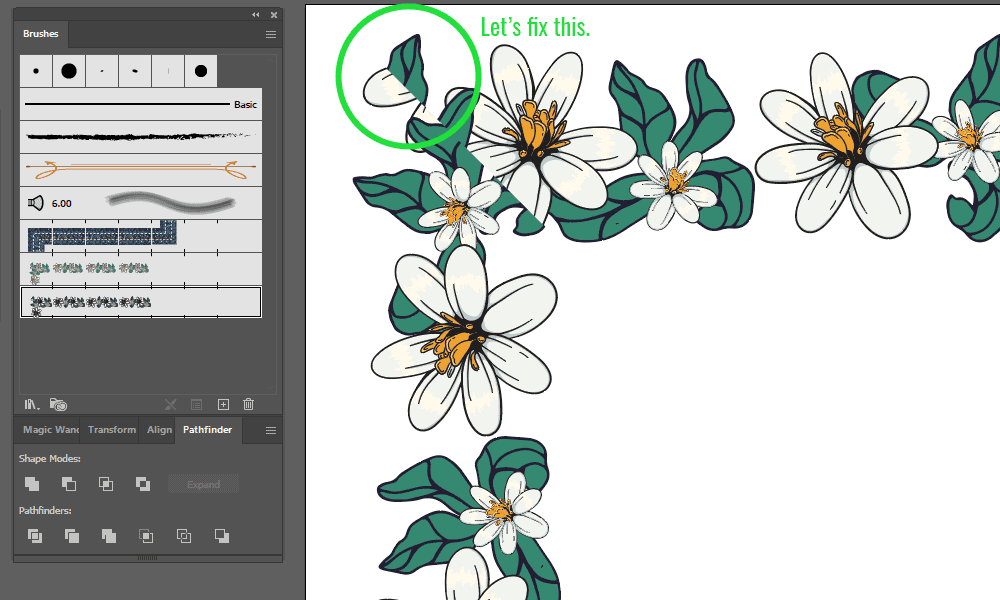
Make a large rectangle and test it out on your current canvas. Illustrator will try to automatically create the corners and it will likely create unwanted clipping between flowers. Let’s fix that.
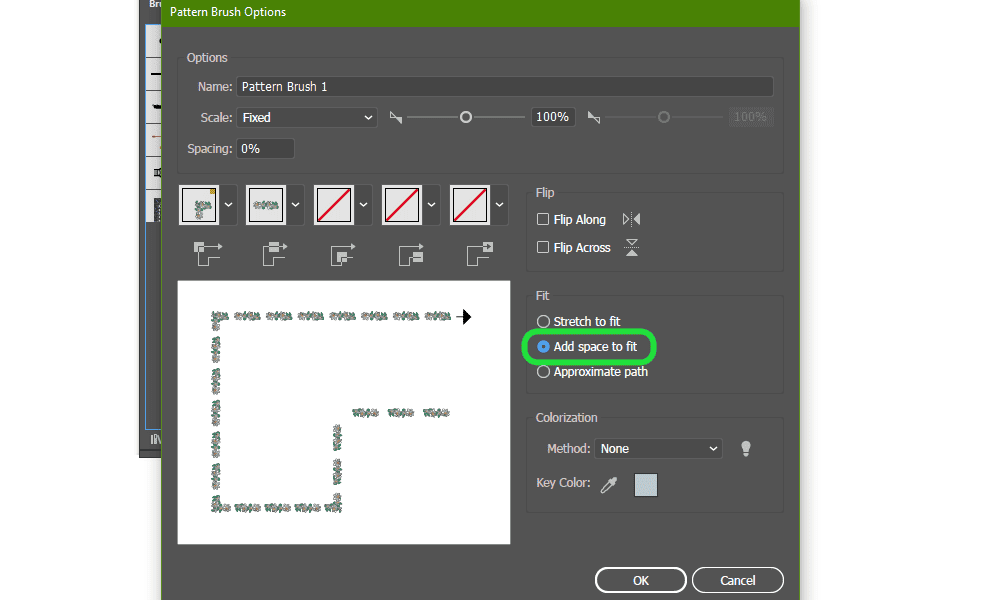
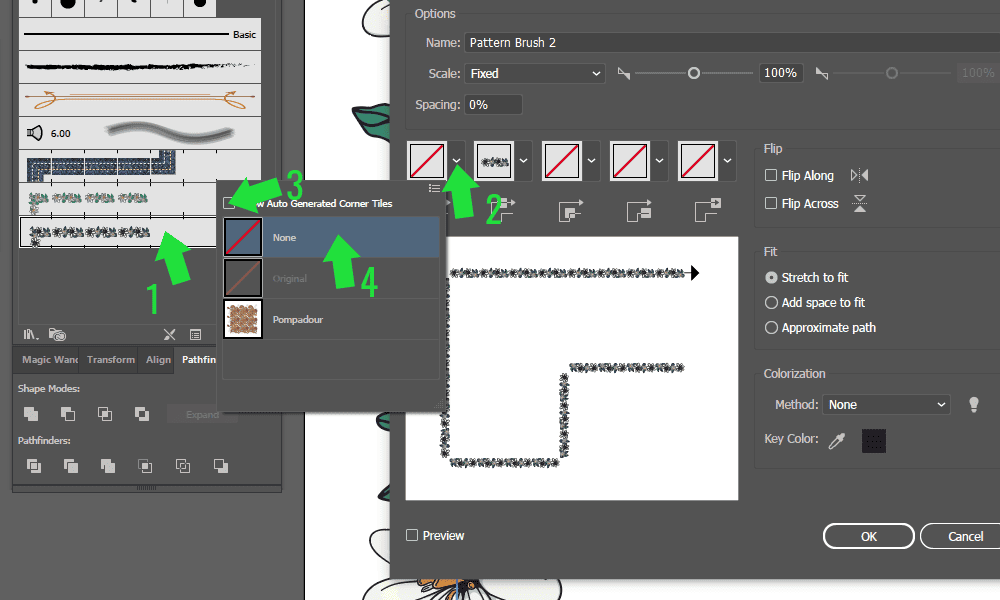
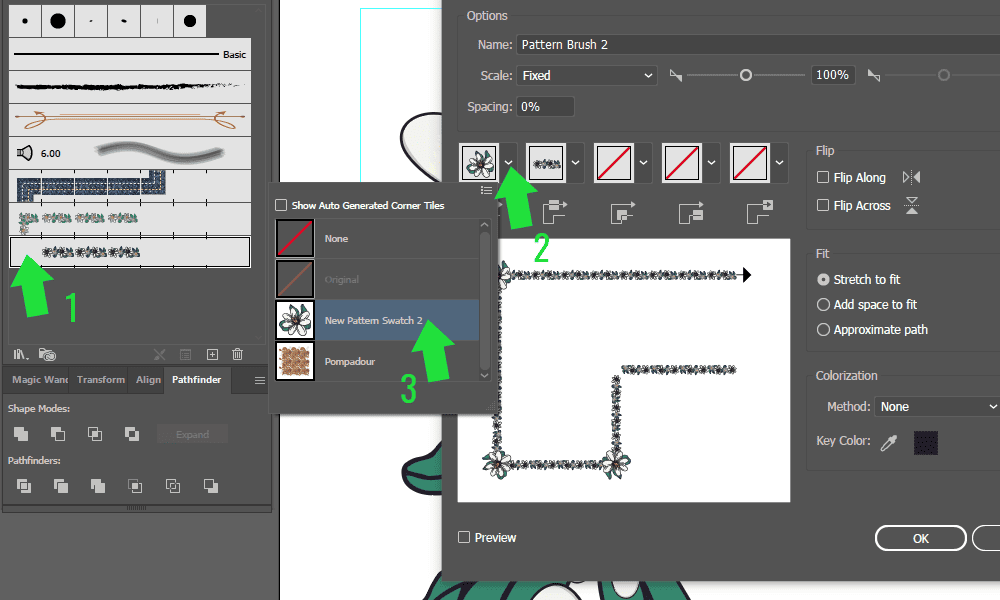
Double-click the brush to open its settings and remove the corner design.
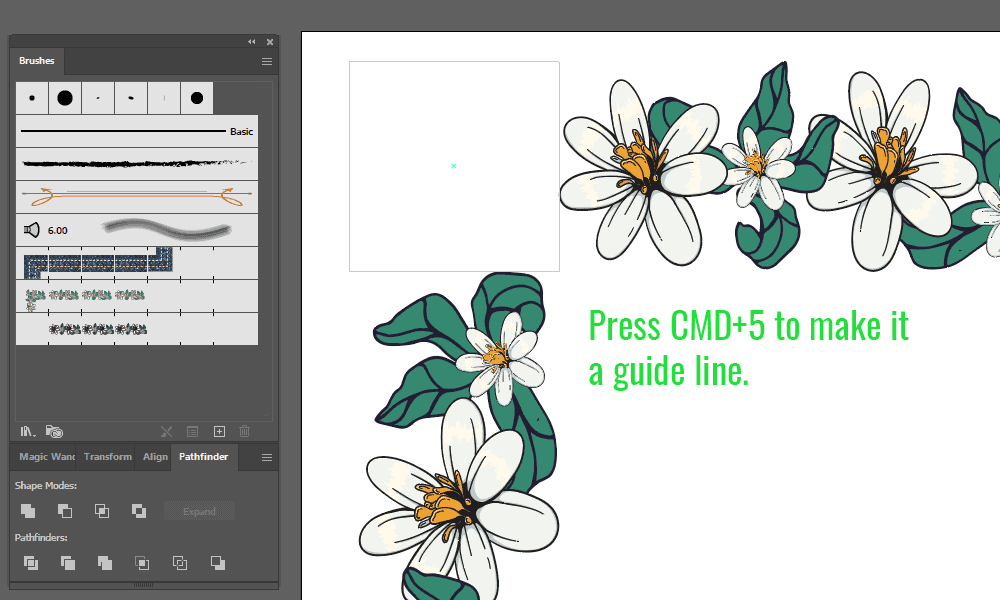
With the Rectangle Tool (M), create a rectangle and place it centered to the corner of the flower frame.
We will use this as a guide to build a custom design. Press CMD + 5 to make it a guide.
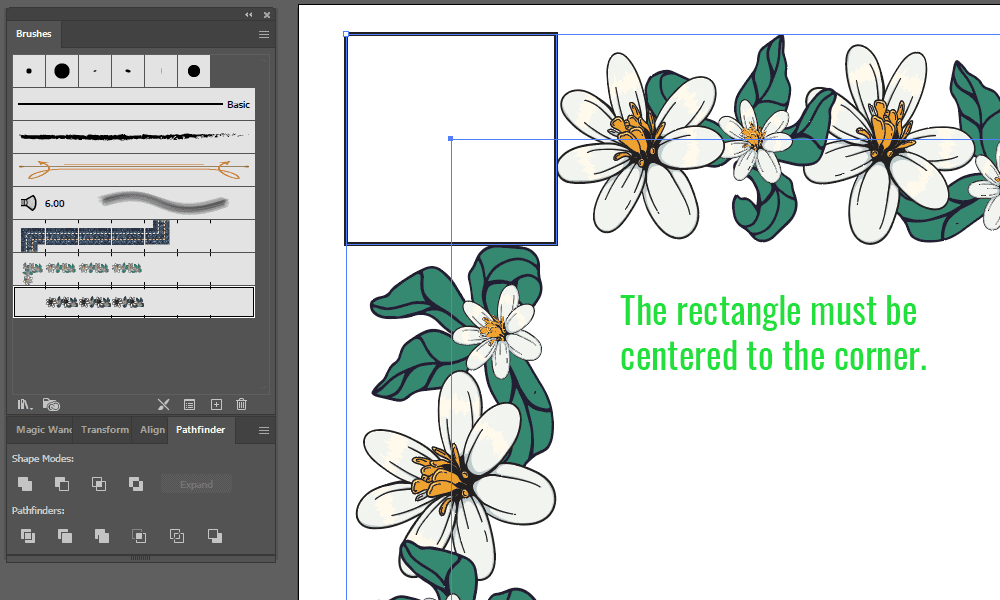
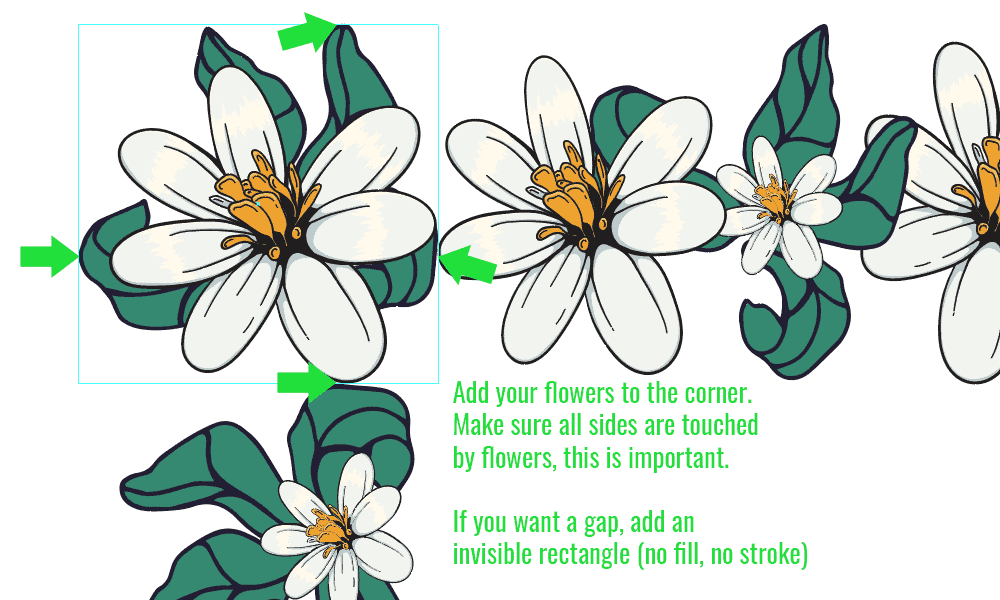
Add your flowers within this rectangle and make sure all sides of the rectangle are touched by a flower.
If you want to add gaps, create a new rectangle of the same size and remove Fill and Stroke to make it invisible.
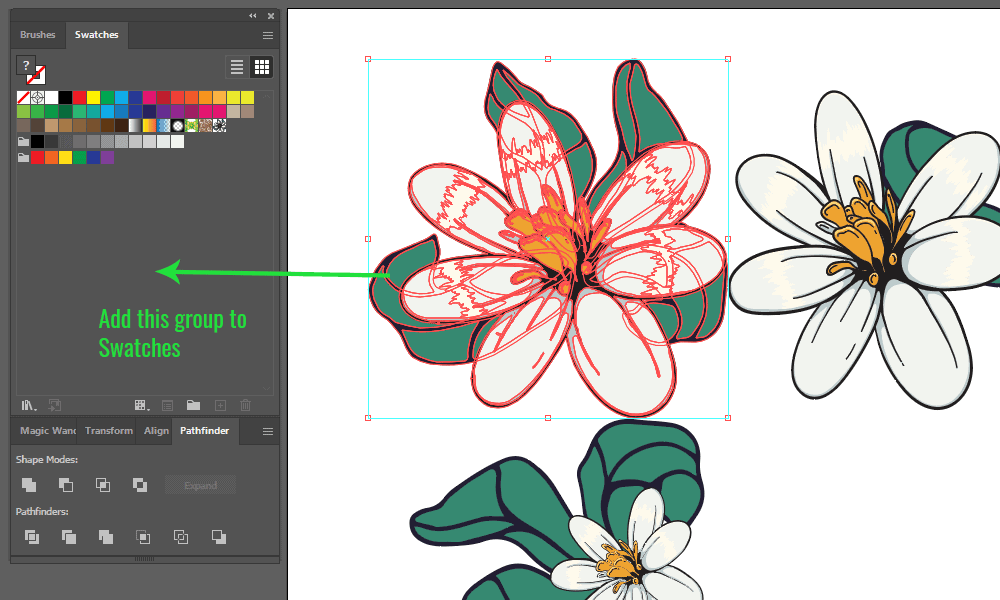
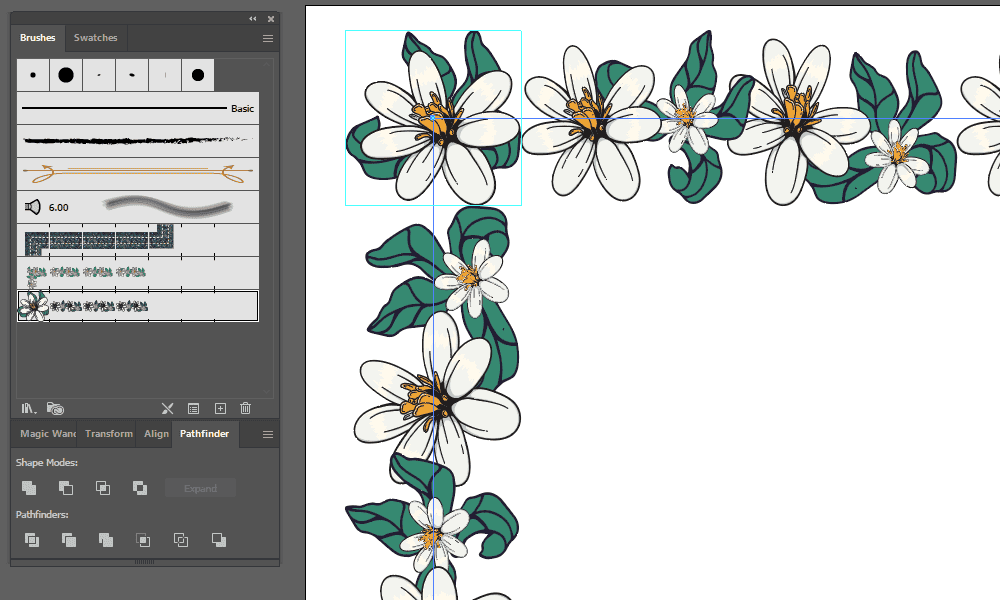
Add this new group to the Swatches panel (Window -> Swatches). Then, double-click the brush again and add the corner to the Brush. Press OK and Apply to Strokes.
Delete the corner group to reveal the corner.
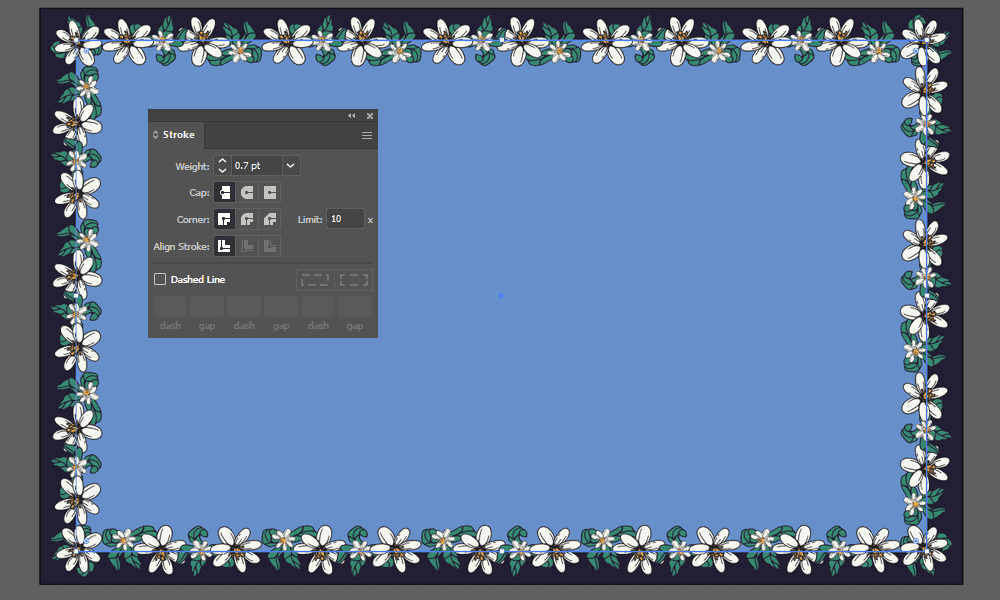
To use the pattern brush, control the Stroke size from the Stroke Panel (Window -> Stroke) to adjust it to your canvas size.


