No products in the cart.
Graphic Design, Tutorials
EZ Tip: How To Use The “Blendif” Feature In Photoshop
Photoshop offers an incredibly large variety of tools to quickly manipulate photos without too much hassle, and that is great. The skill floor is lower and it is easier now to get into Photoshop than it was back in the days of Creative Suite 3.
For example, the newer Content Aware tools allow you to quickly do object cutouts, as opposed to the old way of doing it, via Channels, when you had to heavily process one of the RGB channels to be able to do a proper selection before cutting the object out.
However, the older tools being more complex than the new ones, they also offer more control over what you want to do with it.
One such tool is the hidden Blendif feature.
It is extremely powerful, because it can do conditional blending: either from its own pixels or from the pixels below the current layer. Or both. Because this is a conditional blending, it is extremely versatile. It can seamlessly combine with other blending modes to get even more out of it.
How it works
If you are like me, then you have only brushed by it, because it doesn’t make much sense having those weird split sliders. It is not obvious how it works, so if you don’t stumble into someone who knows how to use it, years could pass and you’d still not know what it does.
The process is simple.
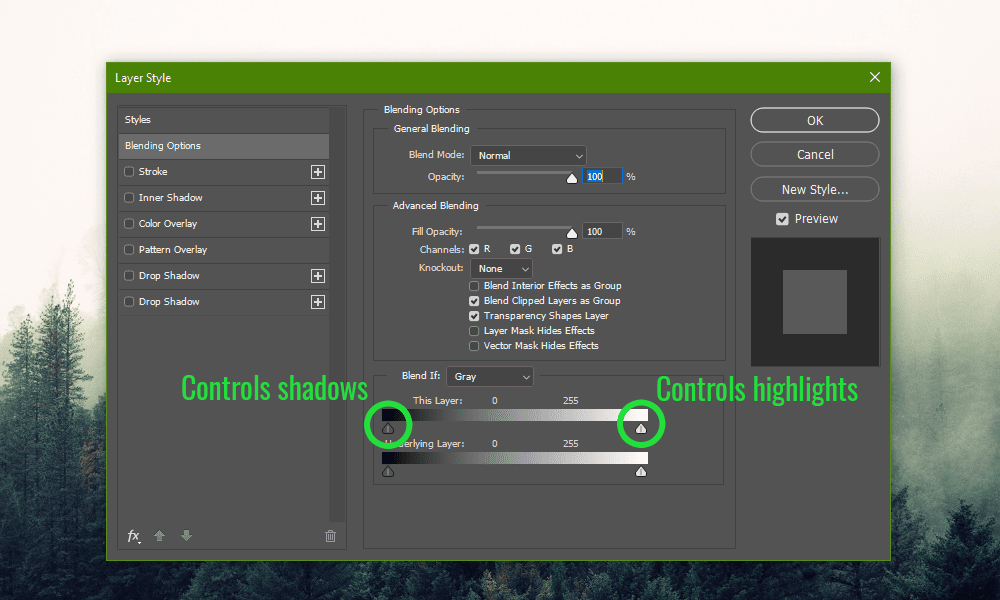
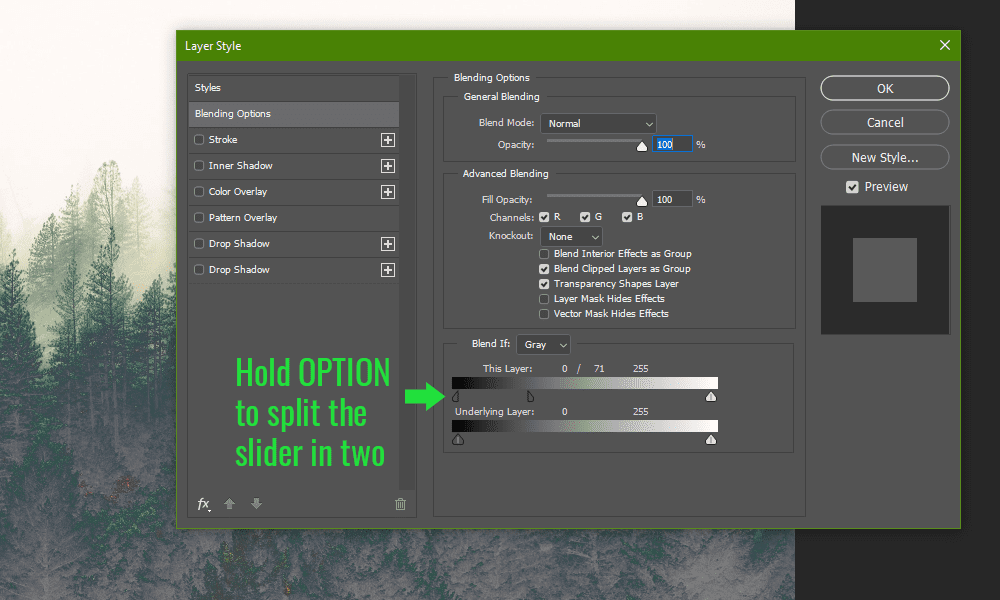
The left slider controls shadows and the right slider controls the highlights.
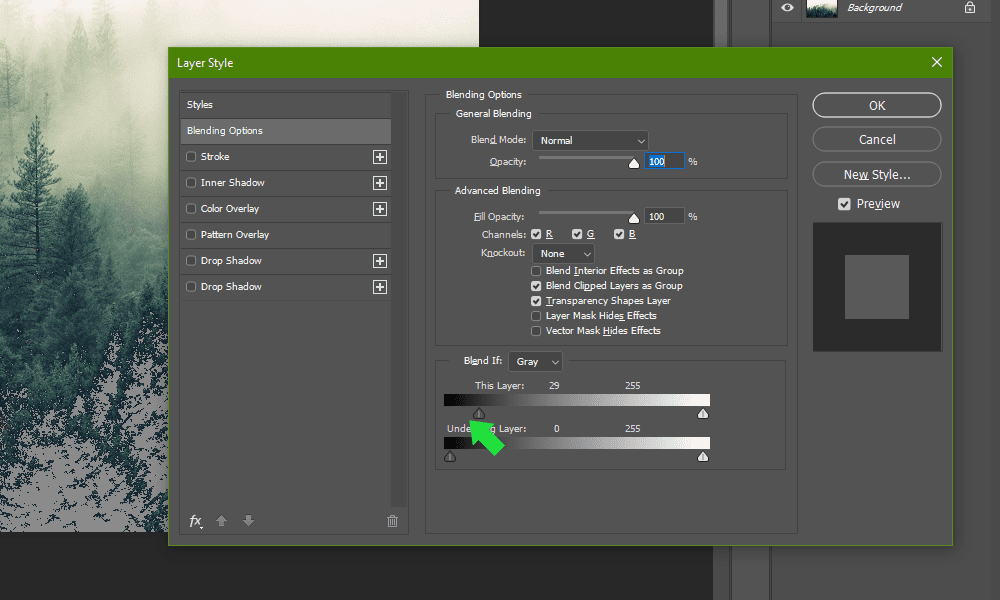
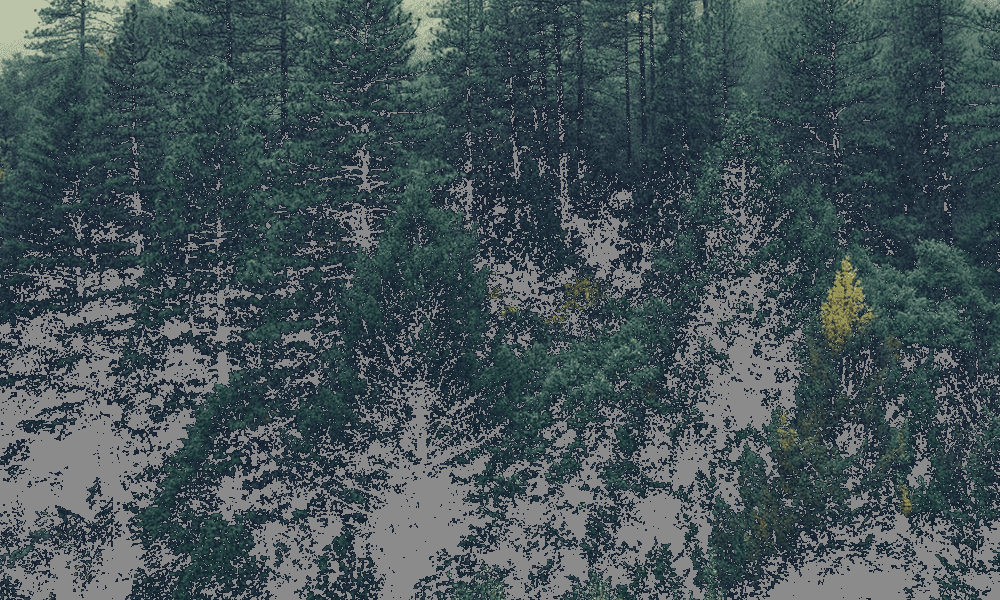
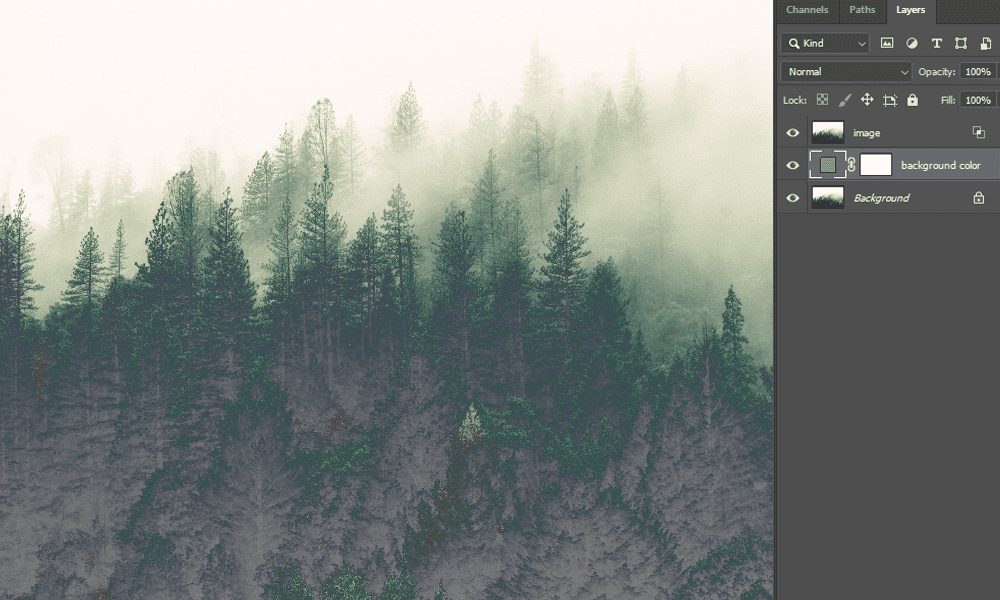
If you pull the Shadows slider, you’ll notice the dark areas in the photos start to disappear, but in a very pixelated way.
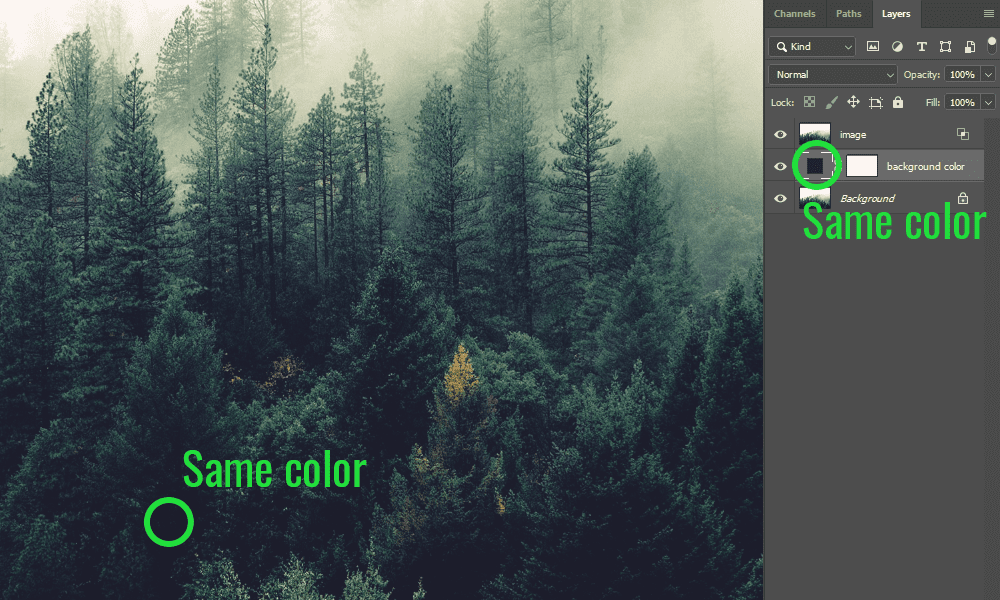
However, if you hold OPTION, you can split the slider and two and the fade-out of the dark areas will become smoother. In this case, I made a matte effect for the shadows by simply fading out the shadows and replacing them with a flat color of my own choosing.
How is this useful?
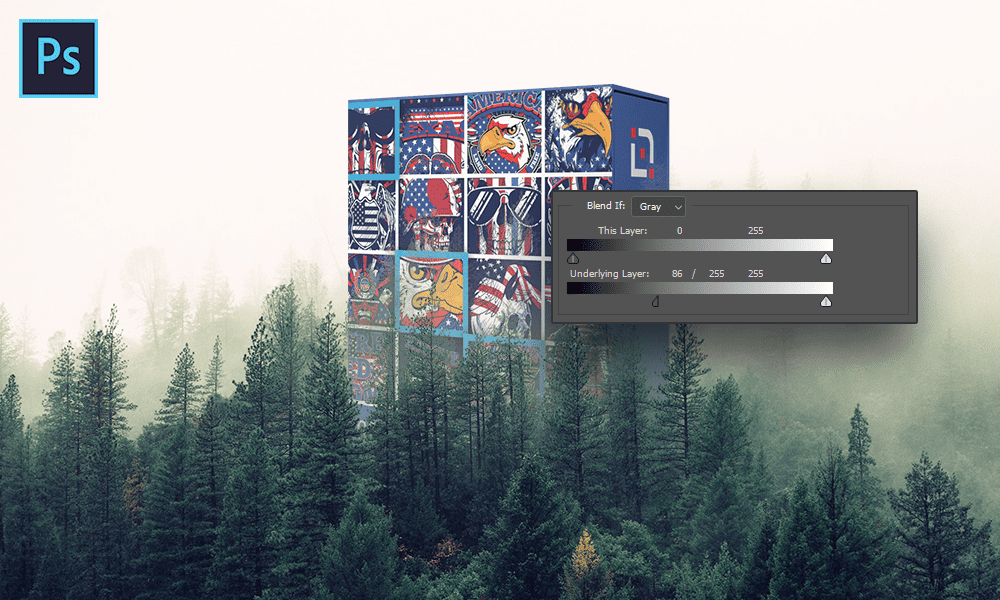
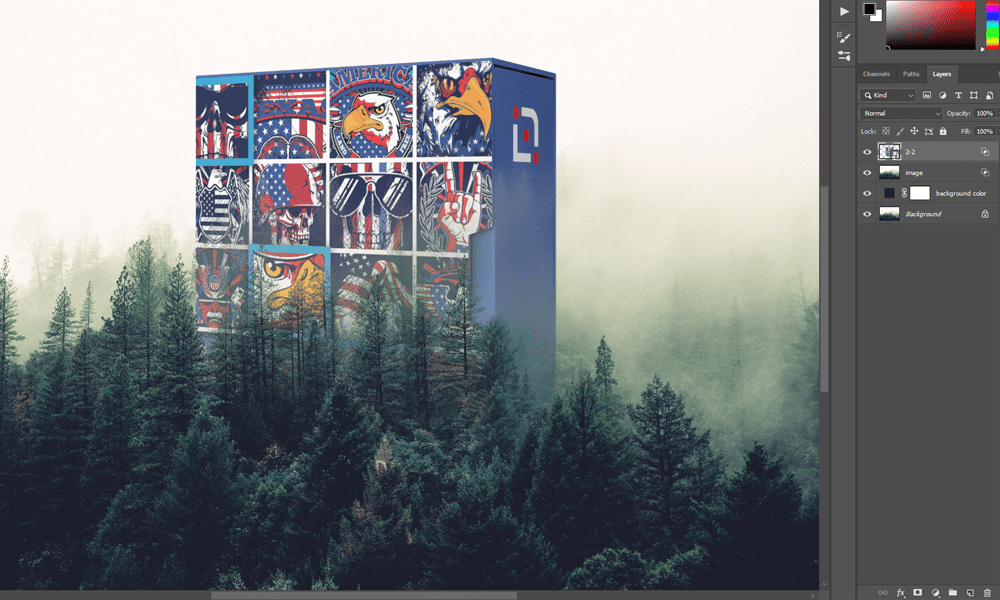
If you apply the same effect, but for the pixels from the image below, you will get some interesting results, like gradually fading another photo into the fog.
Normally, you would have to manually cut out the forest, place it on top of the box, add new fog with custom brushes and the result would look somewhat acceptable. The whole process would all take two hours, at least.
With Blendif however, the process takes 10 seconds.


