Graphic Design, Tutorials
EZ Tip: How to clean up transparency and stray points for printing with Adobe Photoshop
Whether you’re running a print-on-demand business or a local shop, you are facing a similar problem: the print files need to be cleaned up of transparency and blending effects. Printers don’t know how to interpret Opacity and you’ll end up with a messy final print, most of the time with unwanted results.
If you’re getting ready-made designs, then these steps are not necessary. But if you’ve made your own or you’ve customized designs from templates, then it might be worth going through this process to save yourself a headache and raw materials.
Let’s learn how.
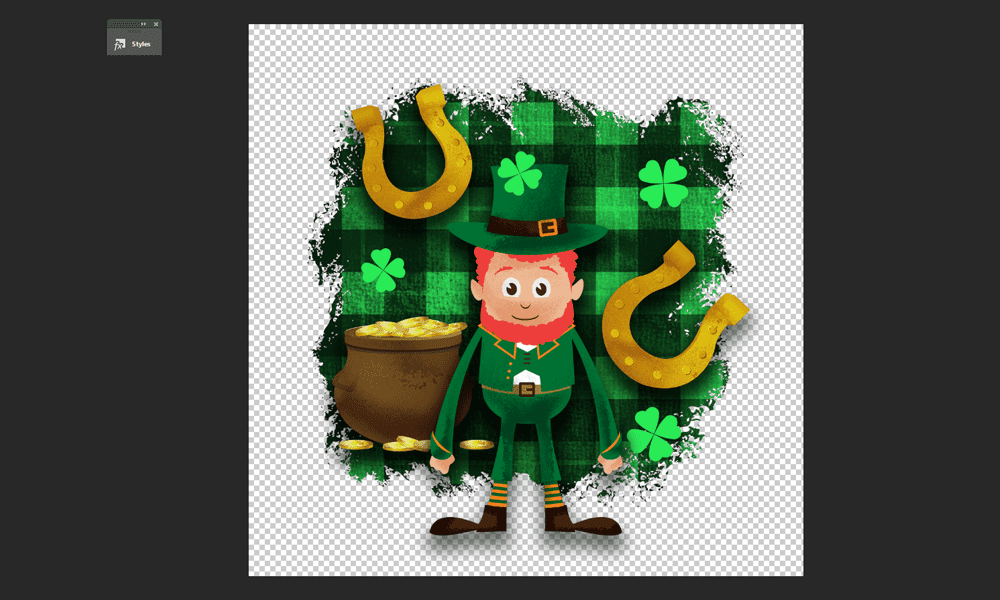
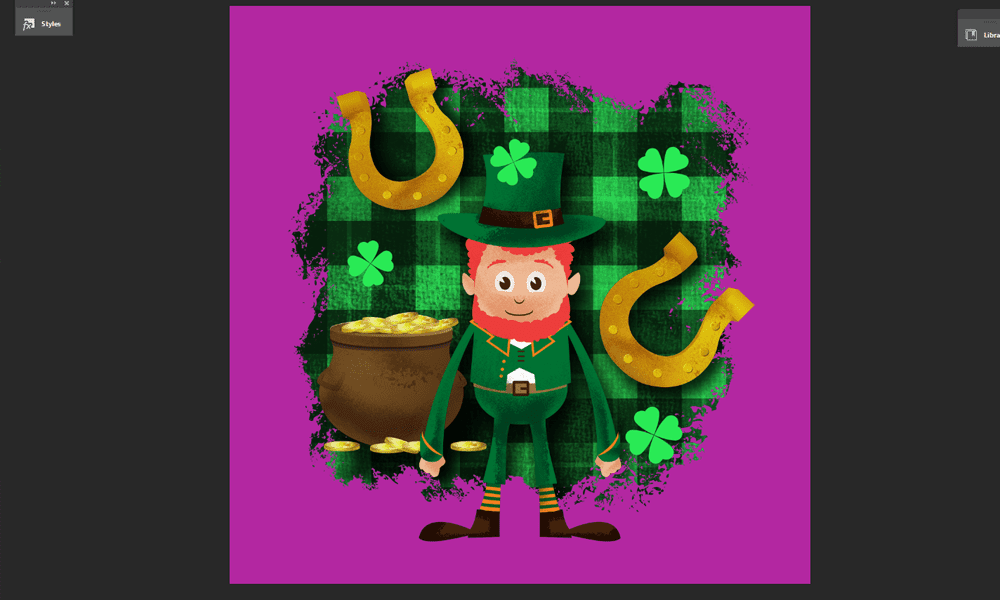
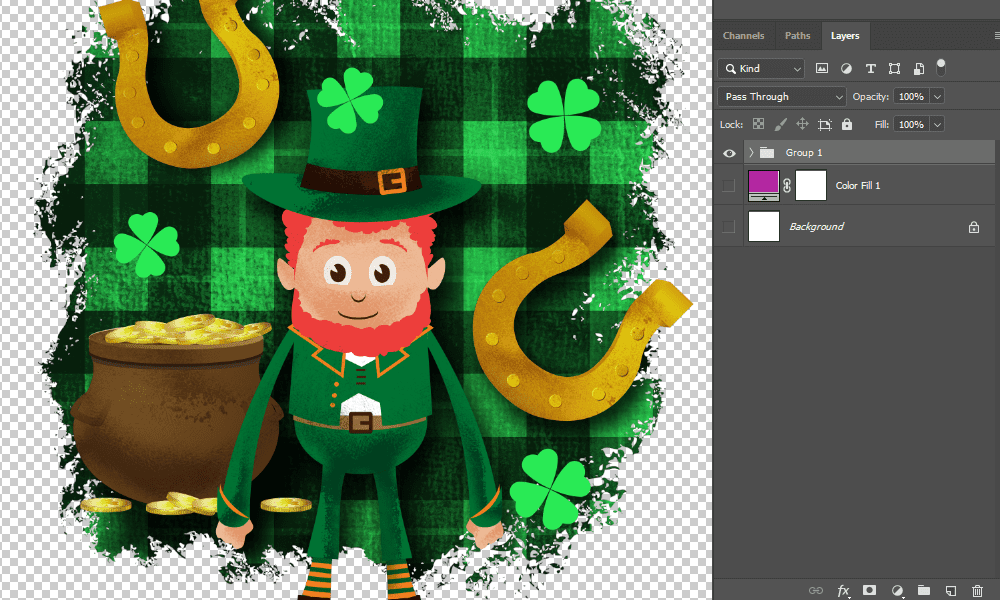
For this instance, we’ll use a base composition for St. Paddy’s, with some Drop Shadows and stray dots.
STEP 1
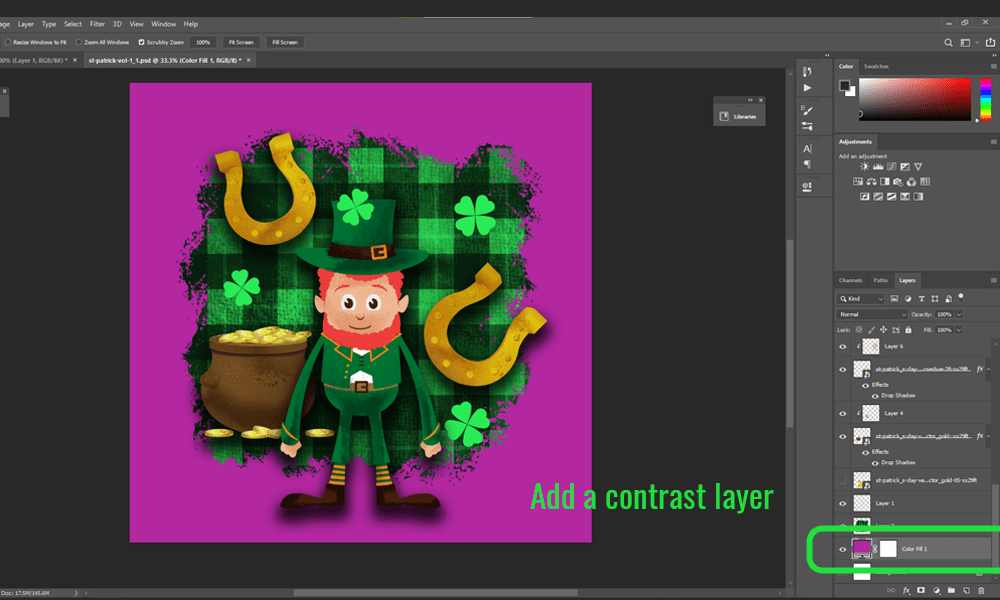
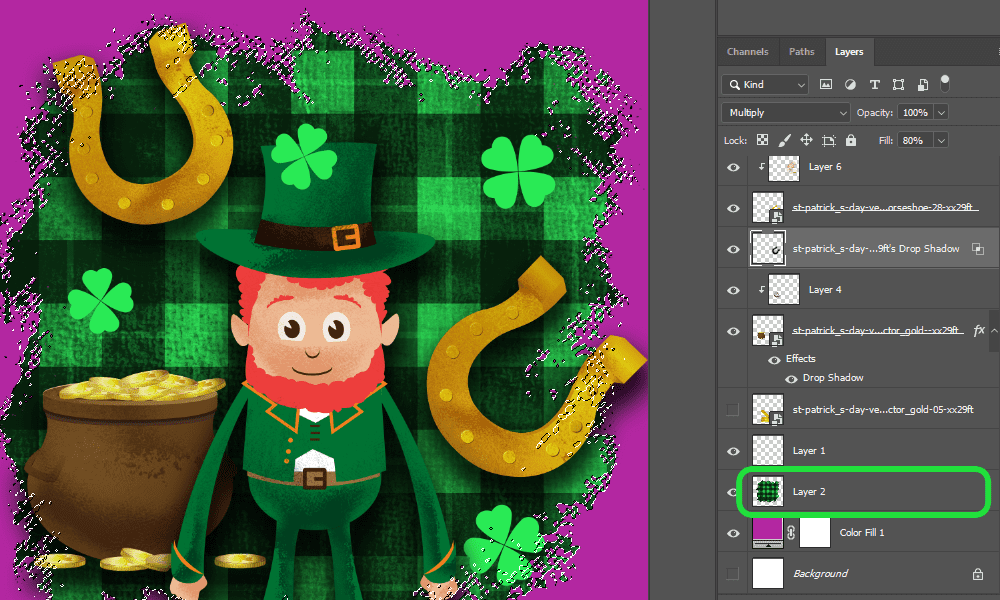
Add a contrast Fill layer under all the artwork. This can be any color, but make sure it’s not used in your art.
STEP 2
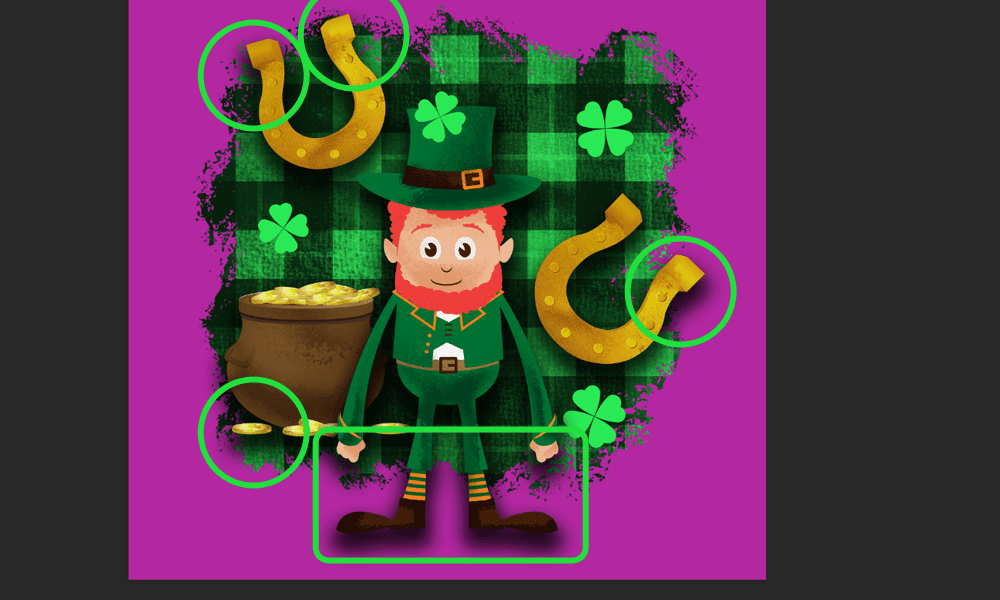
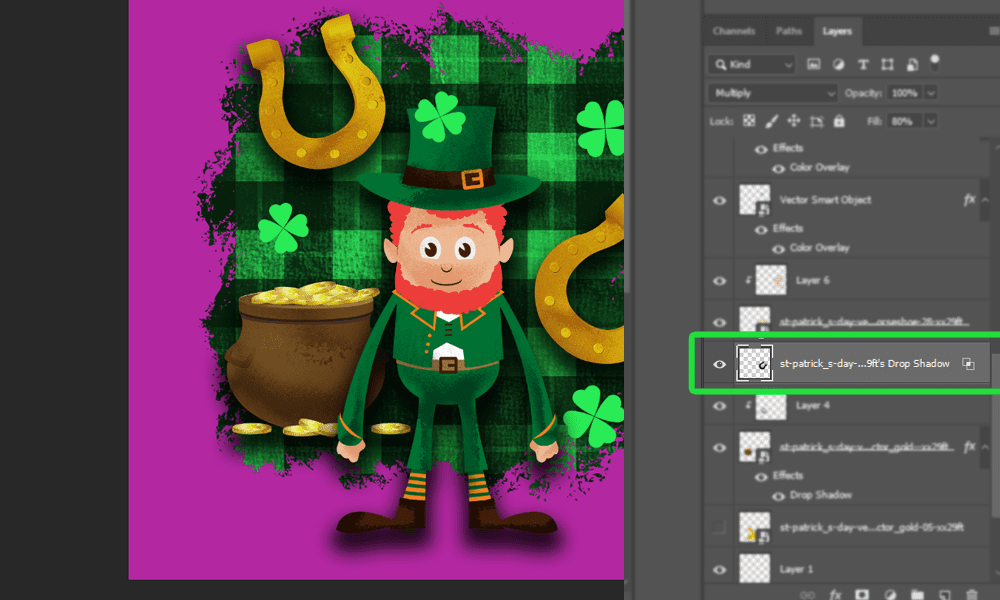
Look for color variations of purple, that’s an indicator there is an element that’s transparent.
STEP 3
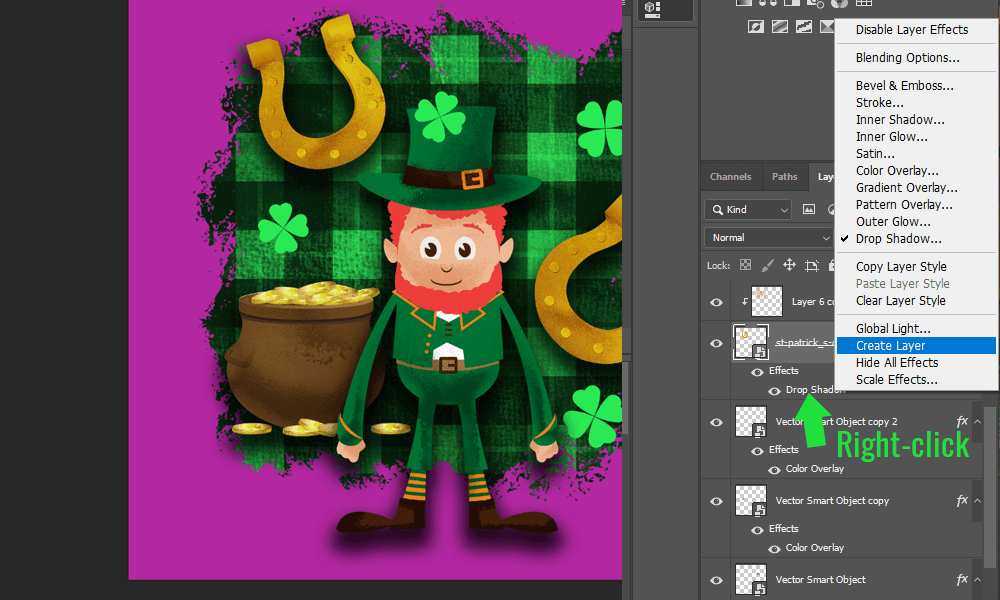
Go to the element that’s creating that effect and release it to layers. This will create a new layer under that layer. It will have a “Drop Shadow” appended to its name and an extra icon near the layer.
STEP 4
Find the layer that you are using as background and CMD + Click it to load a selection of its shape.
If you are using more layers, select all the background layers, drag them over the “New Layer” icon and press CMD + E (merge selected).
STEP 5
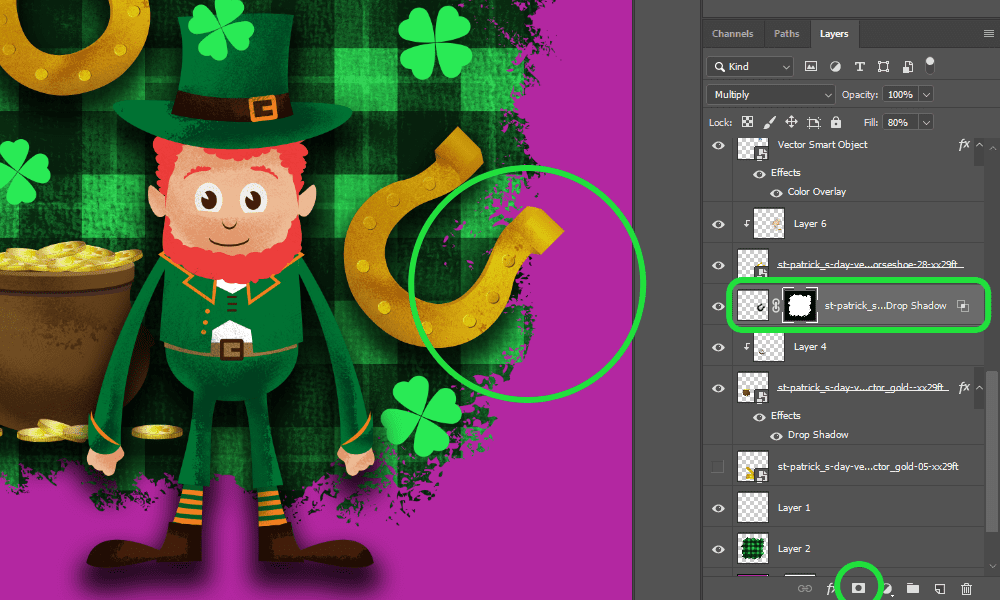
Select the previous “Drop Shadow” layer and add a mask to it.
Notice that now the Shadow effect applies only within the confines of the background.
STEP 6
Repeat the steps for the other Drop Shadow effects (or any other effects you have added)
STEP 7
Put all the work layers in a single group, then turn off the visibility of the magenta layer.
Select all layers, then press CMD + G.
STEP 8
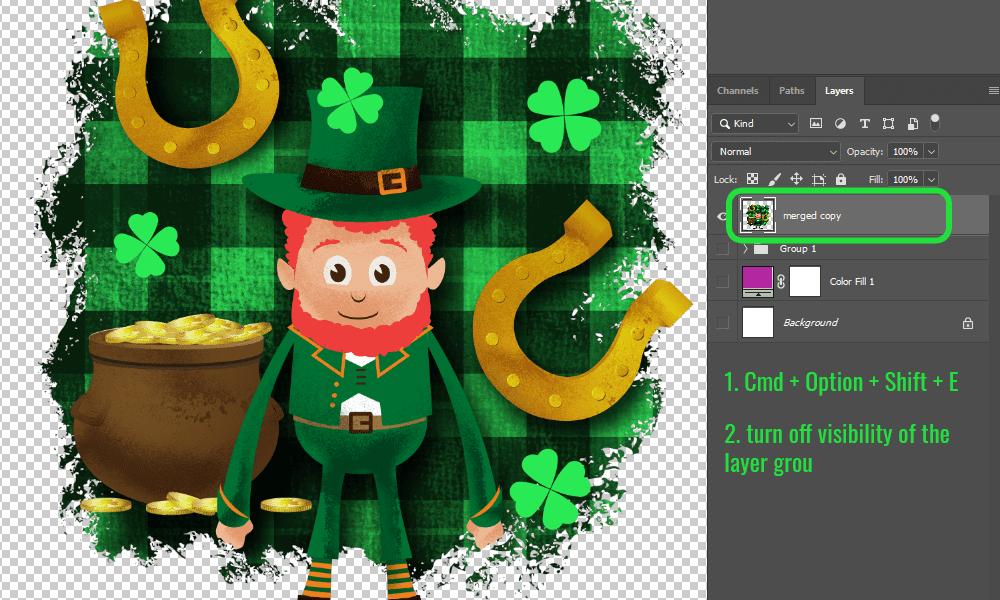
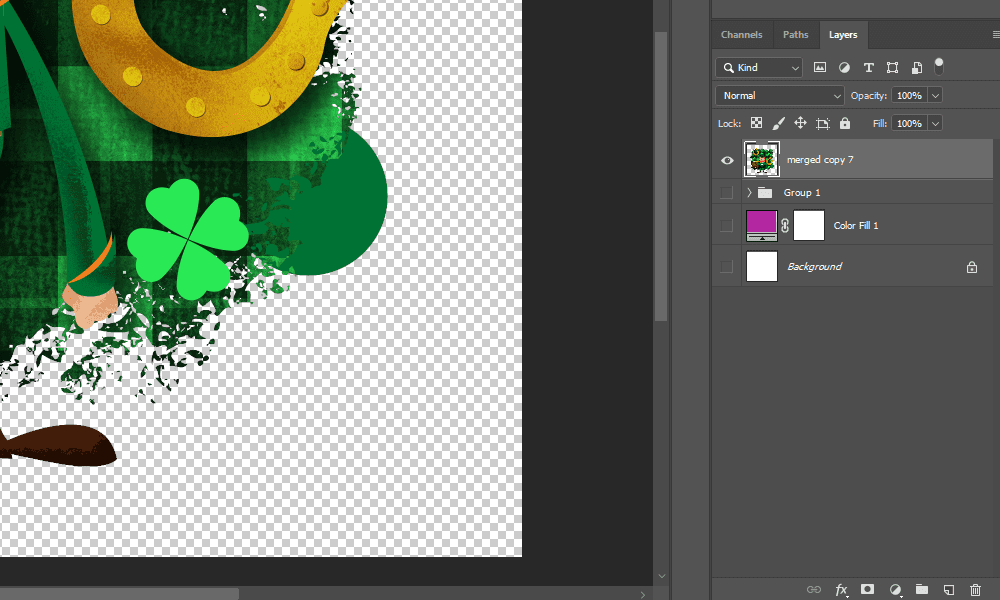
Press CMD + Option + Shift + E to create a merged copy of all the layers.
STEP 9
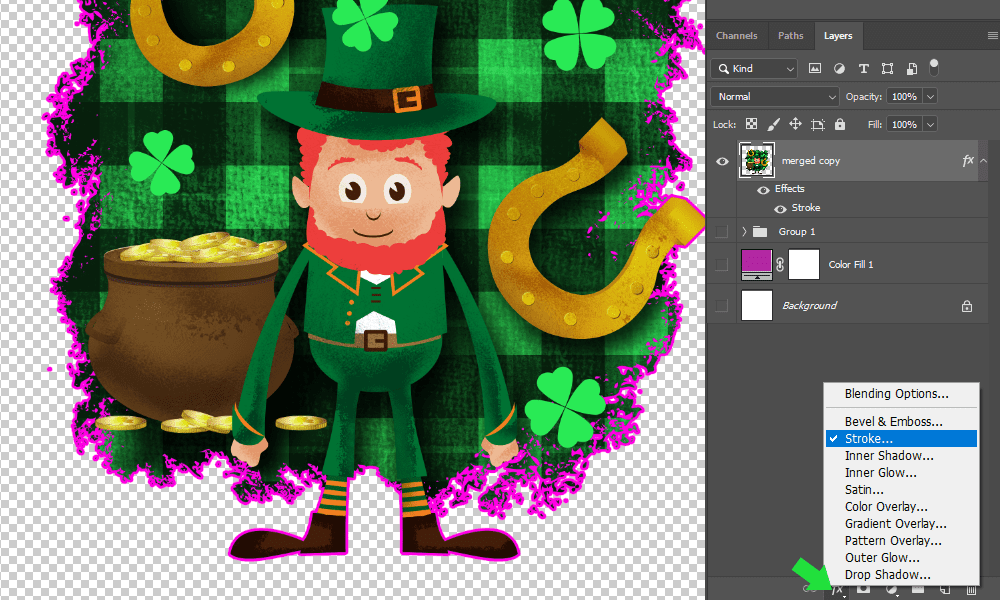
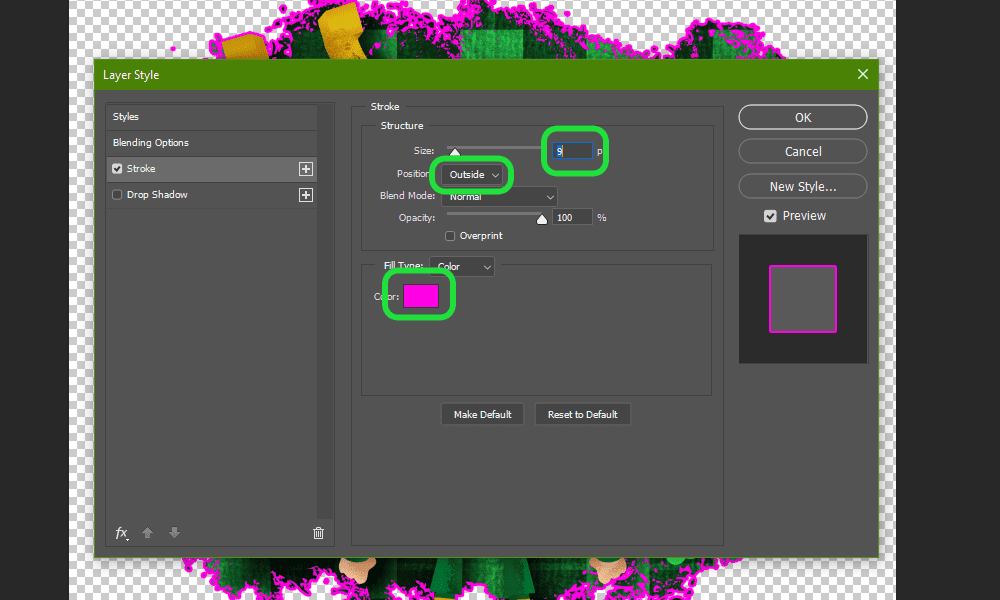
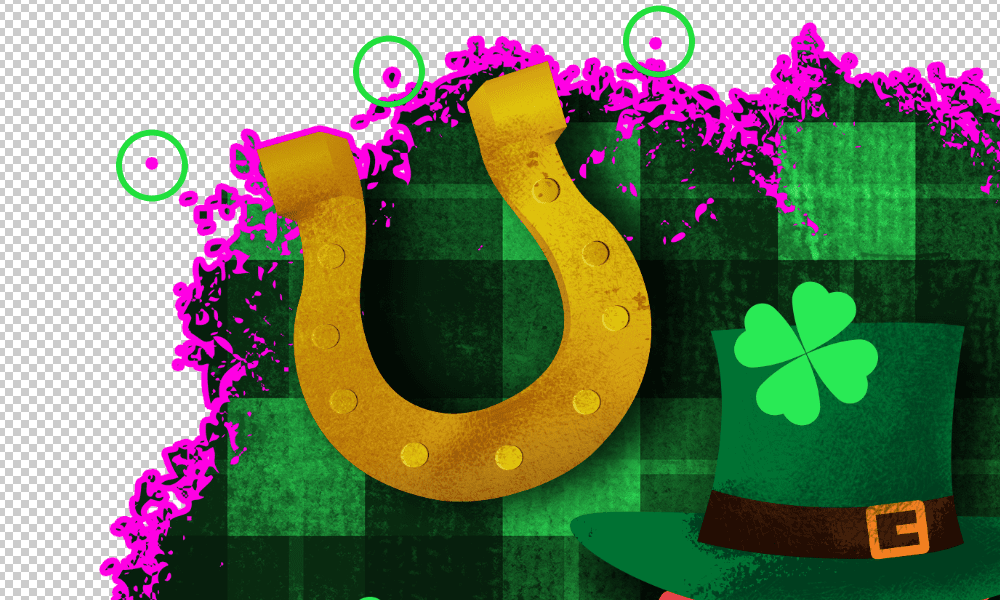
Add a magenta stroke to this new layer. This will highlight any unwanted, stray points.
STEP 10
Erase the unwanted areas with the Eraser Tool (E).
STEP 11
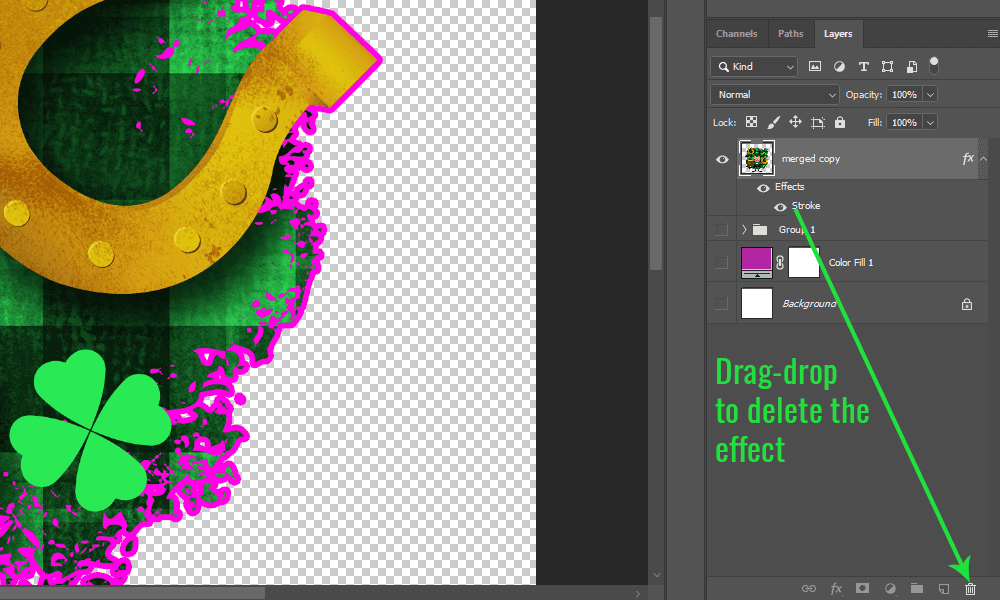
Remove the Stroke effect.
Drag-drop it onto the bin icon.
BONUS CASE
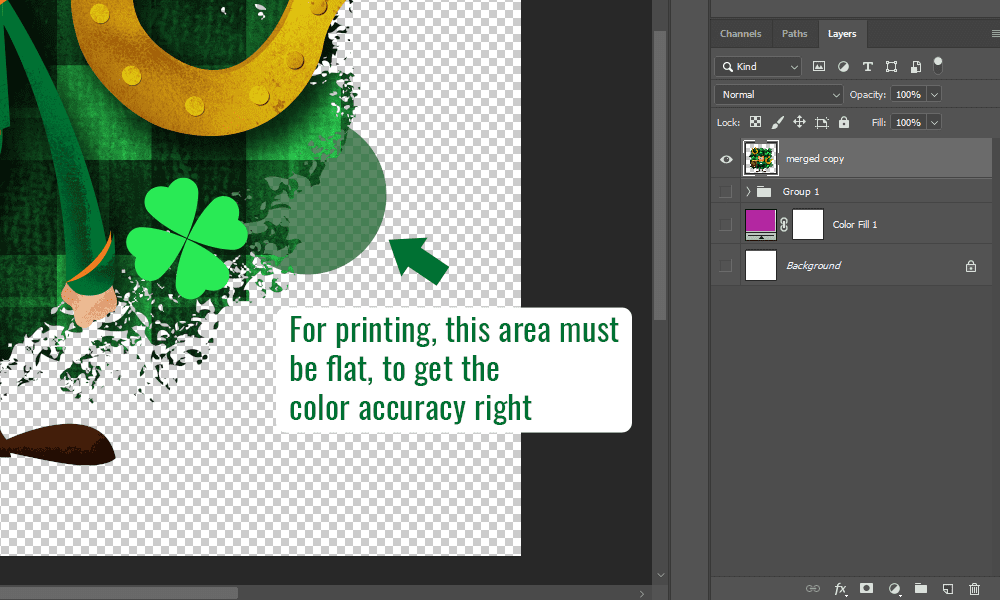
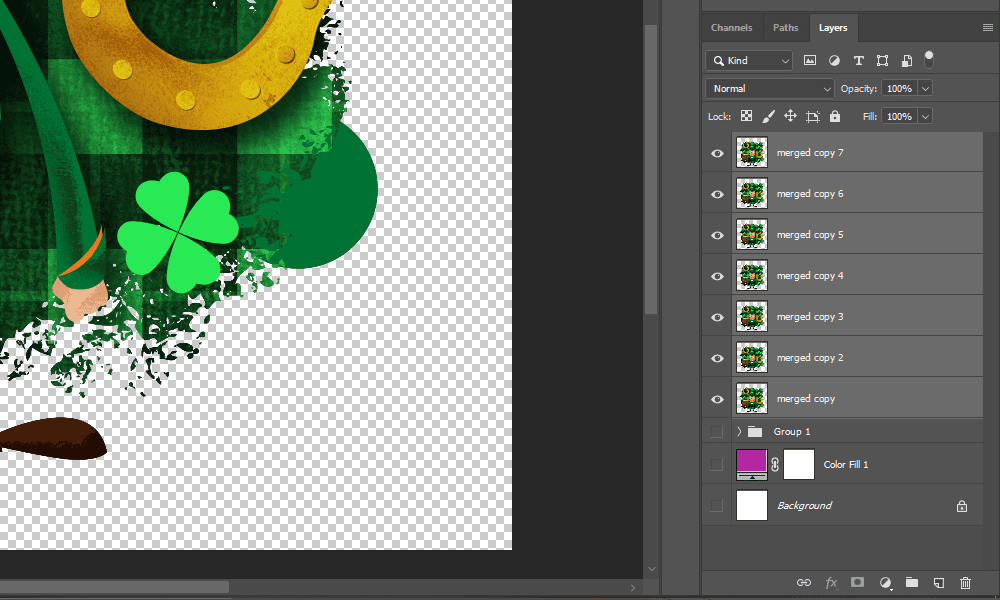
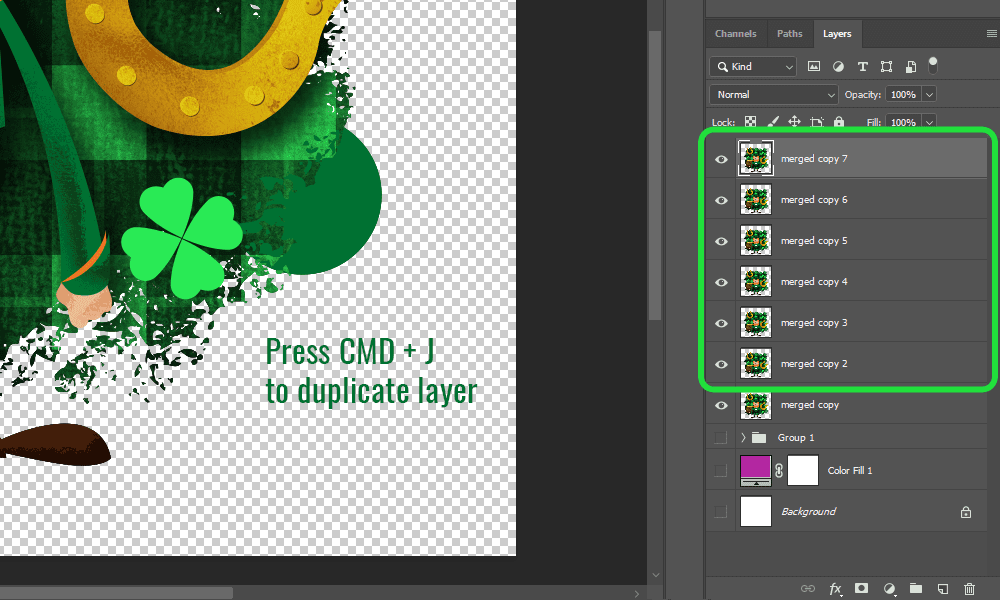
In case you have a transparent object that needs to go over the edge, you can flatten transparency by duplicating the merged layer multiple times, until it’s no longer transparent.
Select all the duplicated layers and press CMD + E to merge them again.
Now your file is ready to send to the printer.


