No products in the cart.
Graphic Design, Tutorials
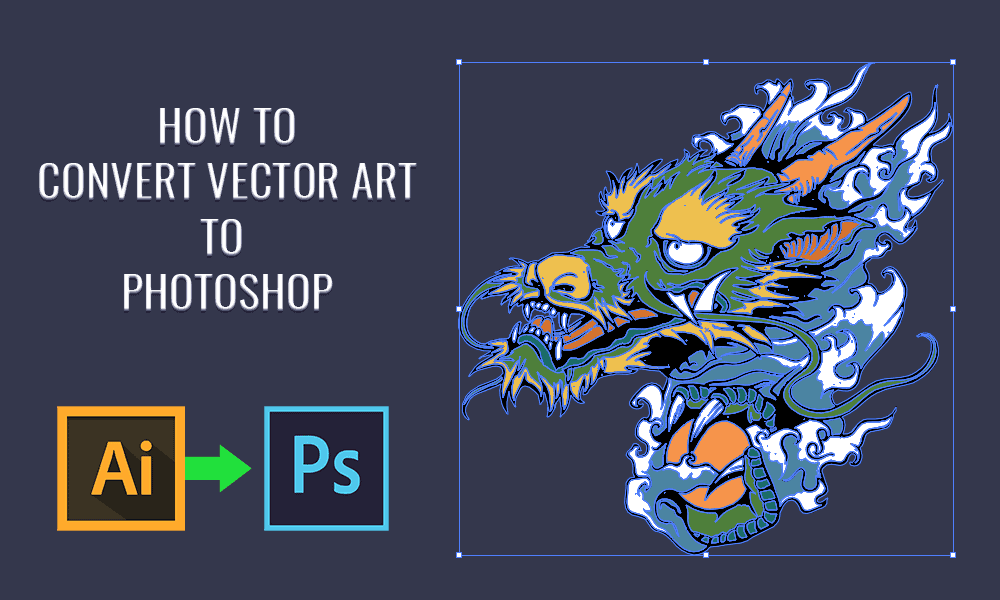
EZ Tip: How To Export Illustrator Art As Vector for Photoshop
Whenever you want to export an Illustrator file as a .PSD to open it with Photoshop, you quickly find out that all that vector art is now rasterized.
The good news is that there is a quick and easy way to export it as vector art and still be able to infinitely scale and change colors as if it would still be Illustrator.
Why is this useful?
While you can still use the raster version of the vector art, this process helps you change colors, apply new effects and scale it up and down as if you’re still working in Illustrator.
Let’s learn how it’s done.
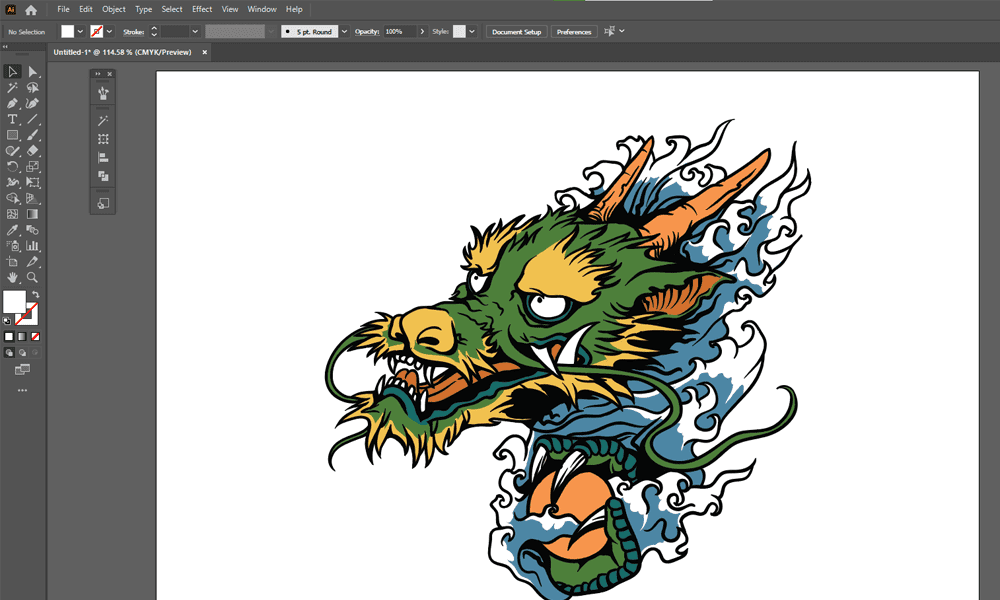
For this demonstration, we’ll use this Free Vector Japanese dragon.
STEP 1
Extract the .zip file in a folder and open the .Ai file and copy it to a new document.
Use an archive extractor like WinRAR to open .zip files.
In Illustrator, go to File -> New… to create a new document, Cmd + Tab to go back to the original document, grab the Selection Tool (V), select the dragon head, press Cmd + C to copy it, Cmd + W to close it, then paste it in (Cmd + V).
STEP 2
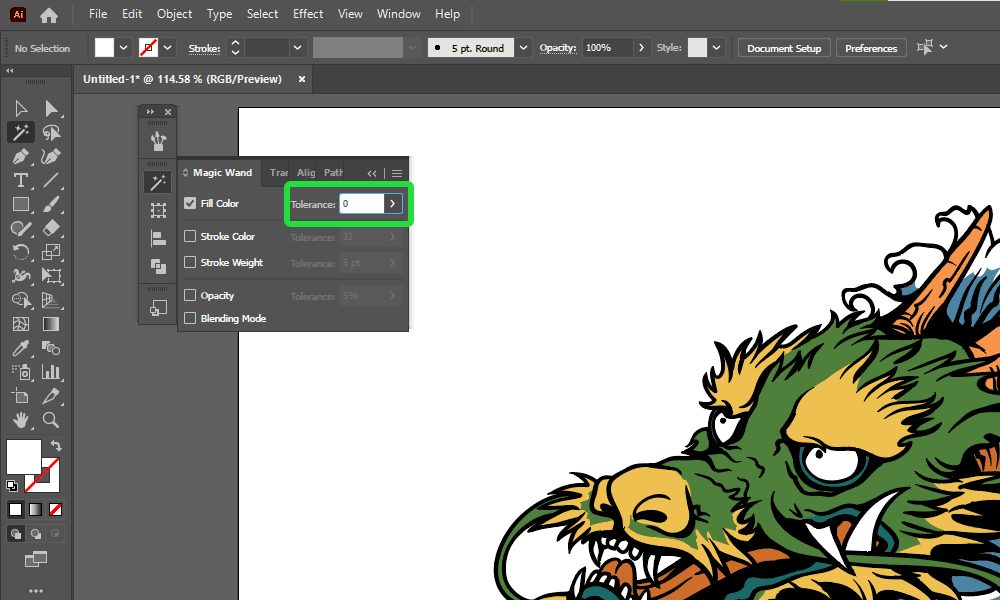
Grab the Magic Wand Tool (Y), press Enter and set the Fill Color Tolerance to 0.
This ensures we select only one specific color, and not a range of colors.
STEP 3
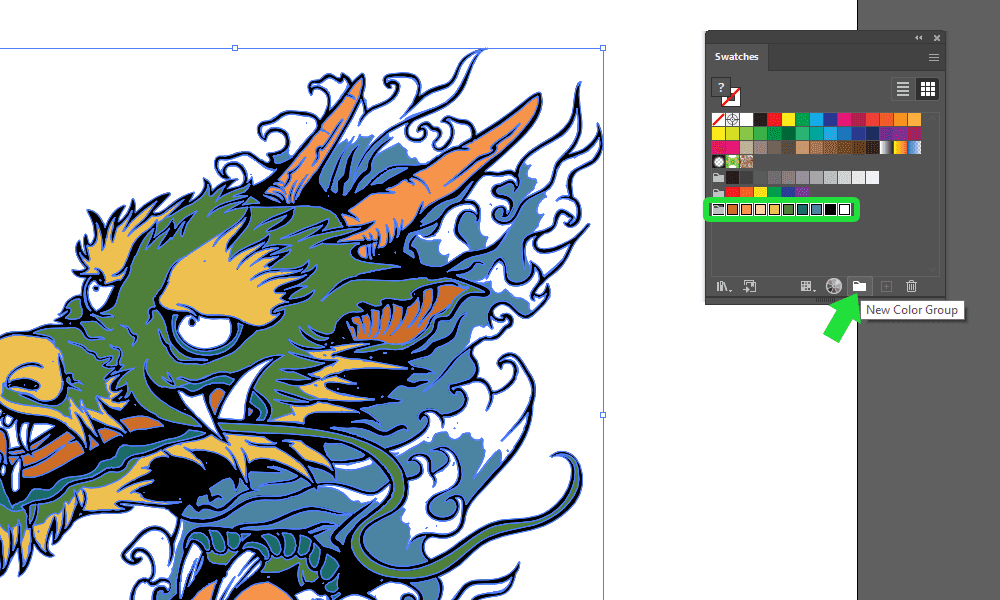
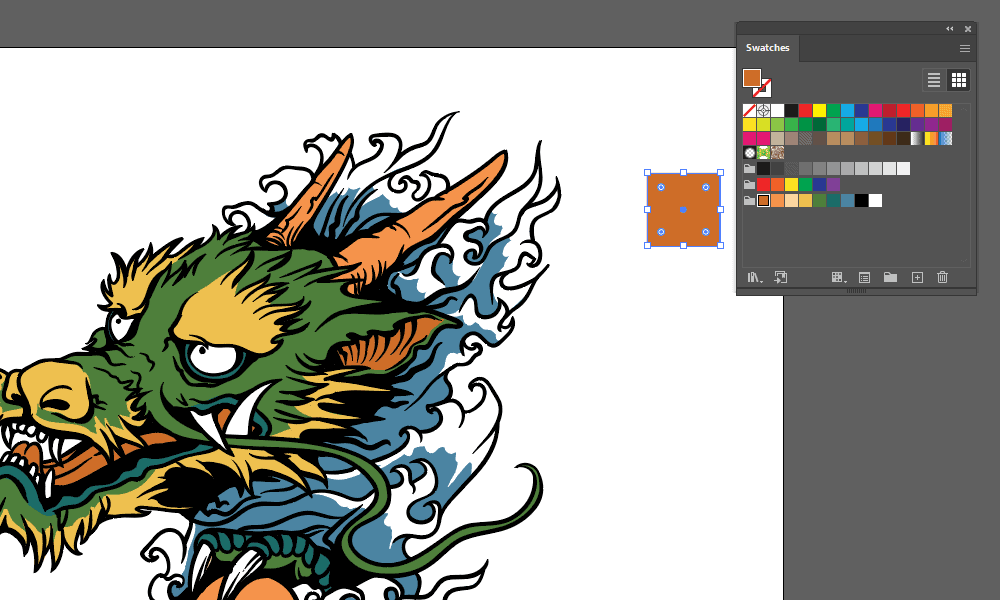
Open the Swatches panel (Window -> Swatches). Select the vector art, then click the New Color Group button.
This will help us determine the number of colors and save the color palette.
STEP 4
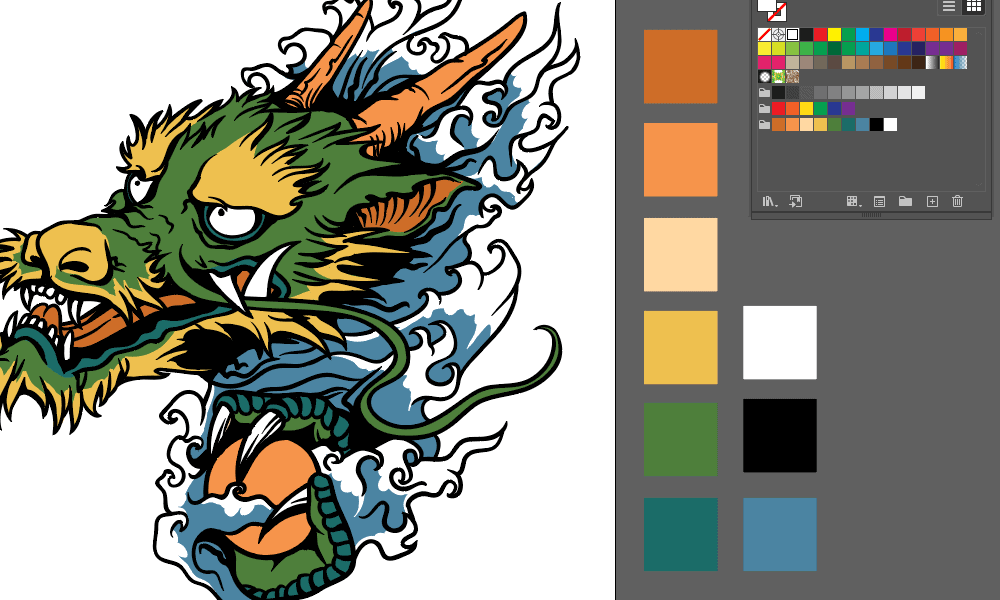
Grab the Rectangle Tool (M), draw a rectangle and fill it with the first color from the color group created.
STEP 5
Repeat the previous step for all the colors.
We are using the squares to make sure we select all the colors in the vector art.
STEP 6
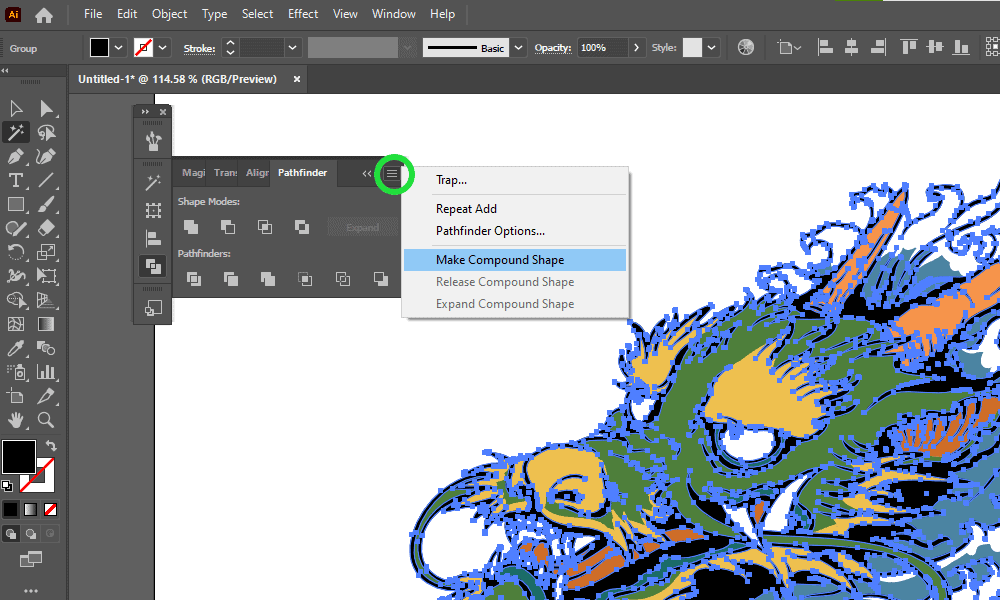
With the Magic Wand Tool (Y), select the first square. Then, in the Pathfinder panel (Window -> Pathfinder), open the float menu and select Make Compound Shape.
STEP 7
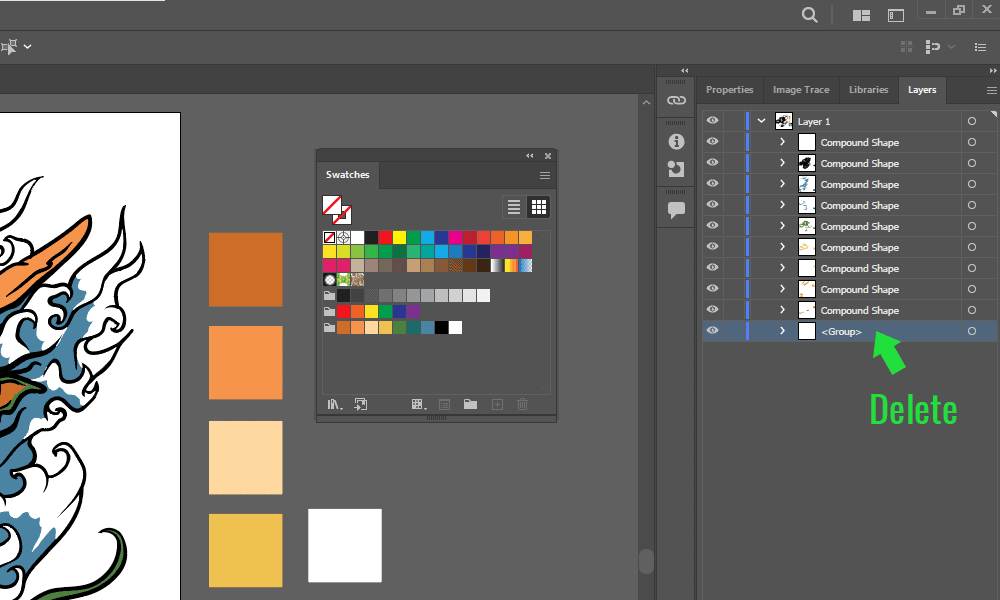
Repeat the previous step for all the colors. Then, check the layers in the Layers panel (F7). If you see any sub-layer other than ‘compound shape’, delete it.
STEP 8
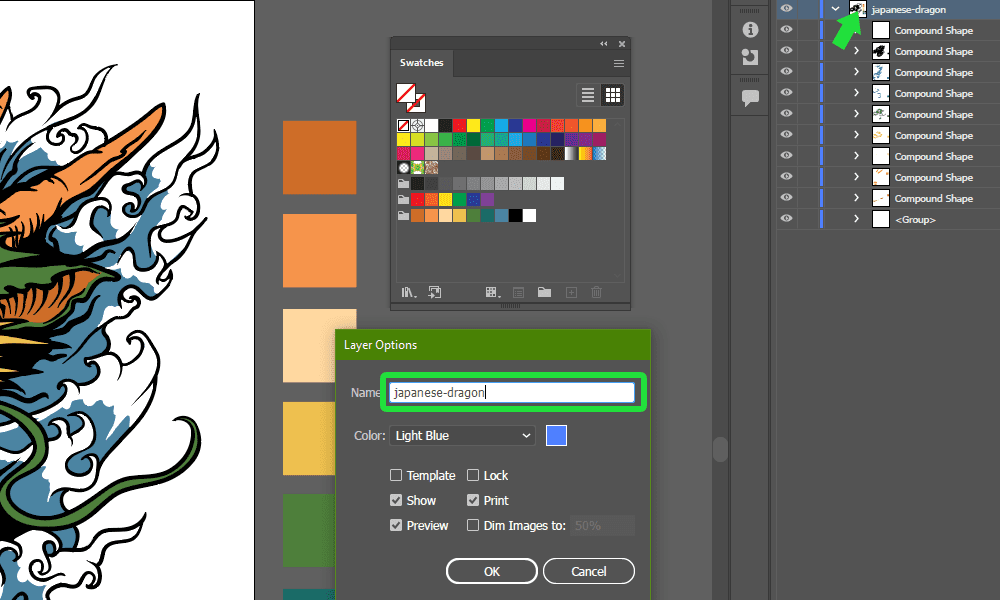
Double-click the layer thumb to open the layer properties and rename the layer to ‘japanese-dragon’. Then, grab the Direct Selection Tool (A), select and delete the squares.
STEP 9
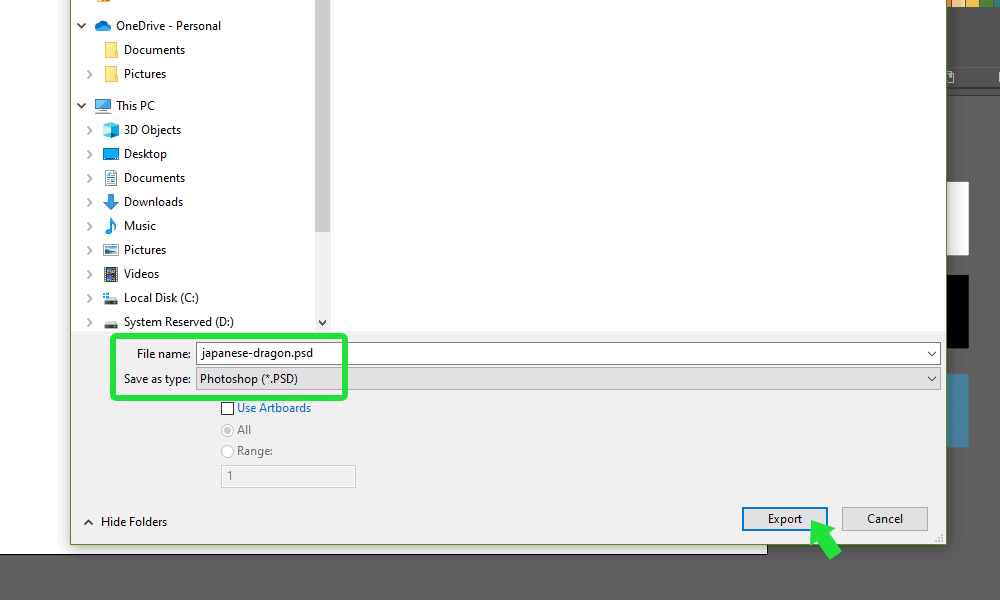
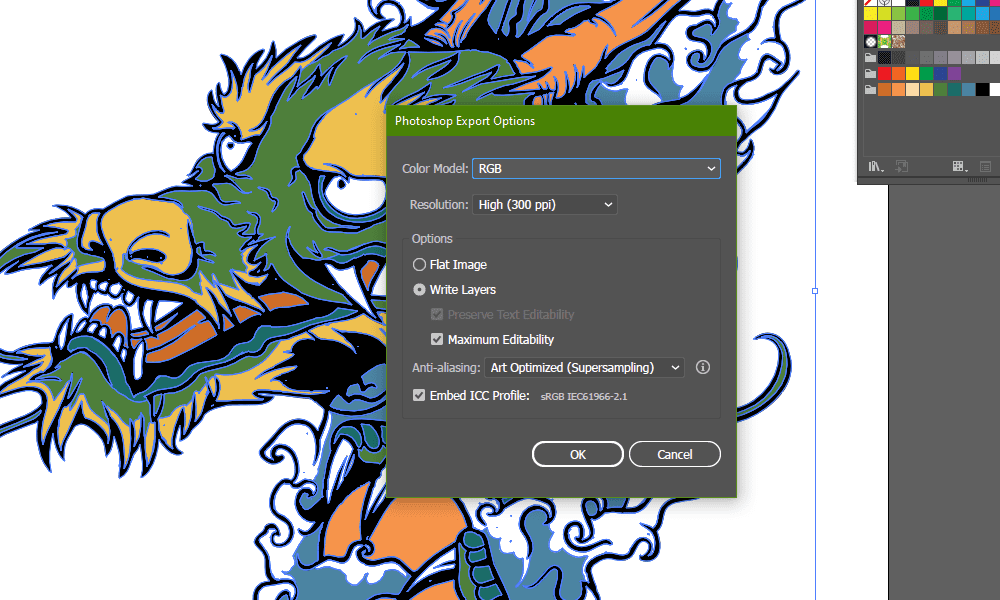
Go to File -> Export As… and select .PSD as file format.
STEP 10
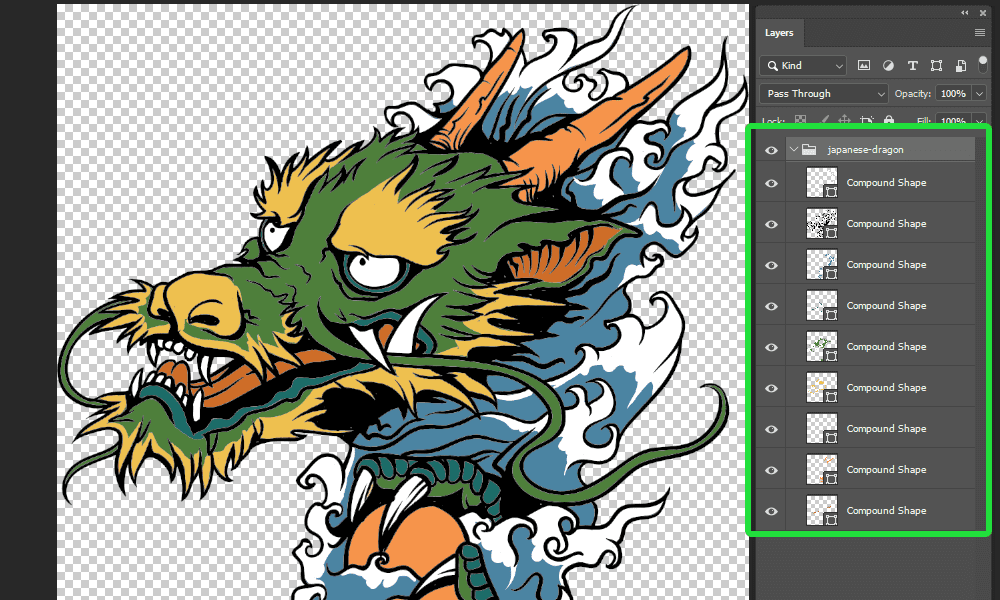
Open the PSD file to see if all the layers are path files. If not, it means you’ve missed a color and you need to go back to STEP 6.
From here on, you can scale and recolor the vector art as if it was in Illustrator.


