Tutorials
How To Apply Lens Flare Effects To Your Images In Adobe Photoshop
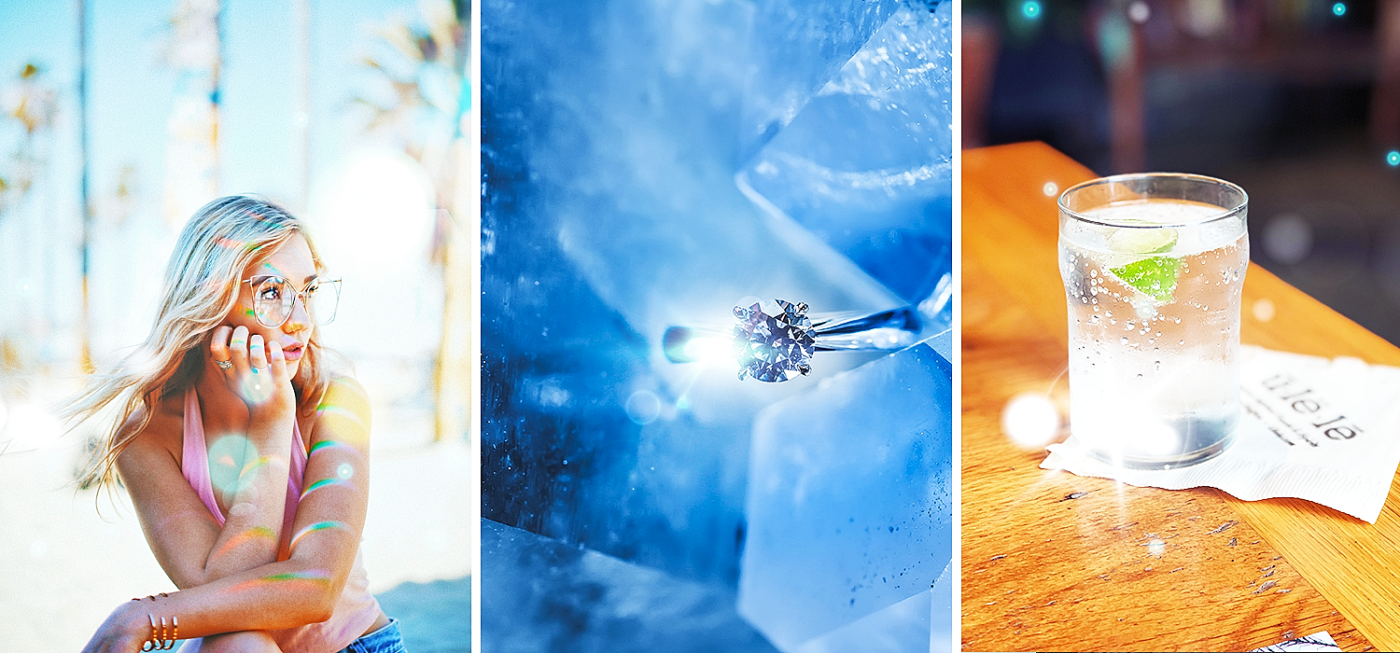
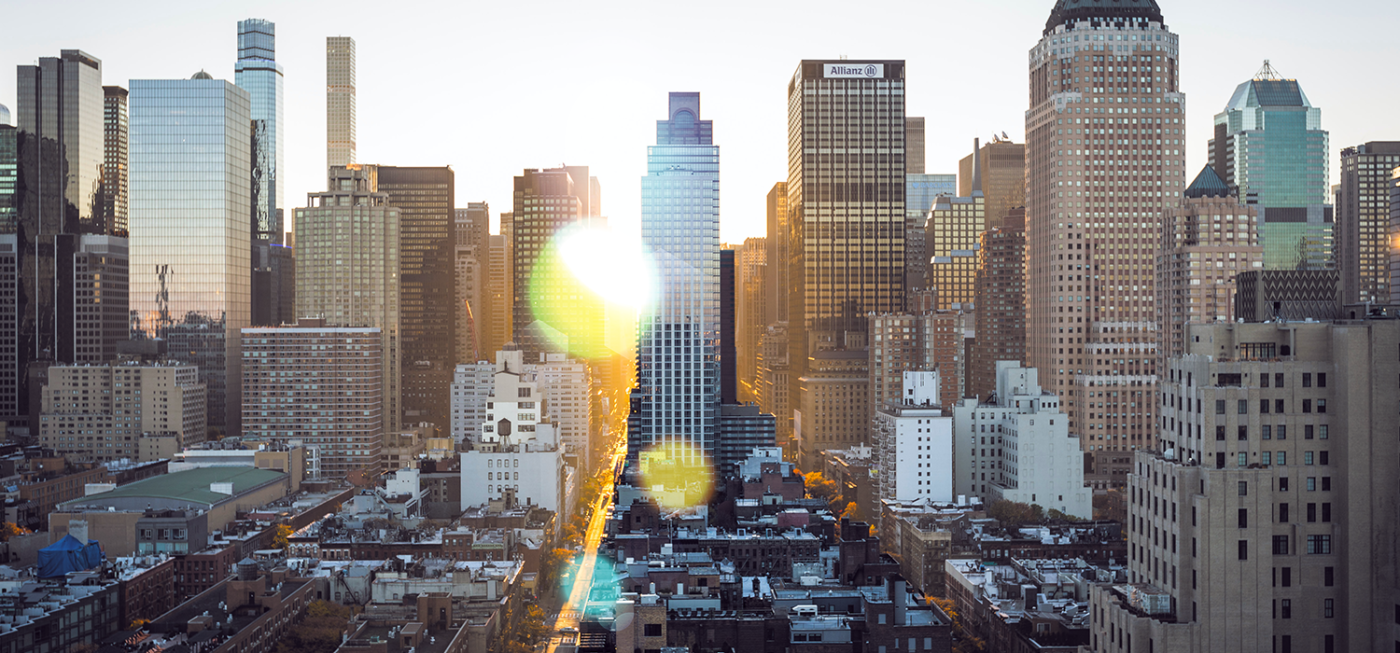
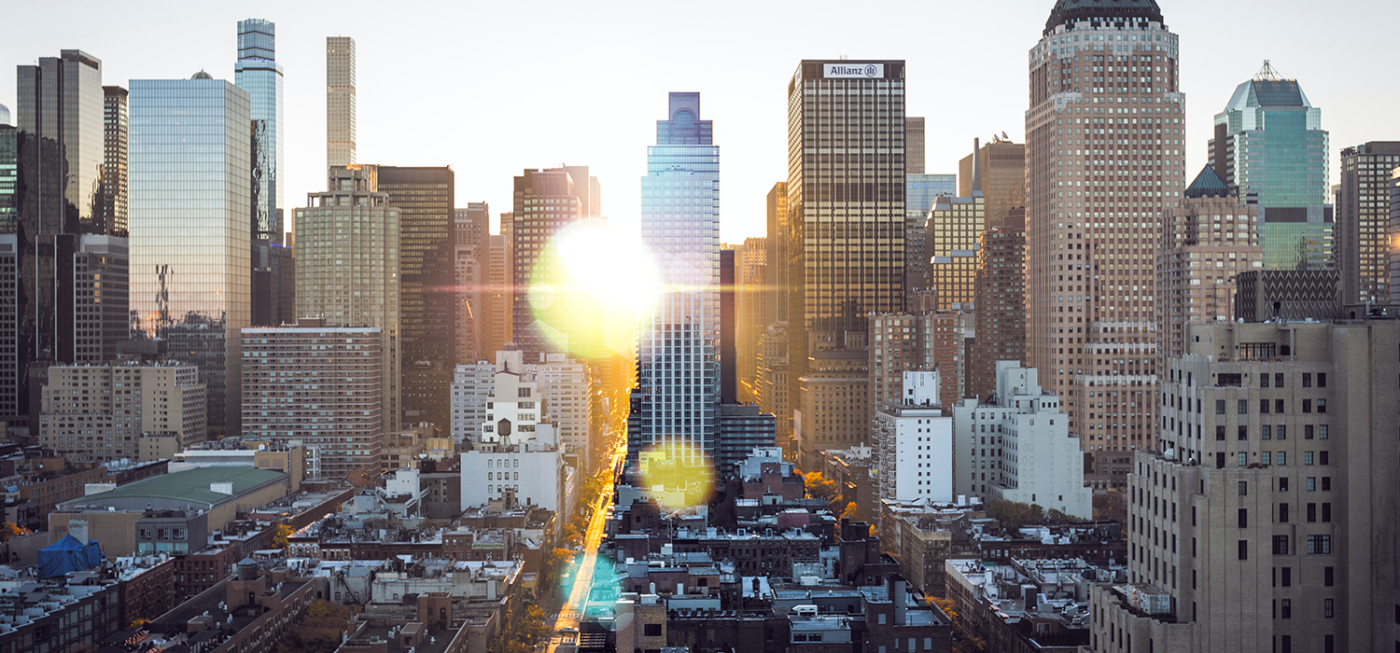
Lens flare is not something photographers want at times but this effect can create some amazing photographs used properly. In this tutorial we show you how you can apply them to your photos to make them look great.
A lens flare is a phenomenon that appears when light is scattered in a lens system, like a camera. Lens flare appears as a strong spot of light with light rays blasting radially in all directions.
Because it is a highly unpredictable effect, to get exactly the one you want is to manually choose one from our library and apply it later on. Here’s how.
Step 1
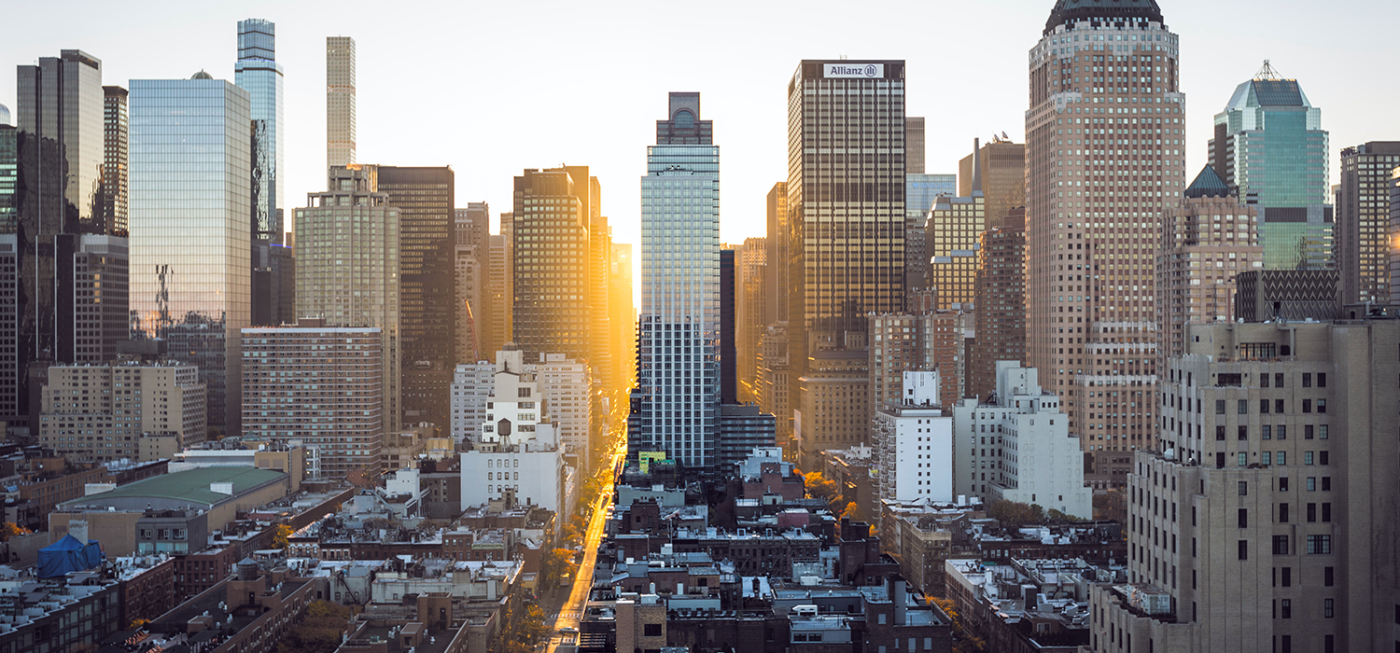
First, choose the photo you want to work with. Make sure your image has a source of light to make the flare believable.
Step 2
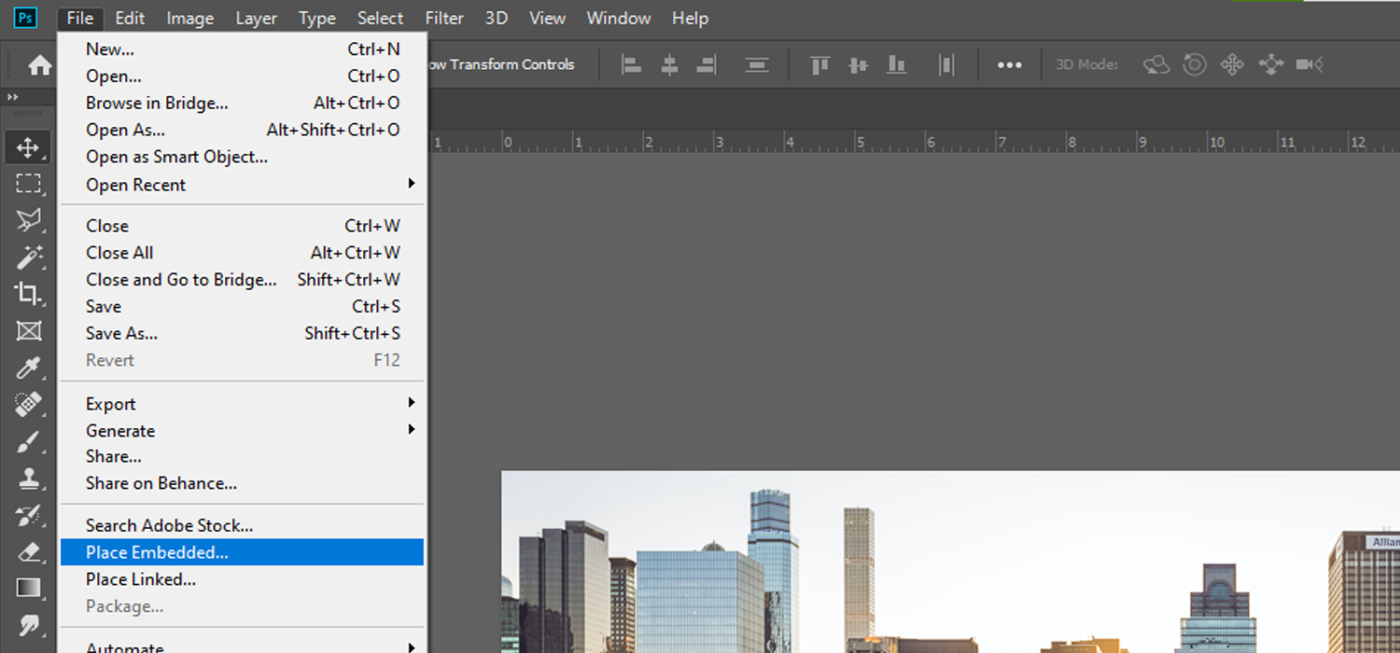
Next, go to File > Place Embedded, select the flare, scale it to fit the image and press Enter. You can also drag-and-drop the flare into the file.
Step 3
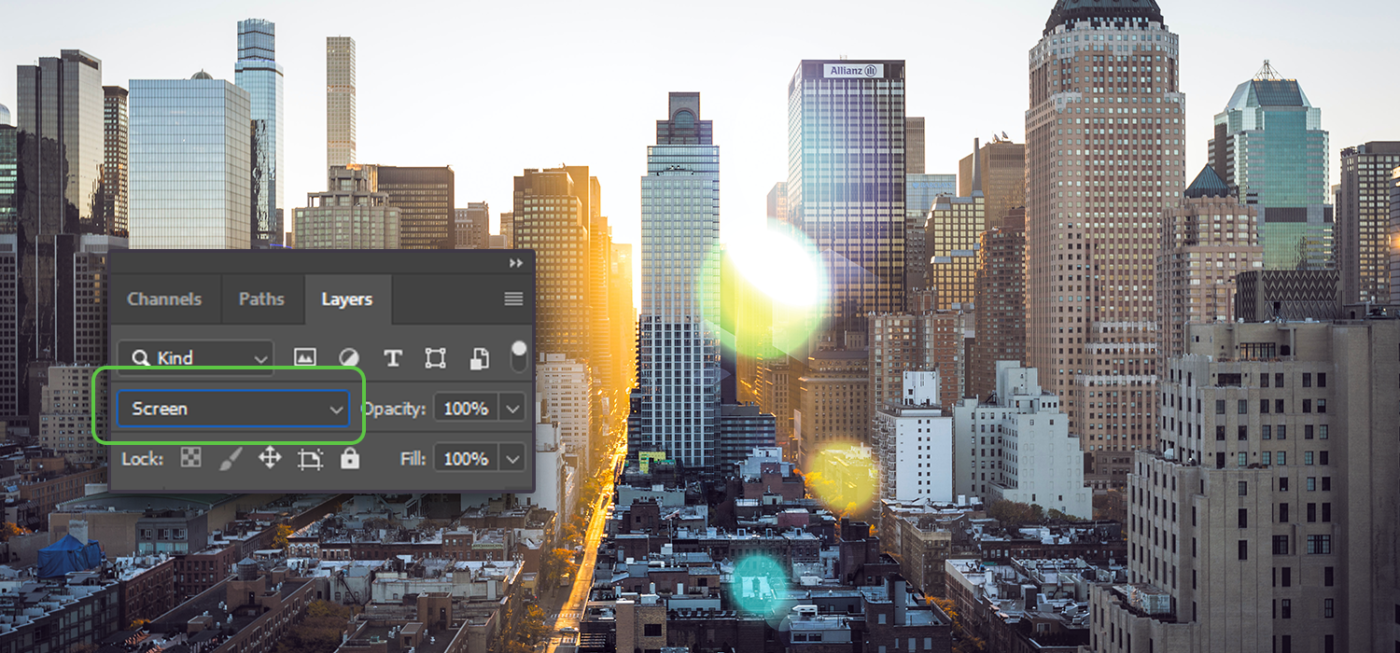
In the Layers panel, set the Blending to “Screen”.
If you can’t find this panel or accidentally closed it, go to Window > Layers to show it or press F7.
Step 4
Next, line it up with the source of light. Press V to have the Move Tool active and simply drag it over.
Step 5
Experiment with it and add more flares.
Summary
1. Drag-and-drop a flare over the image and press Enter.
2. Set Blending mode to “Screen”.
Done.
Experiment with more images to get comfortable with this effect. Remember that for realistic photos, the flares should ALWAYS fit in with the light source.


