Graphic Design, Tutorials
EZ Tip: How To Customize Stock Vector Art To Fit Your Projects
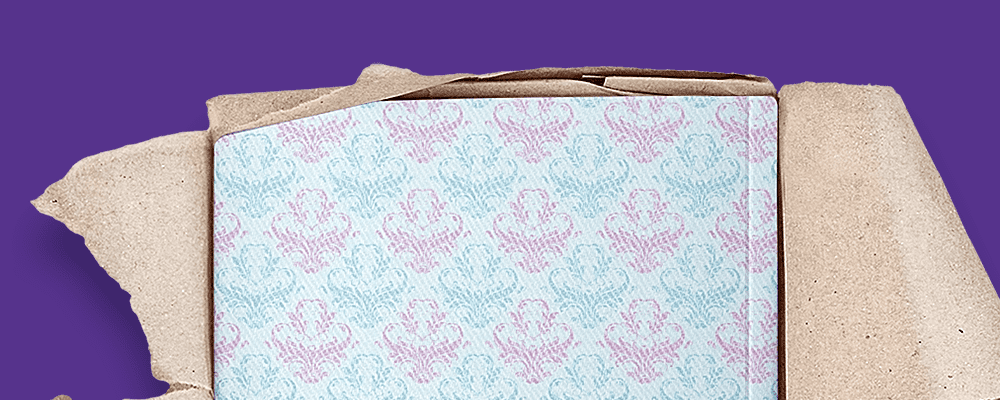
We at Designious make creativity a top priority. To live up to this statement, we make sure all vector art comes in a format that makes it easy to personalize. This ensures that even if the same vector design is available for the others to download, it becomes unique to your brand, all with a flick of the Magic Wand. Literally.
Here’s an example.
We’re using this Free Seamless Patterns Vector Pack 98 as a base for our example. Download it and follow these steps along.
STEP 1
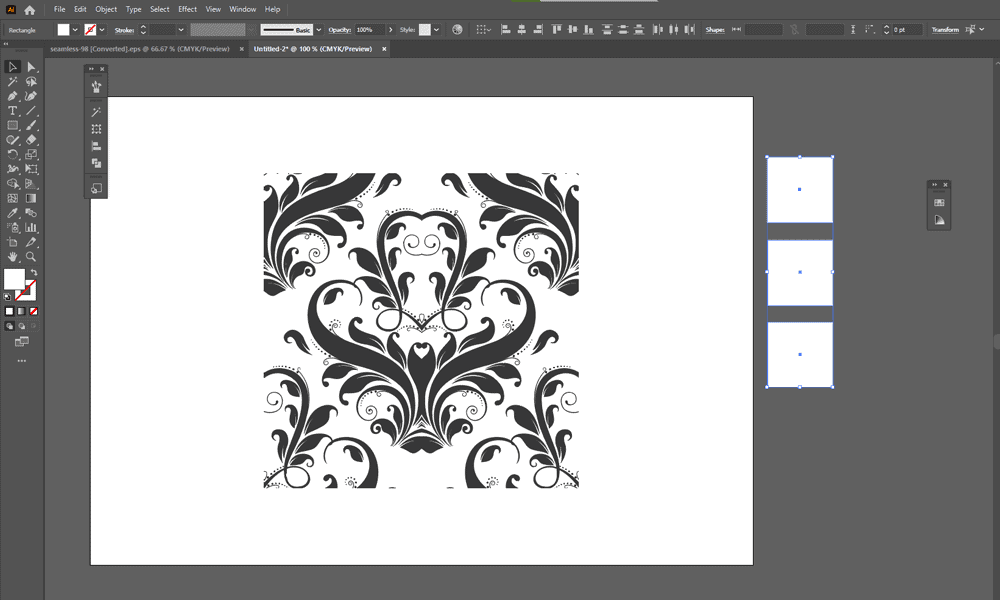
Open the .eps file from the .zip file you’ve downloaded and copy one of the patterns to a new file.
Note: If you’re on Windows, the equivalent of the Cmd button is CTRL.
With the Select Tool (V), click one of the patterns, copy it (Cmd + C), go to File -> New, create the file and paste it in (Cmd + V).

STEP 2
Now we create the color palette we want to use. This can be from your brand manual, a favorite photo or from a color palette generator. Your choice.
Grab the Rectangle Tool (M) and create three squares. Hold Shift while click-dragging your mouse. We will use the squares as holders for our colors.
STEP 3
Now we color the rectangles with our colors, individually.
Use the Eyedropper Tool (I) to pick your favorite colors from another image (paste it in, pick the colors and delete it afterwards).
STEP 4
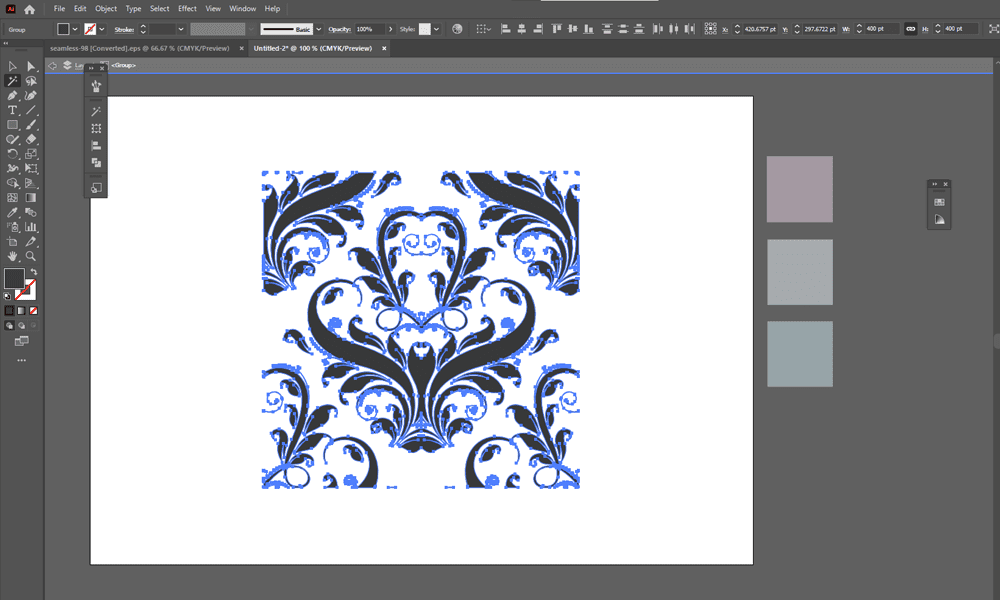
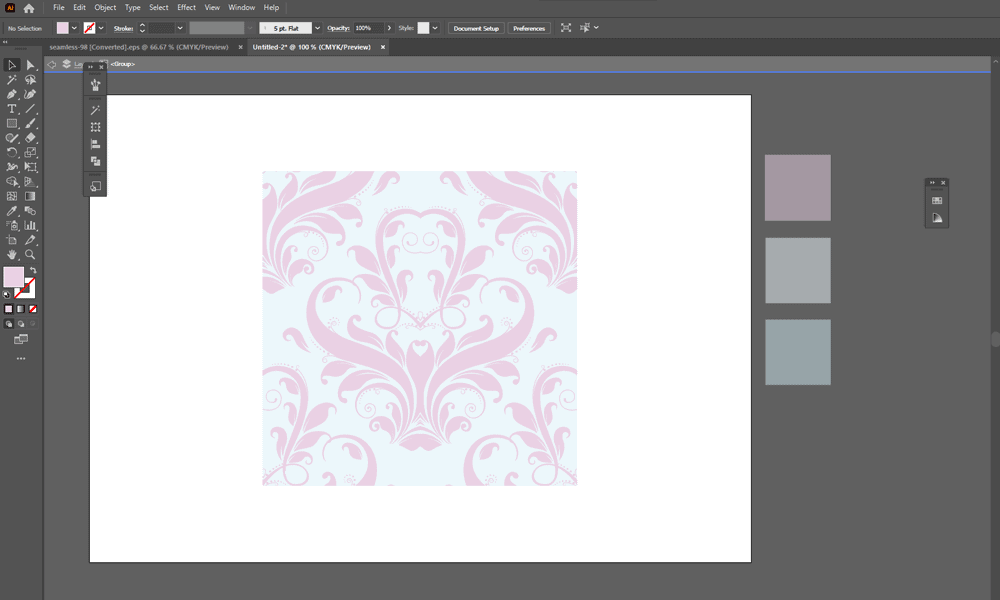
Now to recolor the pattern. Enter Group Mode and select each color, individually.
Grab the Selection Tool (V), double-click on the pattern, grab the Magic Wand Tool (Y) and select a color. Use the Eyedropper Tool (I) to pick the color from the squares.
STEP 5
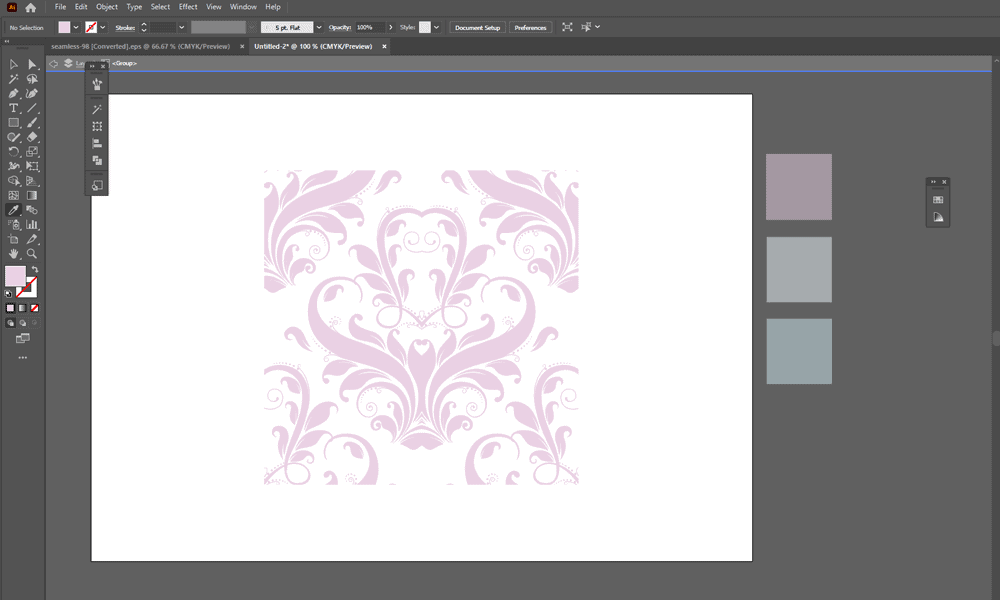
Select the center-piece and recolor it with the third color.
With the Selection Tool (V), click the center piece, without moving it. Use the Eyedropper Tool again to recolor it.
STEP 6
Double-click near the pattern to exit Group Edit and drag the pattern into the Swatches panel.
If you don’t see your Swatches panel on your screen, go to Window -> Swatches, at the top of your screen.
STEP 7
Create a large rectangle and click the new Swatch to fill it with the new pattern.
Use the Rectangle Tool (M) to create the large rectangle. Press Z, then ALT+click to zoom out.
STEP 8
Create a new file in Photoshop and copy-paste the rectangle in, as a Smart-Object.
STEP 9
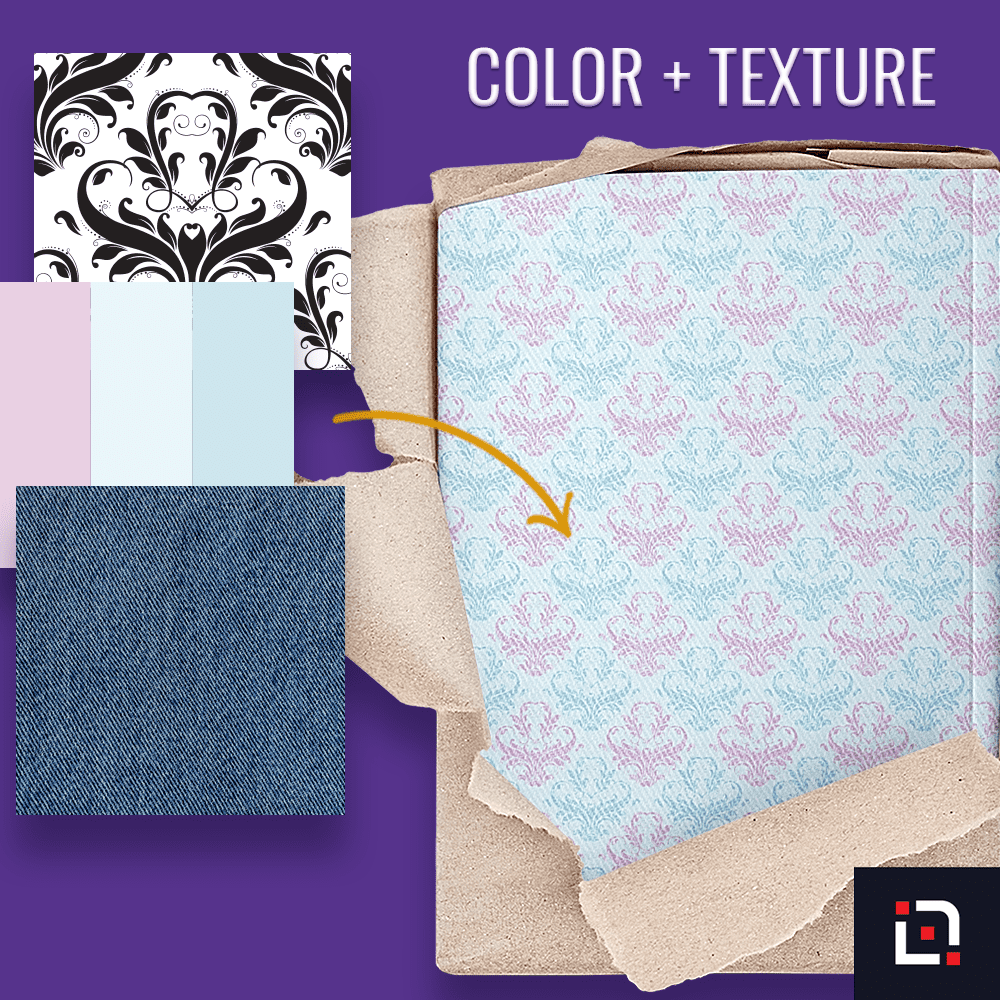
Place your favorite texture on top of it. For this example, this is the texture used – https://unsplash.com/photos/VgEaUEyKUpk
Go to File -> Place…, select the texture file and press OK.
STEP 10
Set its Blending to Overlay. For darker colors, you may want to try Soft Light, or Screen.
STEP 11
Duplicate and fill the rest of the pattern with the texture. Make sure you align those subtle stripes.
Press Cmd + J to duplicate a layer.
STEP 12
Crop it and save it for later use.
Press C to use the Crop Tool and press the check-mark at the top when you’re done.
Bonus tips
- If you want your decorative pattern to be smaller or larger, reduce or increase the size of the original tile and re-add it to Swatches, then apply it again to the large rectangle.
- Recolor the pattern with new colors and even add more colors to each individual flower to create a new one.
TLDR:
Replace each color from the original design, make it a pattern and Overlay a texture on top of it.


