Graphic Design, Tutorials
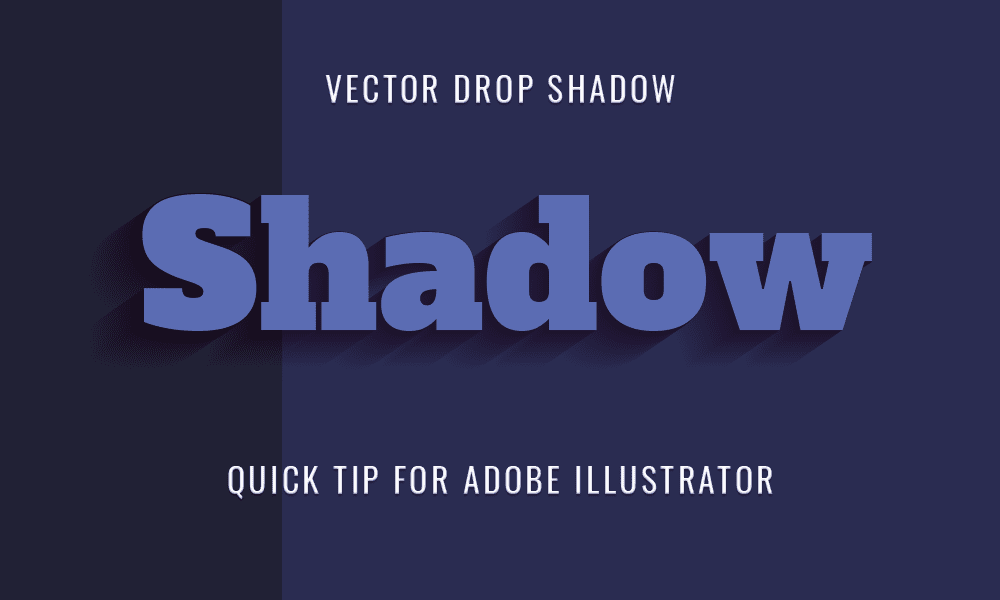
EZ Tip: How To Create Vector ‘Drop Shadow’ Effects In Illustrator
The Drop Shadow effect is a quick and easy way to make objects stand out from the background and create focus on them.
The caveat for it, particularly for Illustrator, is that it’s available only as a raster effect and we want it to be vector.
Luckily, there is a way to create it in vector format in just a few easy steps.
Let’s learn how.
Tools: Adobe Illustrator
STEP 1
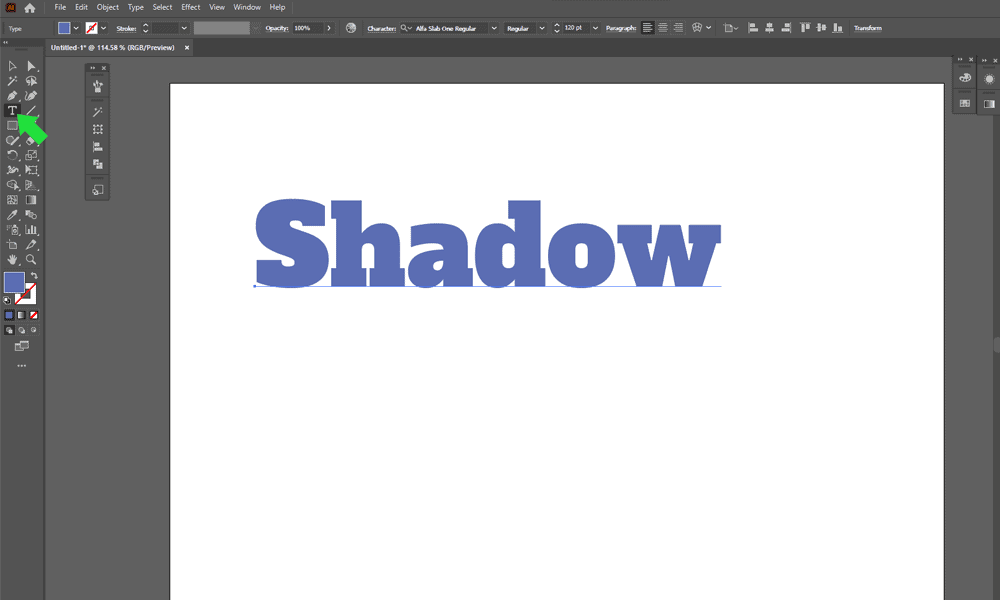
Create a new document and add your text.
Grab the Type Tool (T) and click on the canvas, then type on your text.
STEP 2
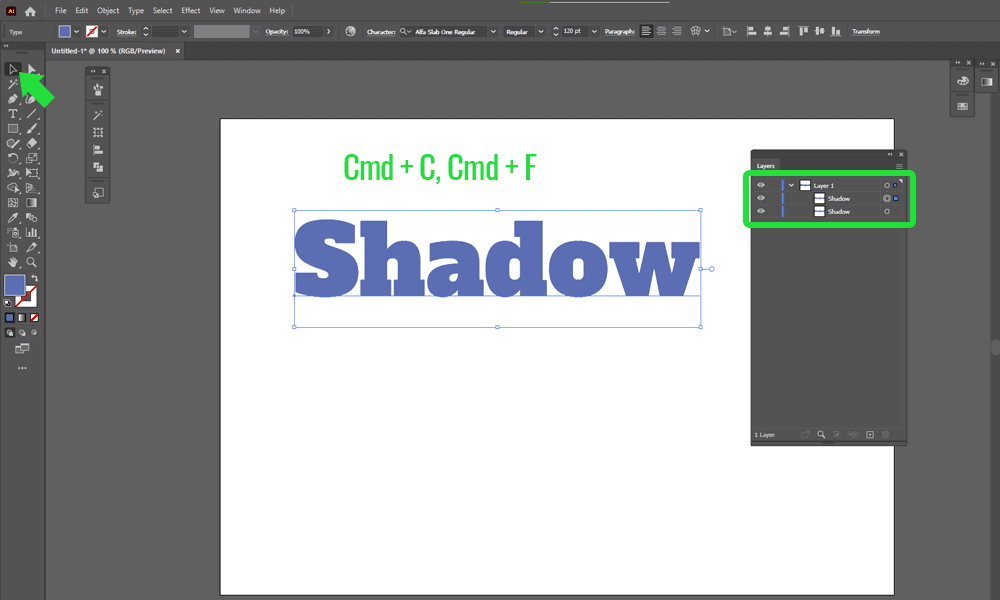
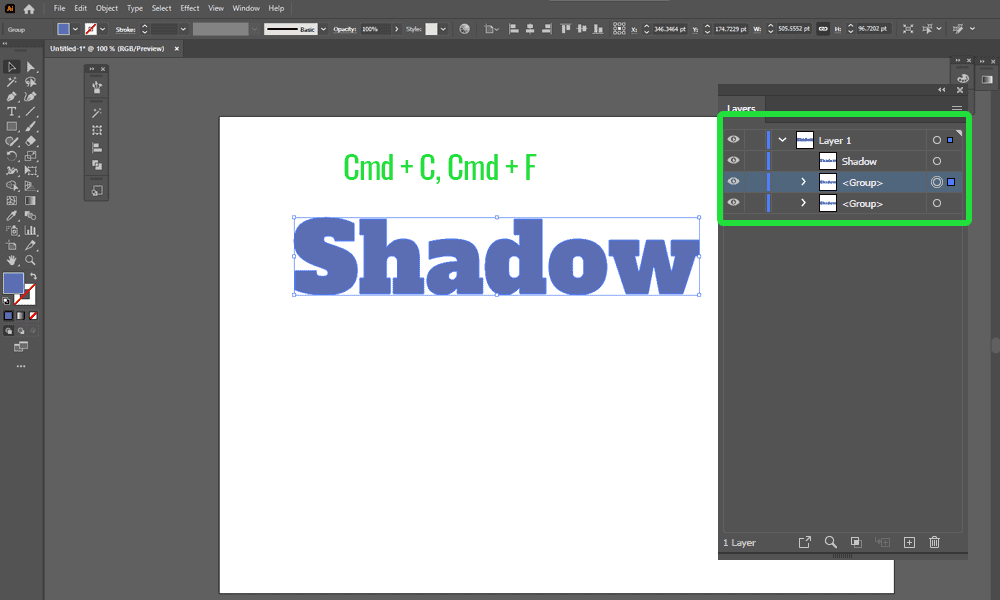
Copy the text directly on top of it.
Grab the Selection Tool (V), select it and press Cmd + C (copy) , Cmd + F (paste to front).
STEP 3
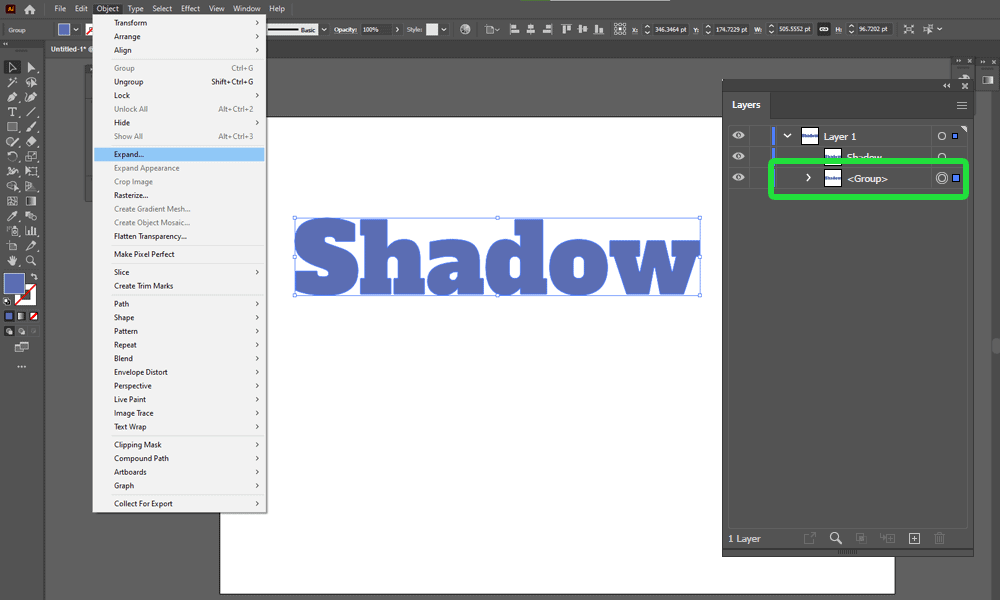
Click the circle for the text below to select it. Then, expand it to paths.
Go to Edit -> Expand, Check Object and Fill and press OK.
STEP 4
Duplicate the expanded text once again. There now are three perfectly overlapping texts.
Cmd + C, Cmd + F.
STEP 5
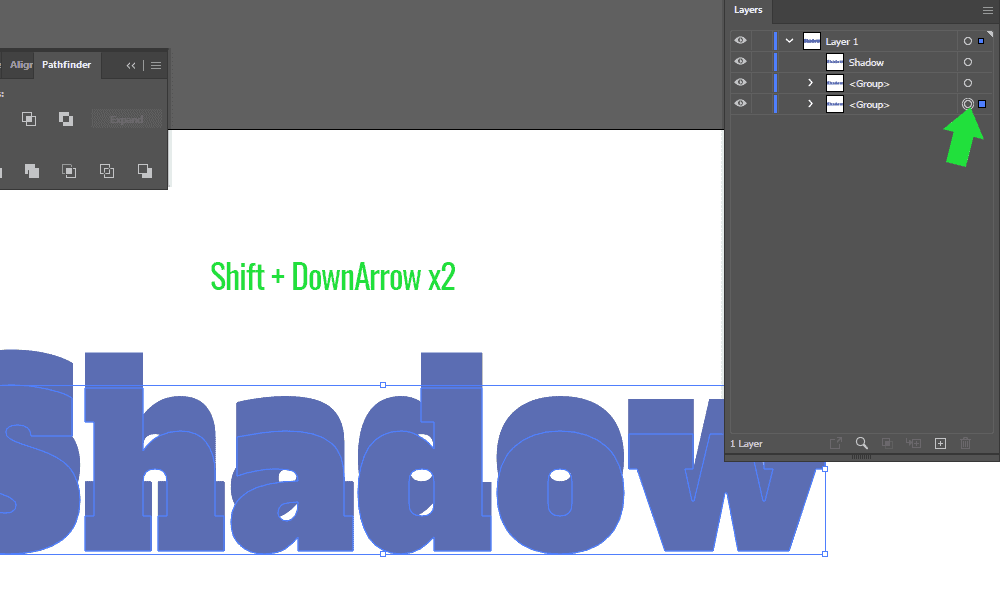
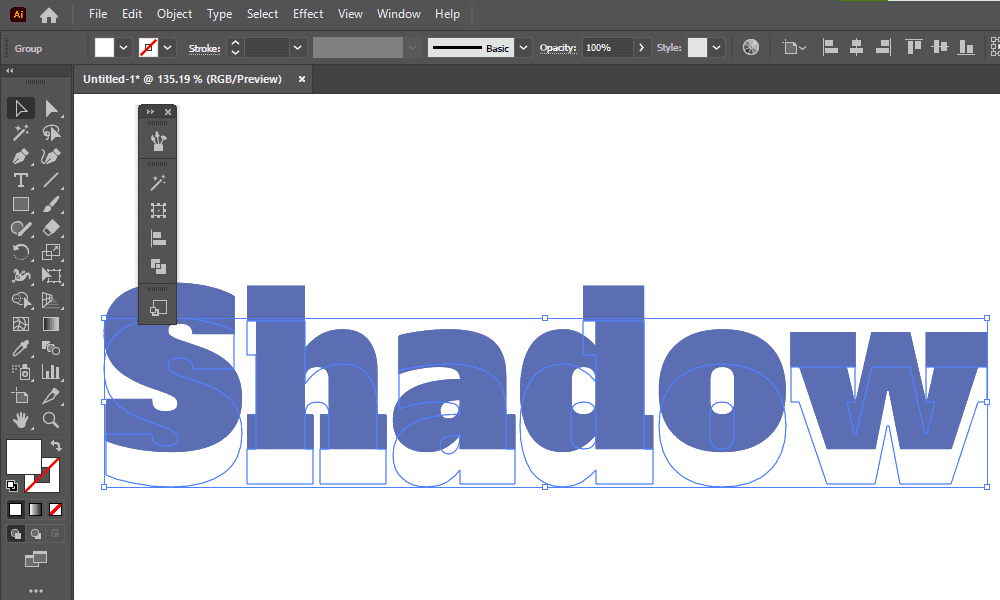
Move the bottom-most text downwards, about 20pt.
Select the bottom-most text, then press Shift + DownArrow, twice.
STEP 6
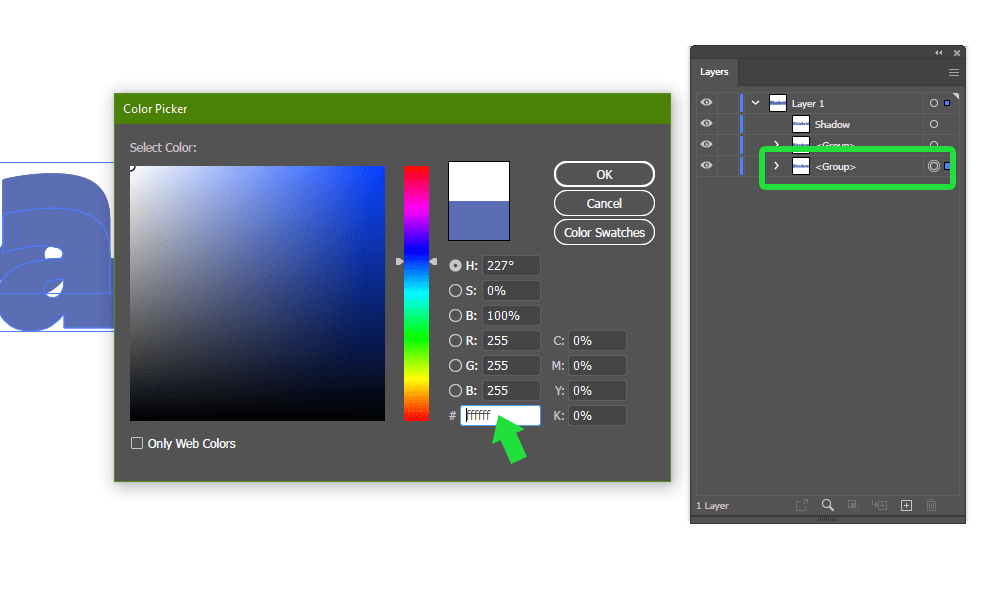
Make the Fill color to #000000 (white).
Double-click the Fill and either write in the hex code or mark the color in the top left corner.
STEP 7
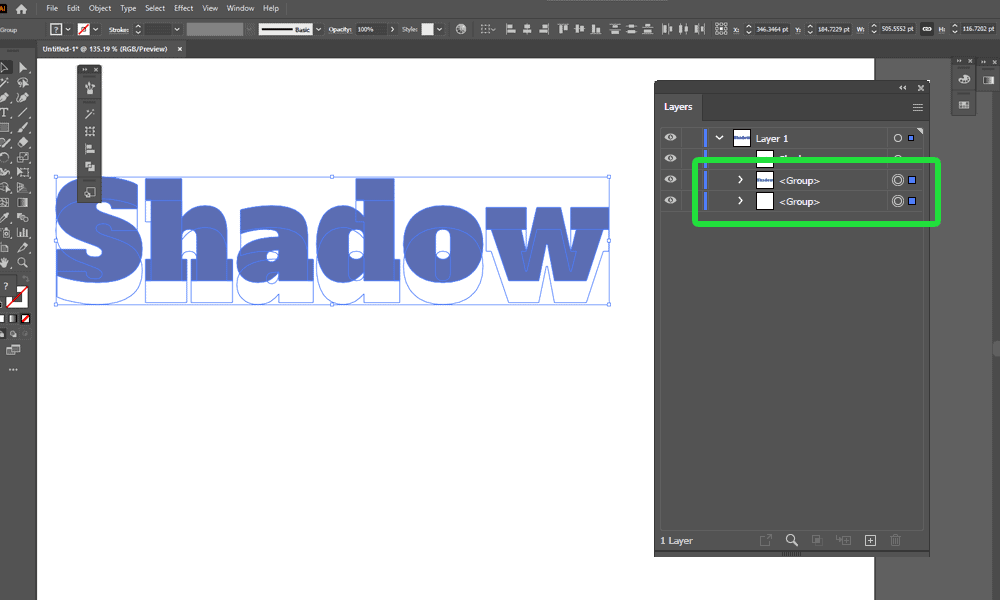
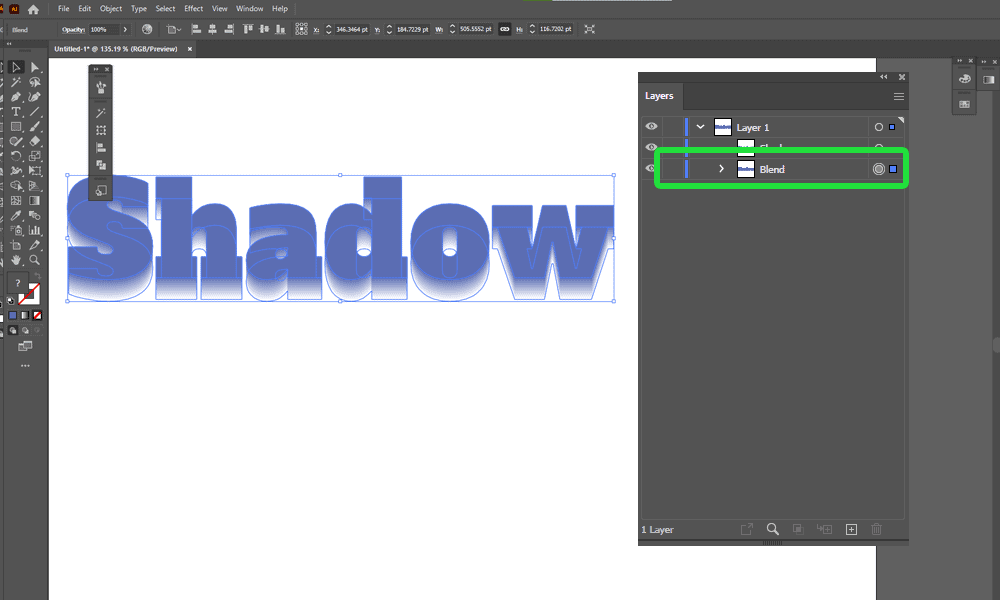
Add the middle text to selection.
Hold shift and click the circle for the group above.
STEP 8
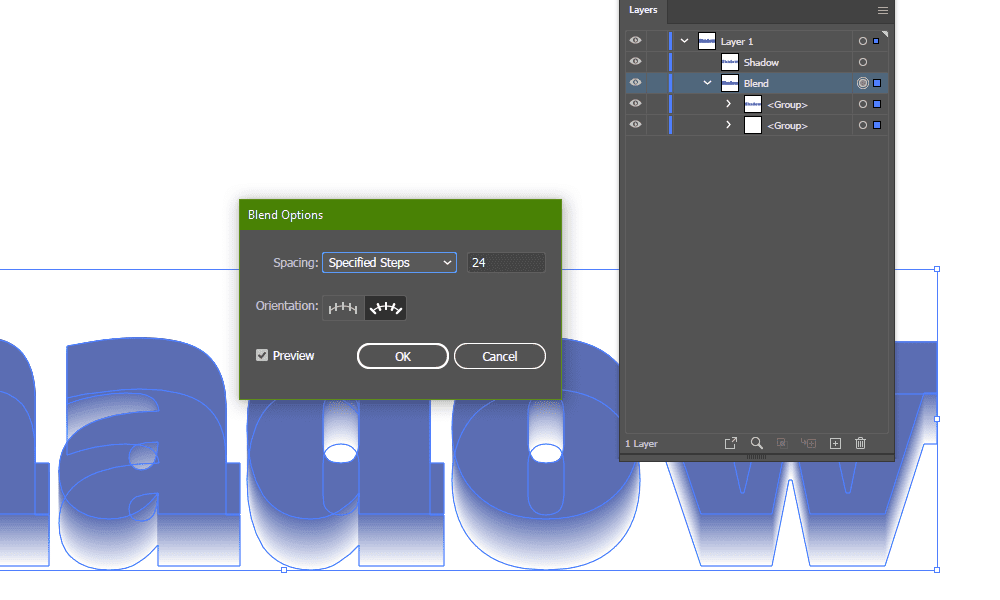
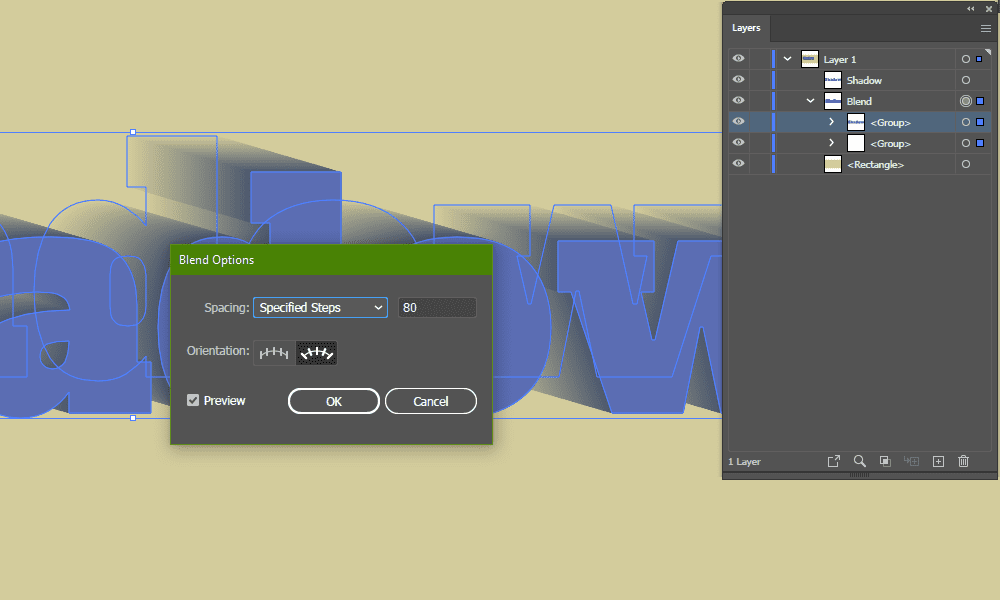
Press Cmd + Alt + B. This will create a gradient blend between the two texts. If yours looks nothing like mine, go to Object -> Blend -> Blend Options and make it with steps, like below.
STEP 9
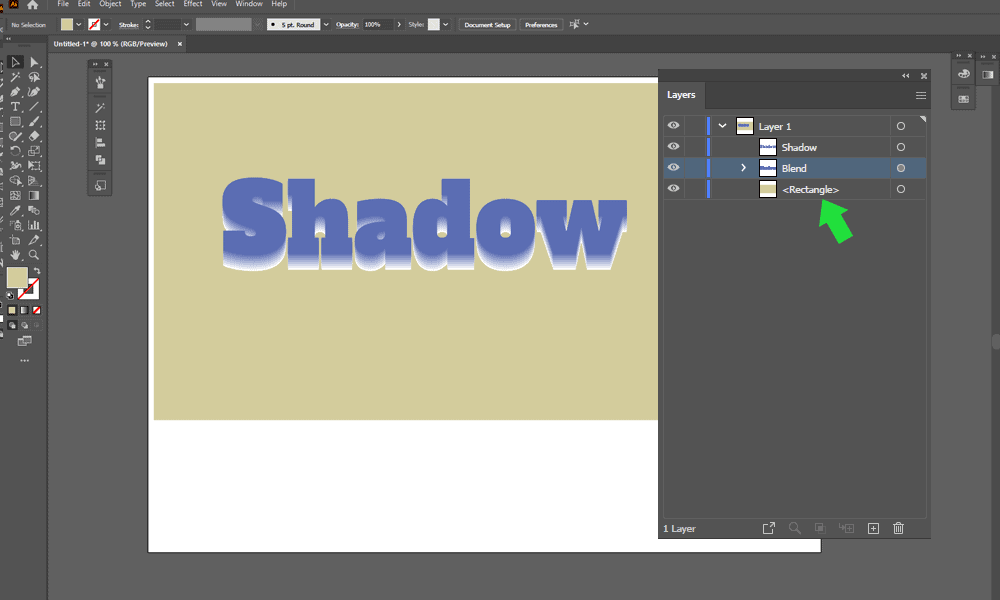
Add a colored rectangle behind the text.
Grab the Rectangle Tool (M), draw a large rectangle and press Cmd + [ to send it behind all the other texts.
STEP 10
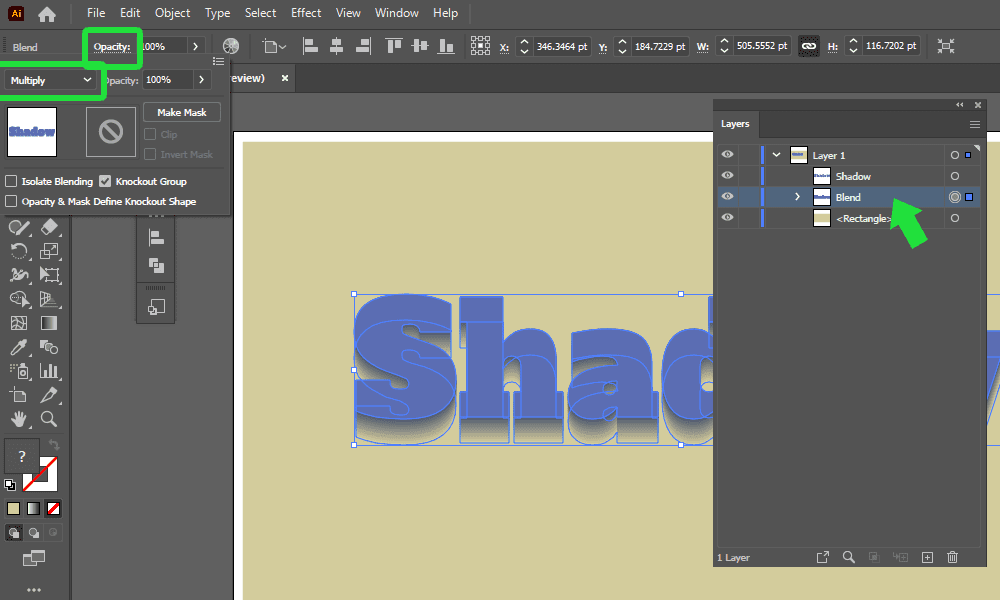
Set the blend to Multiply.
Select the blend, click on Opacity and set Blending to ‘Multiply’.
Done!
BONUS
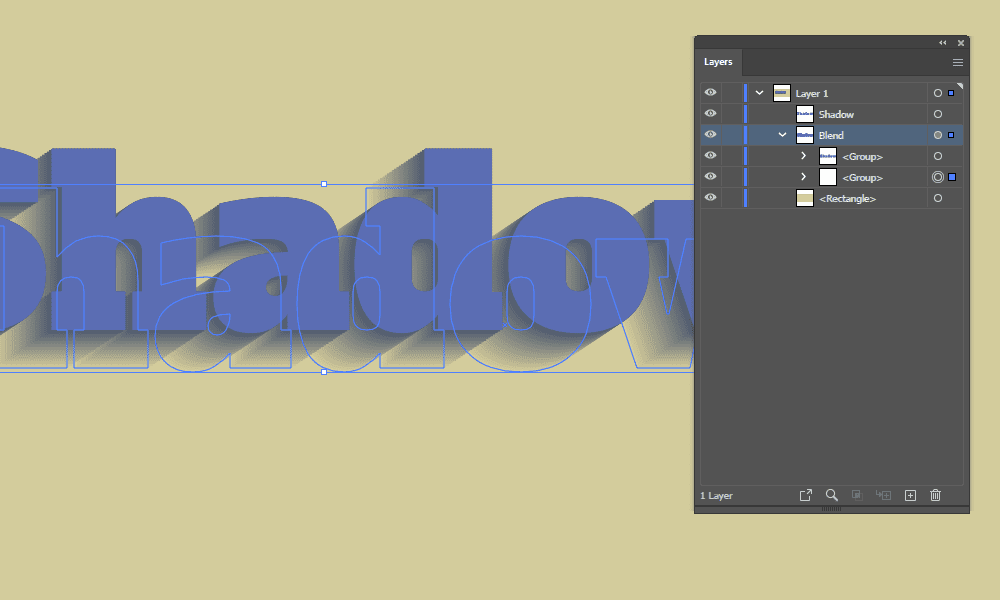
If you manipulate the position of the bottom text in the blend, it will adjust the direction where the shadow is going.
If after that, your shadow looks a bit jagged, go to Object -> Blend -> Blend Options again and increase the number of steps.


